
Preserving herbs at home is one of the simplest ways to enjoy your garden year-round. Drying herbs not only saves money but also keeps your meals flavorful through every season. Whether you’re working with basil, rosemary, mint, or oregano, the right drying techniques make all the difference. Here are 20 practical and affordable herb drying tips that help you retain aroma, color, and taste for months to come.
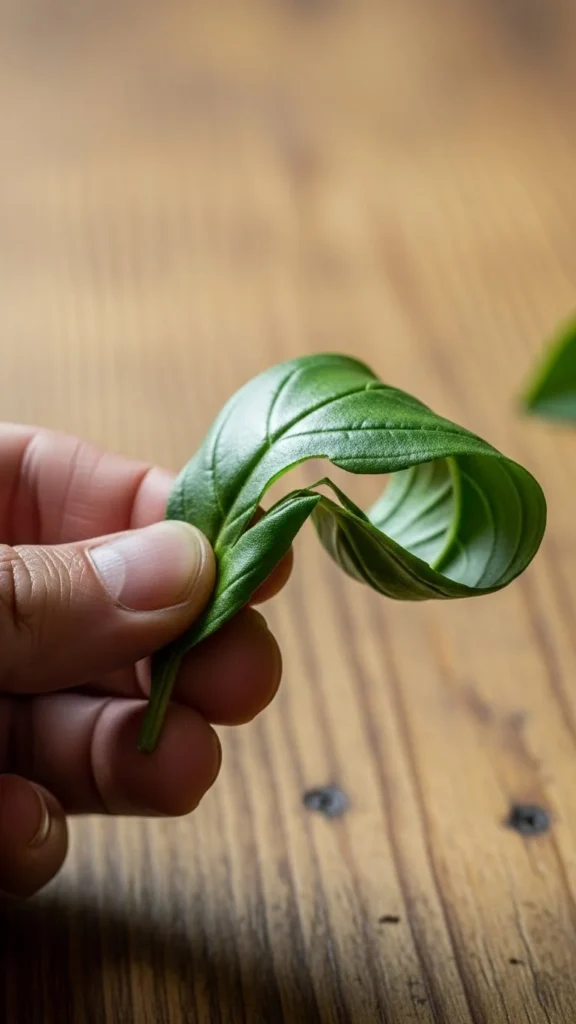
1. Choose the Right Harvest Time
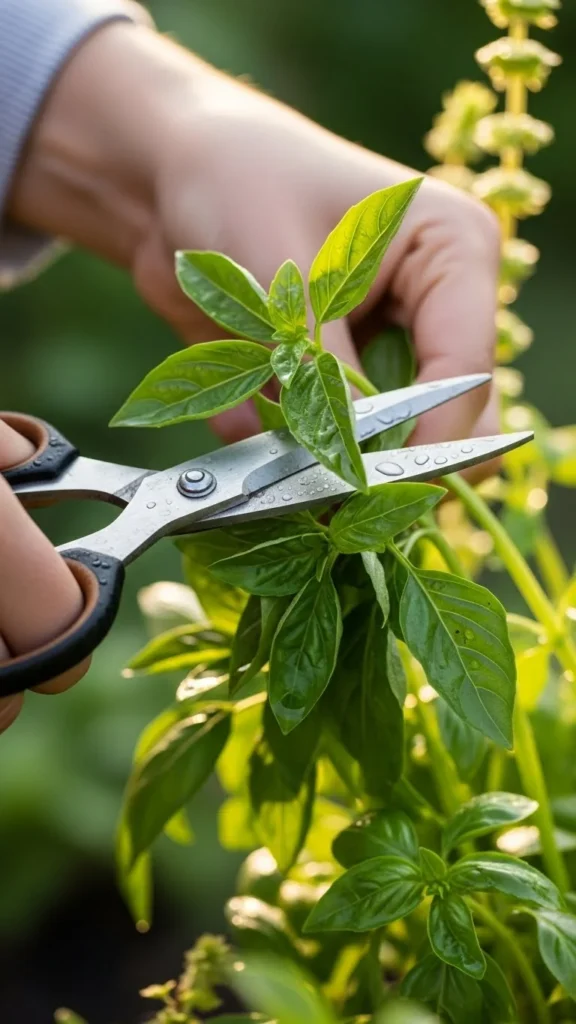
Harvest herbs in the morning after the dew has dried but before the sun gets too hot. This is when their oils are most concentrated. Avoid cutting during or after rainfall, as moisture can cause mold later. Use sharp scissors to snip stems cleanly, preventing bruising. Gather herbs before they bloom — flowers can make leaves bitter. If you’re drying woody herbs like rosemary or thyme, harvest smaller sprigs to help them dry faster.
2. Wash and Dry Gently
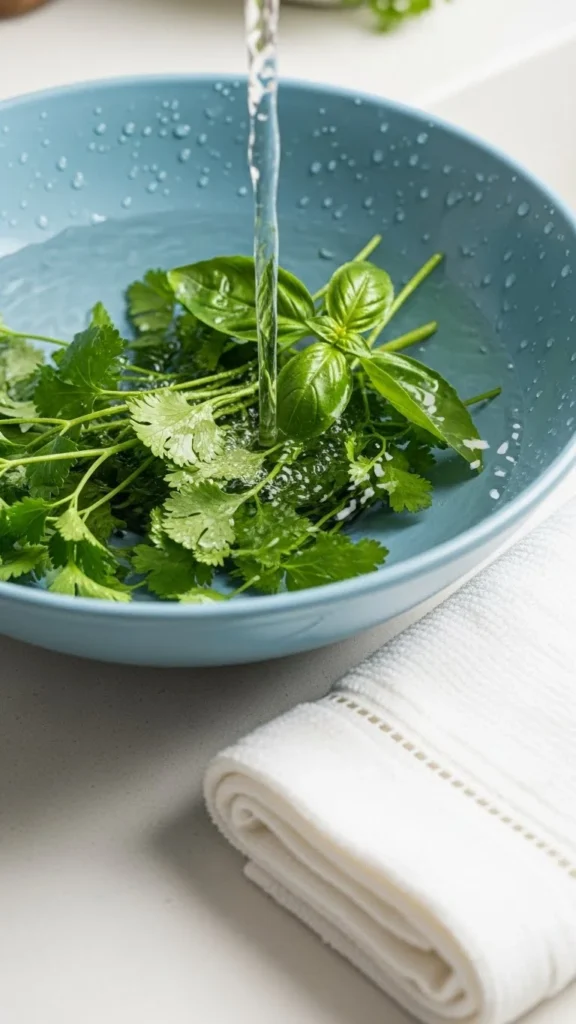
Always rinse herbs under cool, gentle water to remove dirt and bugs. Shake them lightly and lay them on a clean towel. Let them air dry completely before bundling or drying further. Excess water can cause mildew or discoloration. For delicate herbs like parsley or mint, you can pat them softly with paper towels. Never rub leaves — that releases oils prematurely.
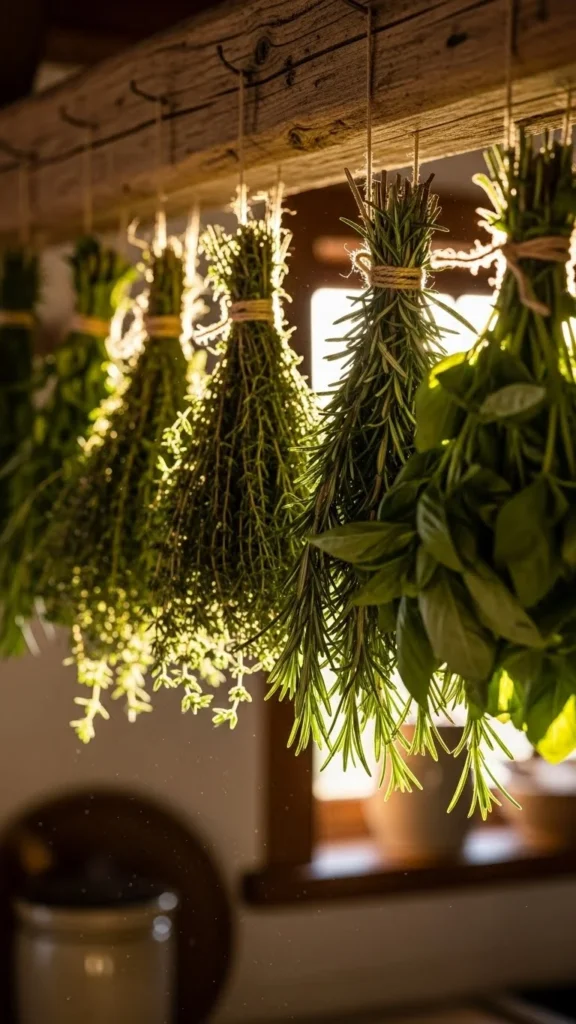
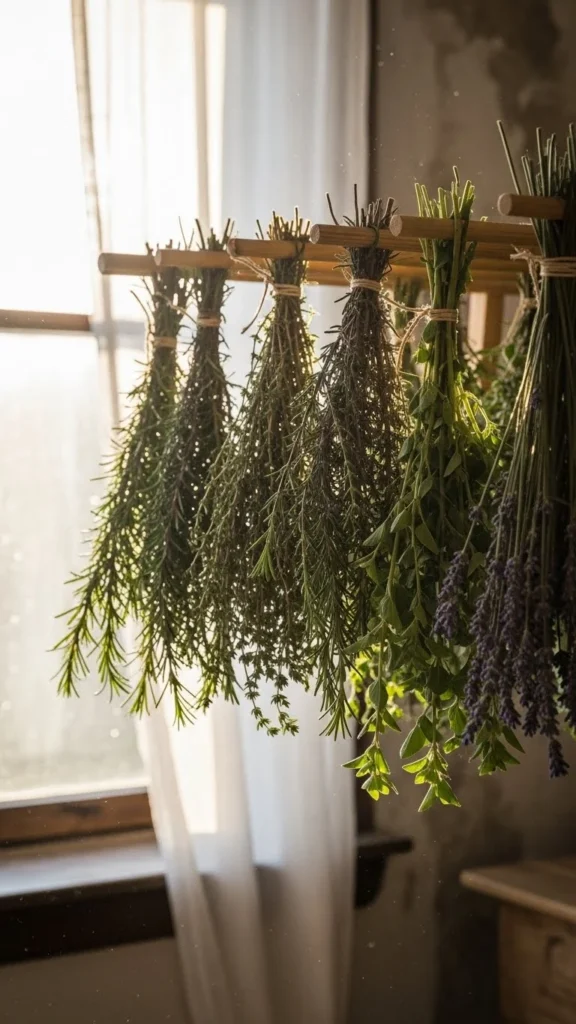
3. Air-Dry in Bundles
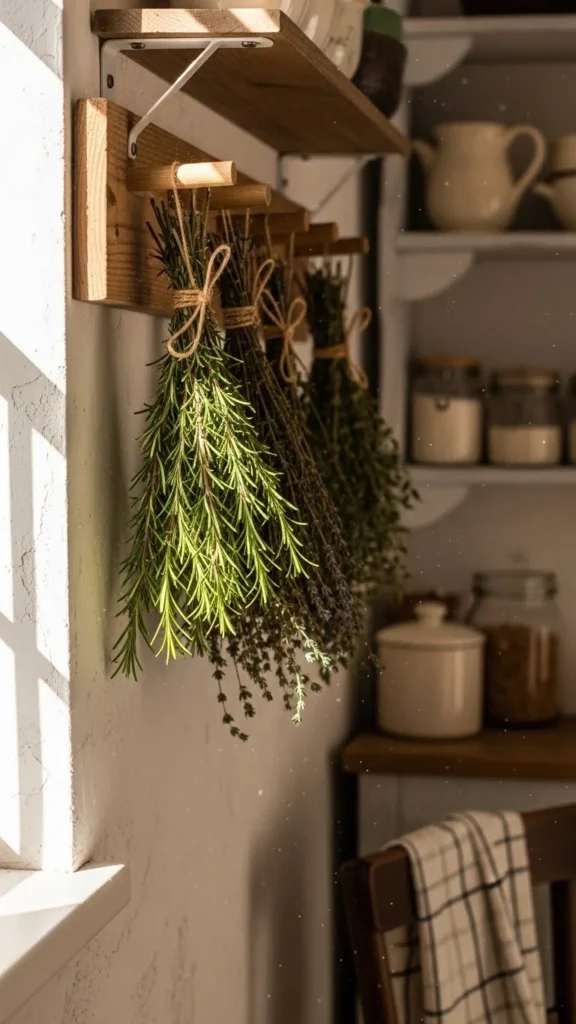
Tie herbs into small, loose bundles using twine or rubber bands. Hang them upside down in a warm, well-ventilated space away from direct sunlight. The ideal temperature is between 70°F and 90°F. Check bundles daily for moisture or mold. Once the leaves feel crisp, remove them from stems and store them in airtight containers.
4. Use Paper Bags for Protection
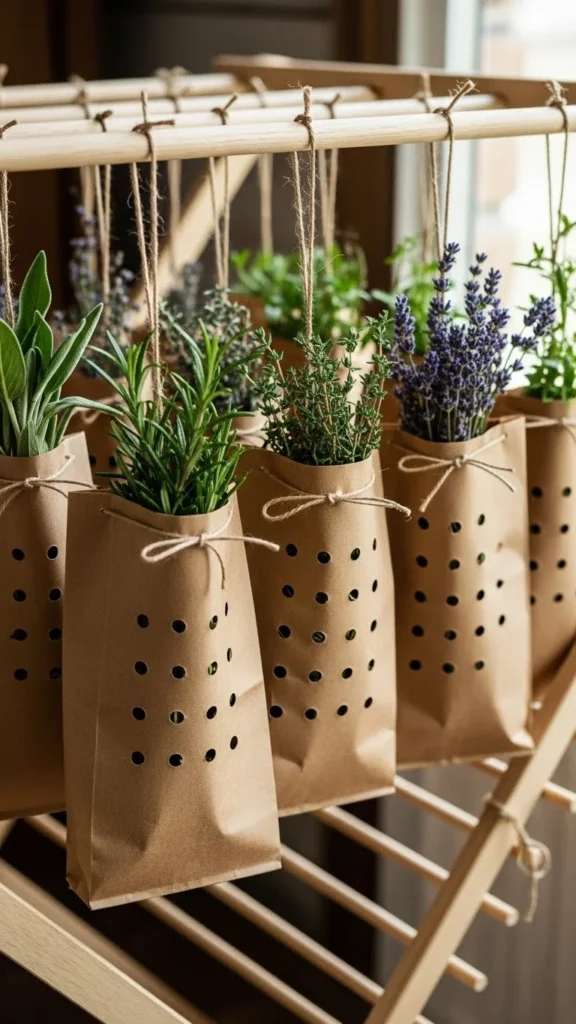
Slip a paper bag with holes over each herb bundle before hanging. It keeps dust off while allowing airflow. This trick also prevents fading from light exposure. Write the herb name on each bag to keep track. Replace any bag that feels damp, as moisture encourages mold growth.
5. Try a Dehydrator
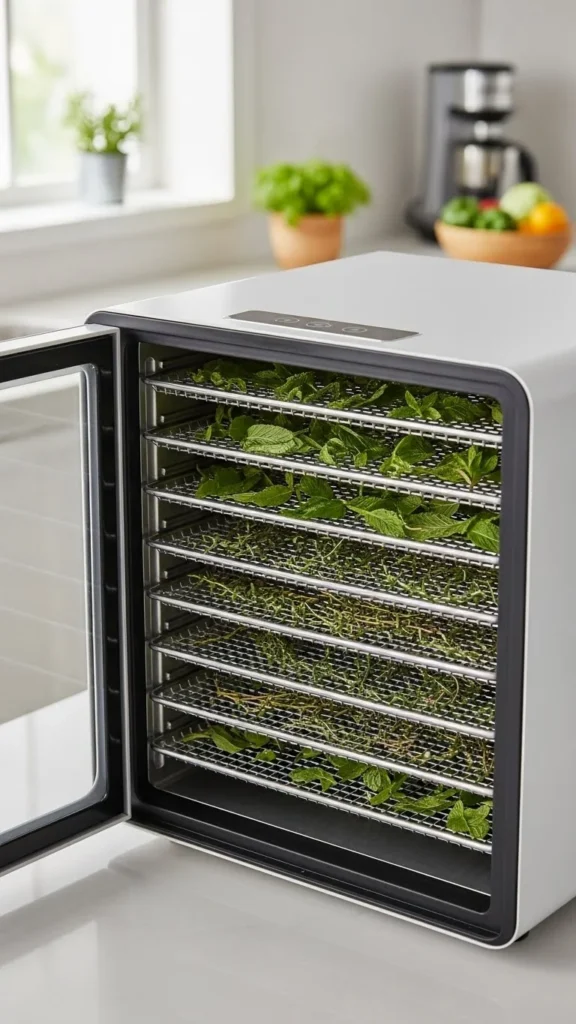
A food dehydrator offers fast, controlled drying. Spread herbs evenly on trays and set the temperature to 95–115°F. Check after a few hours — smaller leaves dry quicker than thick ones. Avoid over-drying, which can dull flavor. Dehydrators are great for humid climates where air drying takes too long.
6. Oven-Drying for Quick Results
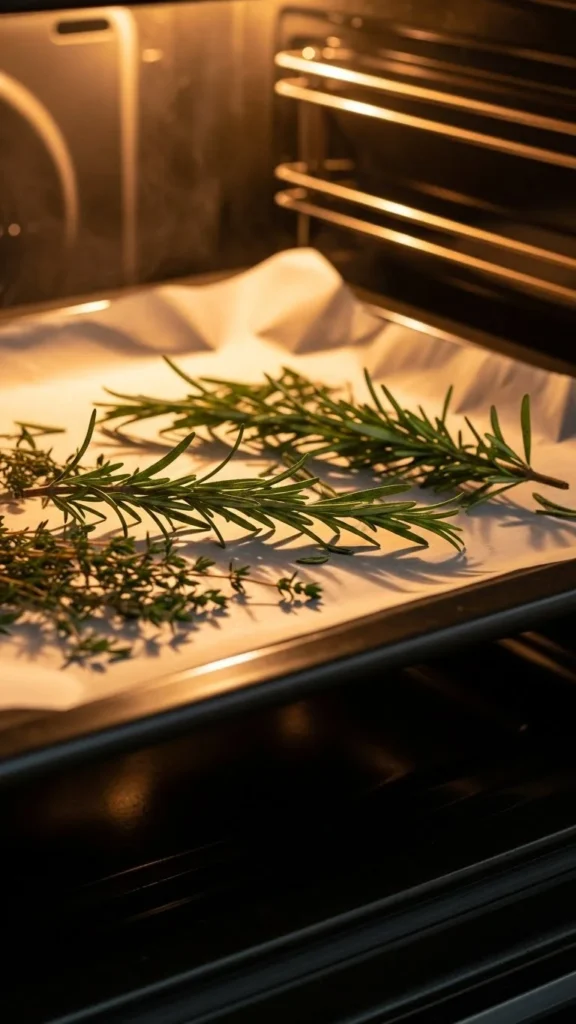
If you need herbs quickly, use your oven on the lowest setting (around 170°F). Place herbs on parchment-lined trays and keep the oven door slightly open for airflow. Stir every 15 minutes. Most herbs dry within an hour. Once done, let them cool before storing.
7. Microwave Method for Small Batches
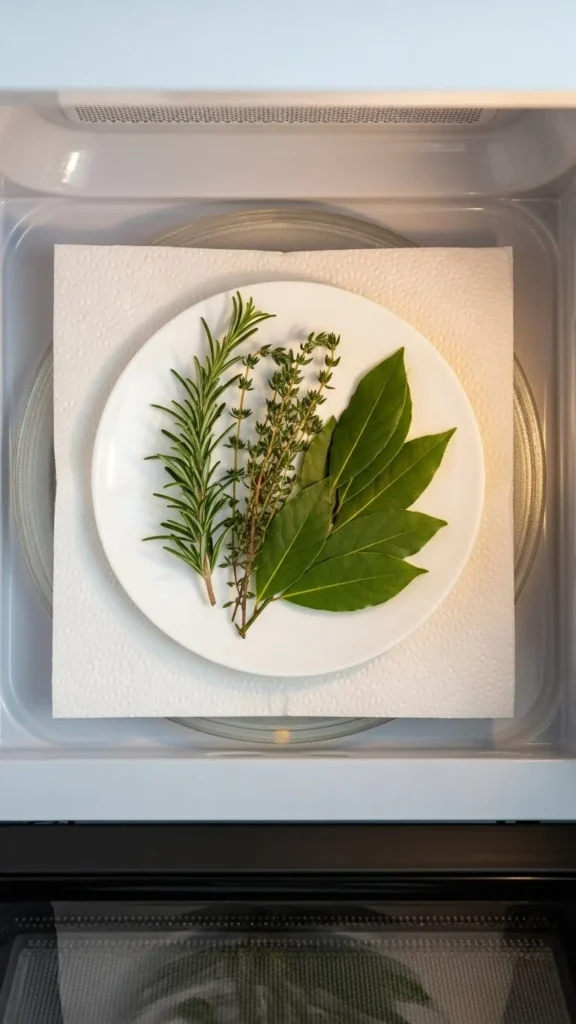
Microwaves work for tiny batches of herbs. Spread leaves on a paper towel and cover with another. Heat for 20–30 seconds at a time until dry. It’s fast but requires care — overdoing it can burn leaves. This method works best for mint, parsley, and oregano.
8. Use a Mesh Screen or Rack
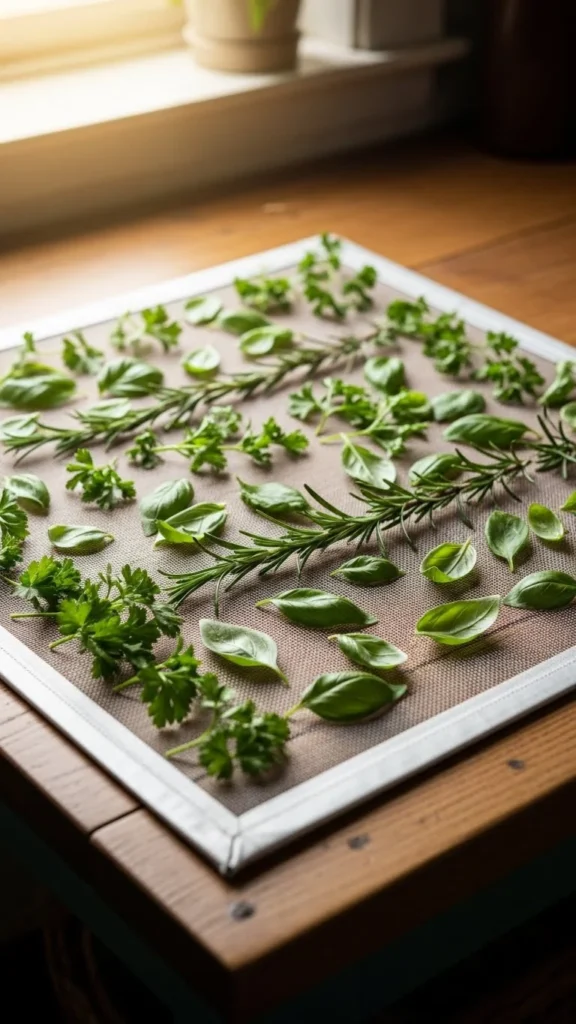
Lay herbs in a single layer on a mesh rack or window screen to let air circulate freely. Place the rack in a shaded area. Flip herbs occasionally to help them dry evenly. Mesh racks are ideal for leafy herbs like basil and sage.
9. Avoid Direct Sunlight
Sunlight fades color and flavor. Always dry herbs in indirect light or shade. A covered porch or indoor room works best. Direct heat breaks down oils, leaving dull-tasting herbs. Protect your harvest by keeping drying stations cool and shaded.
10. Keep Air Circulating
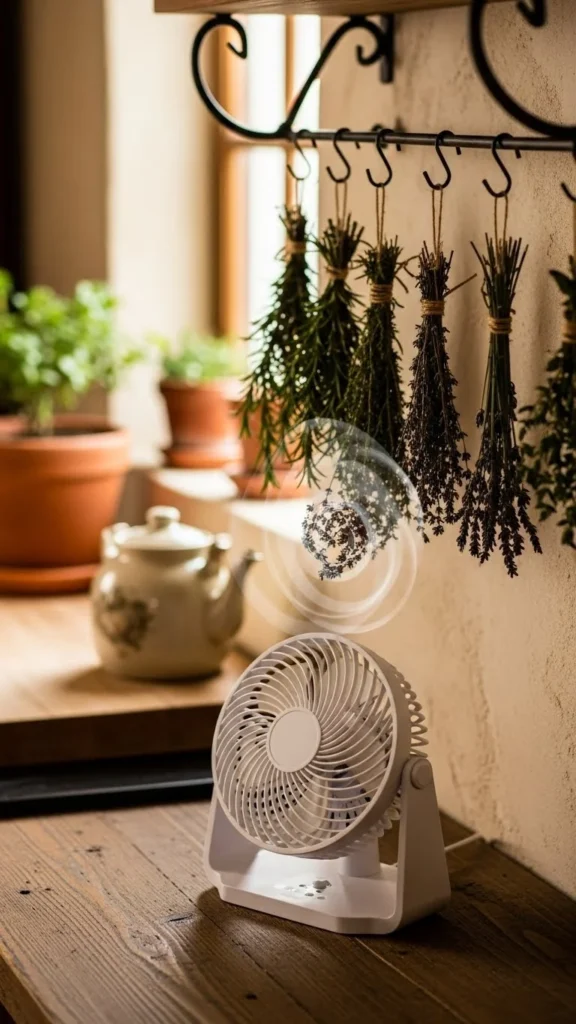
Good airflow prevents mold and speeds drying. Use a small fan on low speed to circulate air around your herbs. Point it near — not directly at — your drying setup. Avoid damp basements or tight cupboards. The goal is consistent airflow without drafts.
11. Use Silica Gel for Thick Herbs
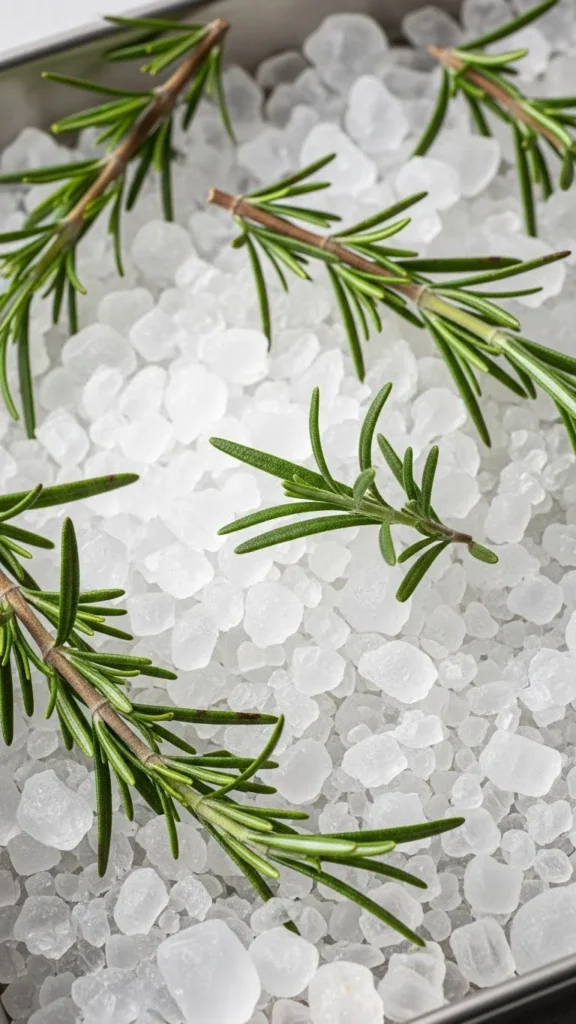
For thicker herbs like rosemary or sage, silica gel can dry them efficiently. Spread a thin layer in a tray, place herbs on top, and cover gently. Leave for 2–3 days. This keeps color vibrant and preserves structure — perfect for decorative or craft herbs.
12. Label Every Batch
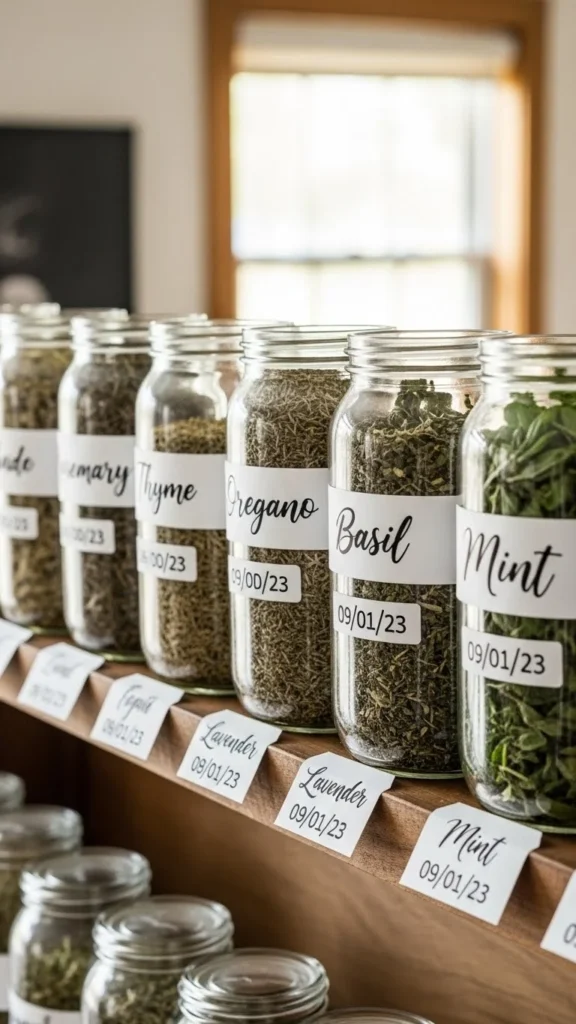
Label each jar or bag with the herb name and date. Dried herbs look similar once crumbled. Knowing when you dried them helps track freshness. Most dried herbs keep their best flavor for 6–12 months.
13. Store in Dark, Cool Places
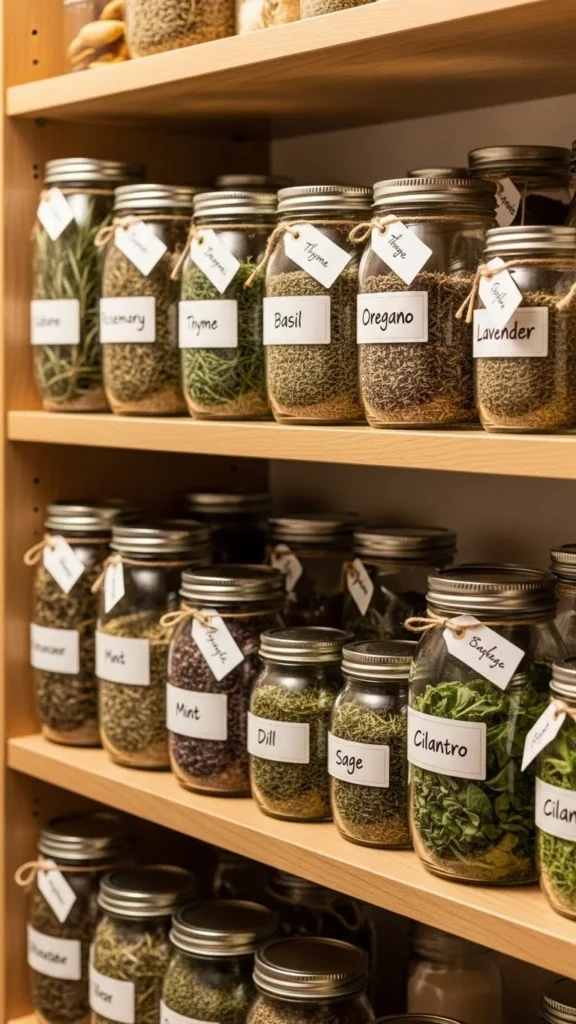
Once dry, store herbs in airtight glass jars away from heat, light, and humidity. Avoid keeping them near stoves or windows. Use small jars so you open them less often. The darker the space, the better the flavor lasts.
14. Crush Only When Needed
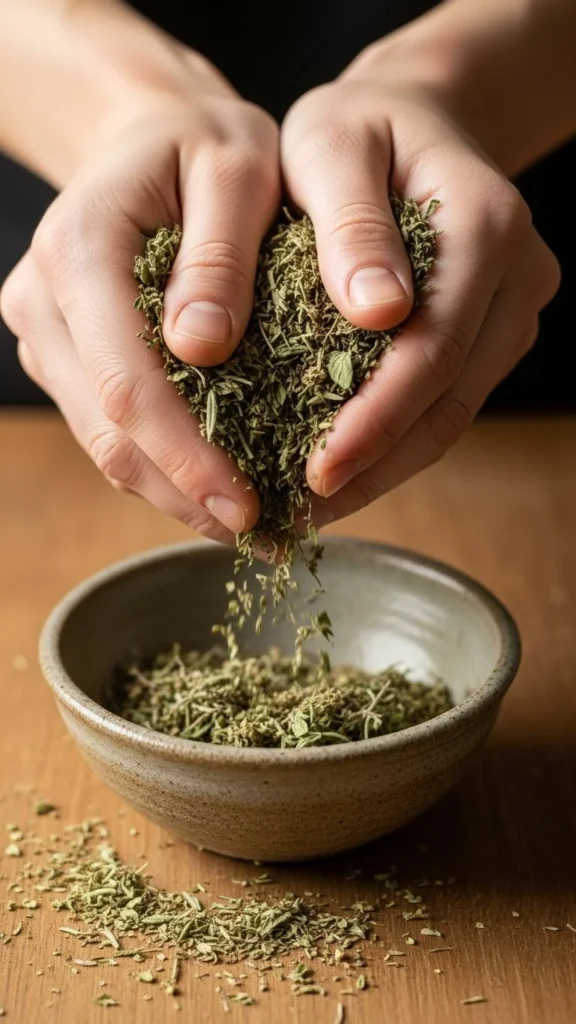
Keep herbs whole until you’re ready to use them. Crushing too early releases oils that fade over time. Store leaves whole, and grind or crumble right before cooking. This keeps your herbs aromatic and flavorful longer.
15. Reuse Glass Jars and Containers
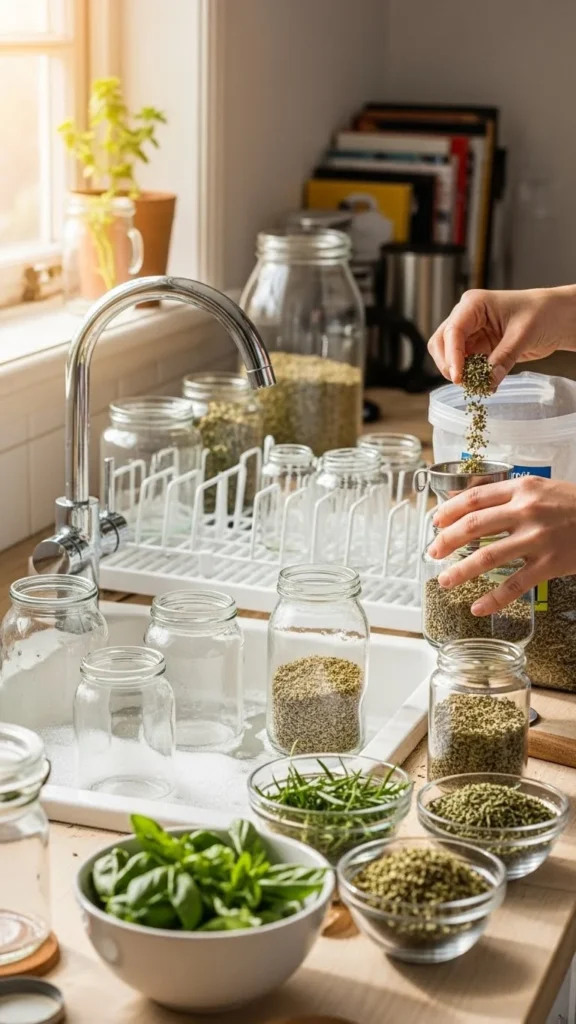
Don’t buy fancy containers — reuse old spice jars or baby food jars. Clean and dry them thoroughly first. A tight lid is all you need to keep herbs crisp and fresh. Label with painter’s tape for a budget-friendly touch.
16. Test for Dryness Before Storing
Before storing, make sure herbs crumble easily between your fingers. If they bend or feel soft, they’re not ready. Return them to your drying setup for another day. This simple check prevents mold and preserves flavor.
17. Mix and Match Herb Blends
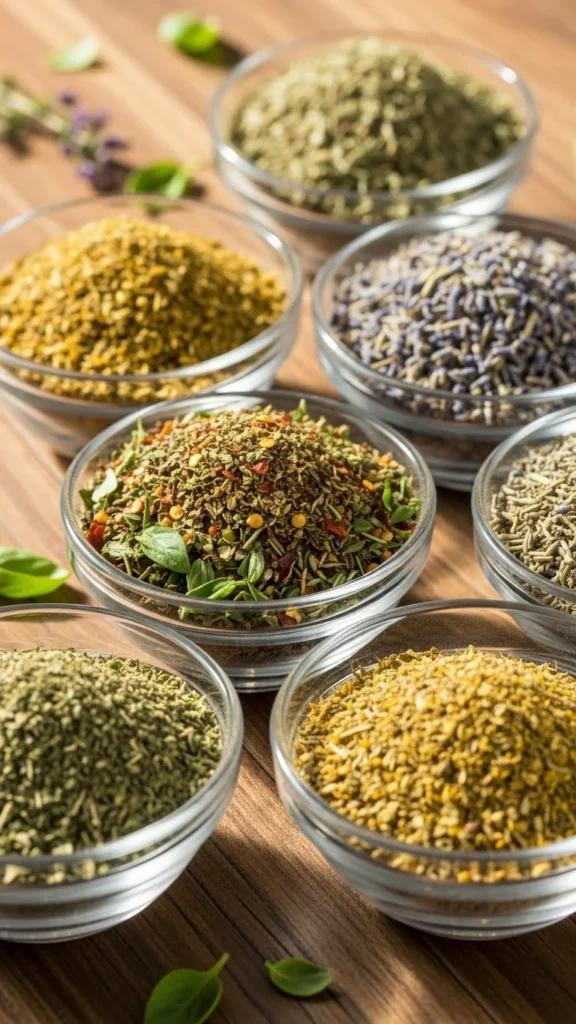
Once dry, you can create your own herb blends for cooking. Try combining oregano, thyme, and rosemary for Mediterranean dishes, or dill and parsley for fish. Store blends in labeled jars and experiment with small batches.
18. Keep Pests Away

To prevent insects from reaching your herbs, use fine mesh covers or paper bags. Avoid drying outdoors unless you can protect herbs with netting. If pests appear, discard affected leaves instead of risking contamination.
19. Refresh Old Dried Herbs
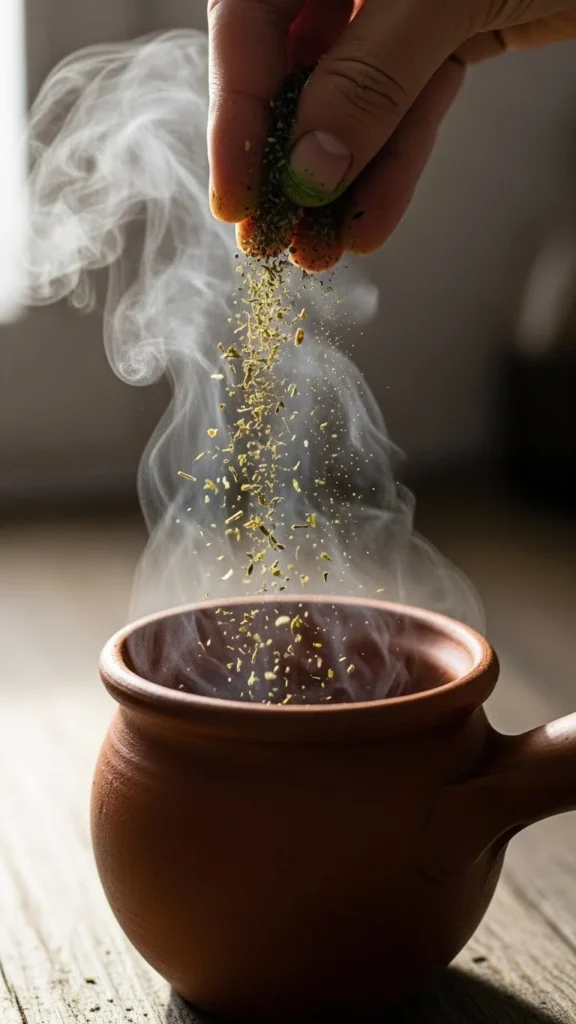
If your herbs lose aroma over time, you can revive them briefly by heating in a dry pan for 30 seconds before use. This reactivates some oils. It won’t restore lost flavor completely but helps release pleasant scents during cooking.
20.Keep a Drying Calendar
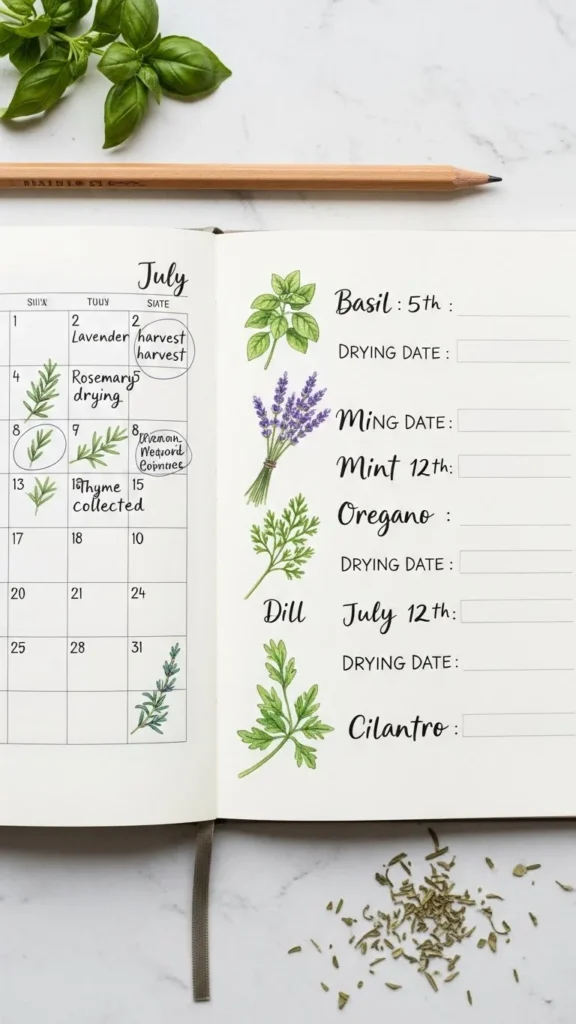
Track which herbs you dry and when. This helps plan future harvests and avoid waste. A simple notebook or wall calendar works fine. Record methods used too — you’ll quickly learn what drying approach fits each herb best.
Conclusion
Drying herbs at home is a rewarding way to preserve your garden’s hard work. With these simple techniques — from air-drying to oven methods — you can capture the natural aroma and taste of your herbs for months. Keep them labeled, dry, and stored in cool spaces, and you’ll enjoy your garden’s bounty even in the middle of winter.

Leave a Reply