
Your garden’s secret weapon might already be lying around your yard. Mulch isn’t just for making flower beds look neat—it’s a powerful way to retain moisture, suppress weeds, and enrich your soil naturally. Whether you’re a seasoned gardener or a weekend hobbyist, learning how to use mulch properly can make all the difference in your garden’s health and growth.
Why Mulching Matters
Mulching acts like a protective blanket for your soil. It keeps the ground cool in summer, warm in winter, and moist all year round. Beyond temperature control, mulch prevents weeds from stealing nutrients and helps stop soil erosion during heavy rains.
Here’s what mulch does for your garden:
- Conserves moisture: Less frequent watering.
- Improves soil fertility: Organic mulch breaks down over time and adds nutrients.
- Prevents compaction: Rain doesn’t harden the soil as much.
- Boosts appearance: It makes beds look neat and uniform.
Choosing the Right Mulch
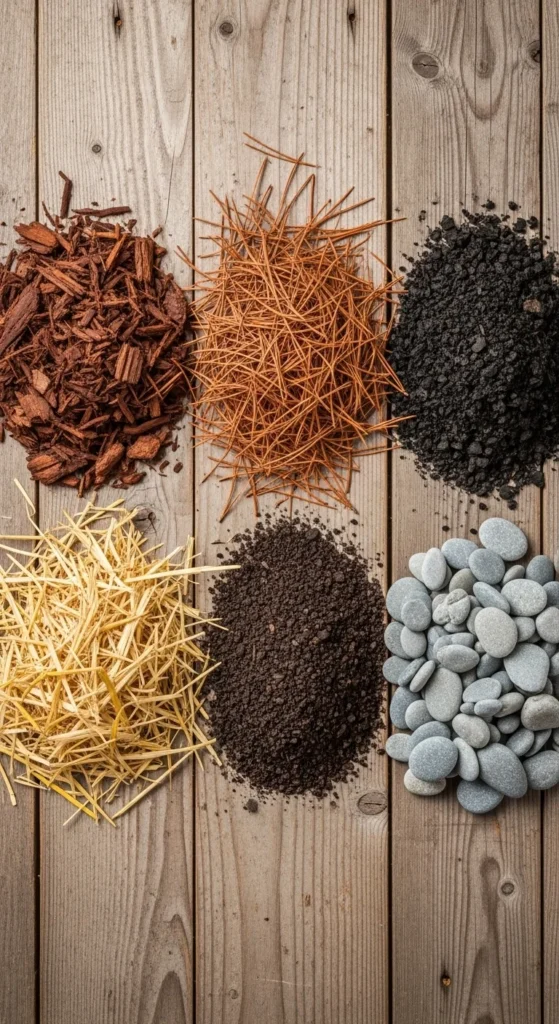
There are two main types: organic and inorganic. Each has its own perks depending on your garden goals.
Organic Mulch Made from natural materials like leaves, straw, or compost. It improves soil structure and adds nutrients as it decomposes.
Examples include:
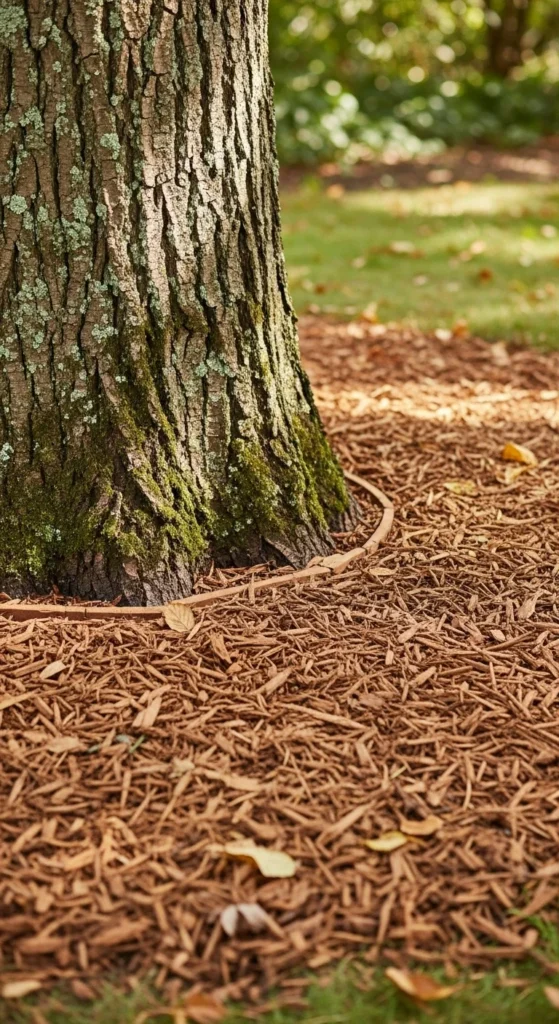
- Shredded bark or wood chips
- Grass clippings
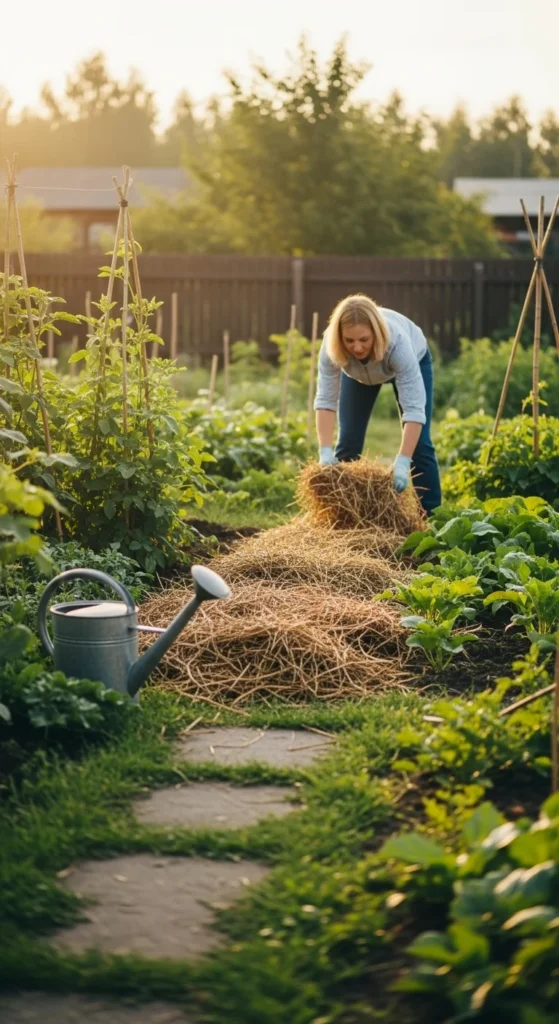
- Straw or hay
- Pine needles
- Compost or leaf mold
Inorganic Mulch
These materials don’t decompose, making them great for long-term coverage.
Examples include:
- Gravel or river rocks
- Rubber mulch
- Landscape fabric
Use organic mulch for vegetable and flower gardens to boost soil health, and inorganic mulch for decorative areas or around shrubs where nutrients aren’t a big concern.
How to Apply Mulch Like a Pro
Proper application is key. Too much mulch can suffocate your plants, while too little won’t provide enough protection.
Step 1: Prepare the Soil
- Remove weeds and old mulch.
- Loosen the top few inches of soil with a rake.
- Water the area well before applying new mulch.
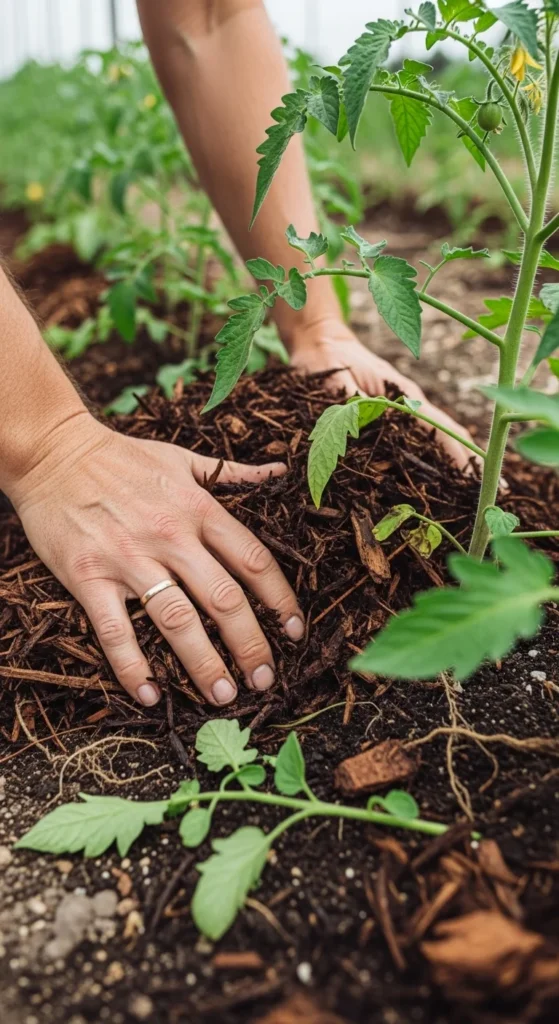
Step 2: Spread Evenly
- Apply a 2–3 inch layer of mulch around plants.
- Keep mulch 2 inches away from plant stems or tree trunks to prevent rot.
- For walkways or ornamental beds, go up to 4 inches deep.
Step 3: Maintain It
- Check your mulch every few weeks.
- Replenish or turn it over as it decomposes.
- Replace old mulch at least once a year for fresh nutrients.
Best Times to Mulch
Timing is everything! Applying mulch at the right time keeps your plants thriving throughout the year.
- Spring: Lock in moisture and prevent weeds before the hot weather hits.
- Summer: Keep soil cool and hydrated.
- Fall: Protect roots from upcoming frost.
- Winter: Insulate perennials and bulbs from extreme cold.
If you live in a rainy area, wait until after a heavy rain so the soil is moist but not soggy before applying mulch.
Common Mulching Mistakes to Avoid
Even something as simple as mulch can go wrong if not used correctly. Watch out for these common pitfalls:
- Piling mulch against stems or trunks: This traps moisture and invites rot.
- Using fresh wood chips: They can steal nitrogen from your soil as they break down.
- Too thick a layer: Roots need air—don’t suffocate them!
- Ignoring replenishment: Mulch breaks down, so refresh it yearly.
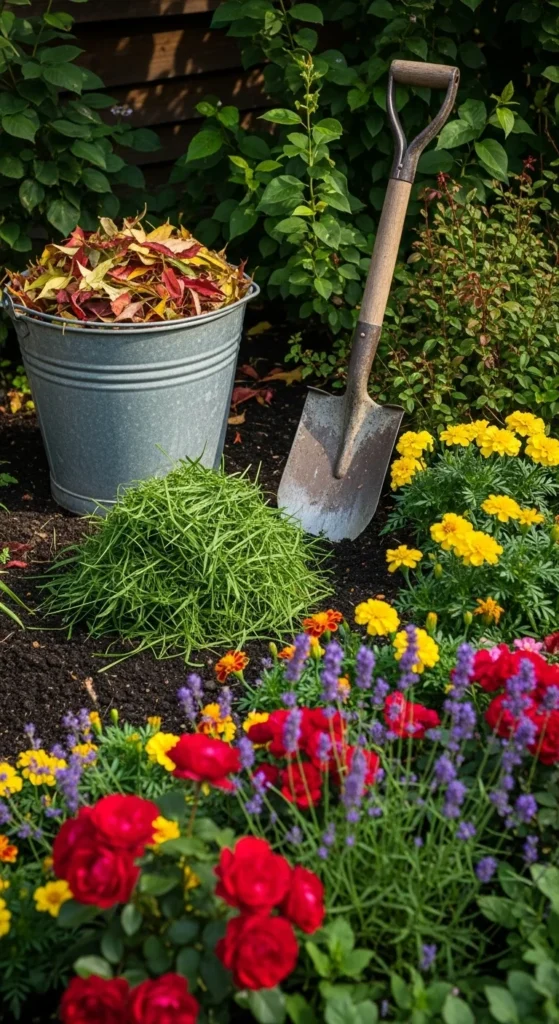
DIY Mulch Ideas from Your Yard
You don’t always need to buy mulch—your garden might already have what you need!
- Grass clippings: Great for vegetable beds; just let them dry before use.
- Fallen leaves: Shred them for an easy, nutrient-rich layer.
- Compost: Perfect for boosting soil fertility while protecting plants.
- Pine needles: Ideal for acid-loving plants like blueberries and azaleas.
Mixing different types can give you both aesthetic appeal and functional benefits—for example, a layer of compost under decorative bark.
Final Thoughts: Mulch for a Healthier, Happier Garden
Mulching is one of those simple habits that pays off in a big way. It keeps your soil healthy, your plants happy, and your garden looking effortlessly polished. Whether you’re using store-bought bark or homemade compost, the key is consistency and care.
So grab your rake, pick your favorite mulch, and give your garden the nourishment it deserves.
Save this guide for later—and watch your garden thrive season after season!

Leave a Reply