
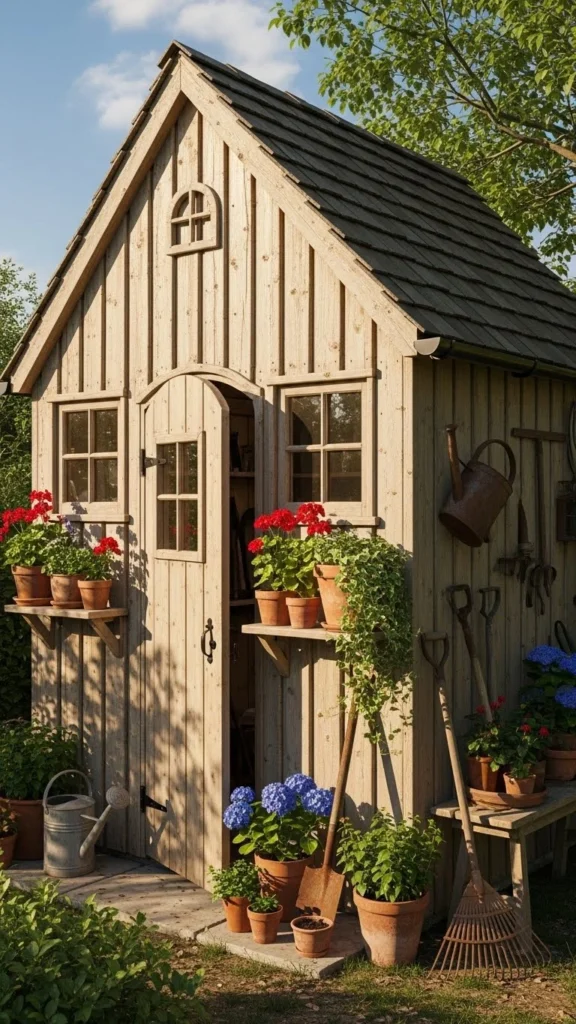
If your gardening tools are scattered across the garage or cluttering your porch, it’s time to build a space that keeps everything tidy and within reach. A garden shed doesn’t just organize your tools—it adds charm and function to your outdoor space. Whether you’re a weekend gardener or a DIY enthusiast, creating your own shed is simpler than you might think!
Choose the Right Location
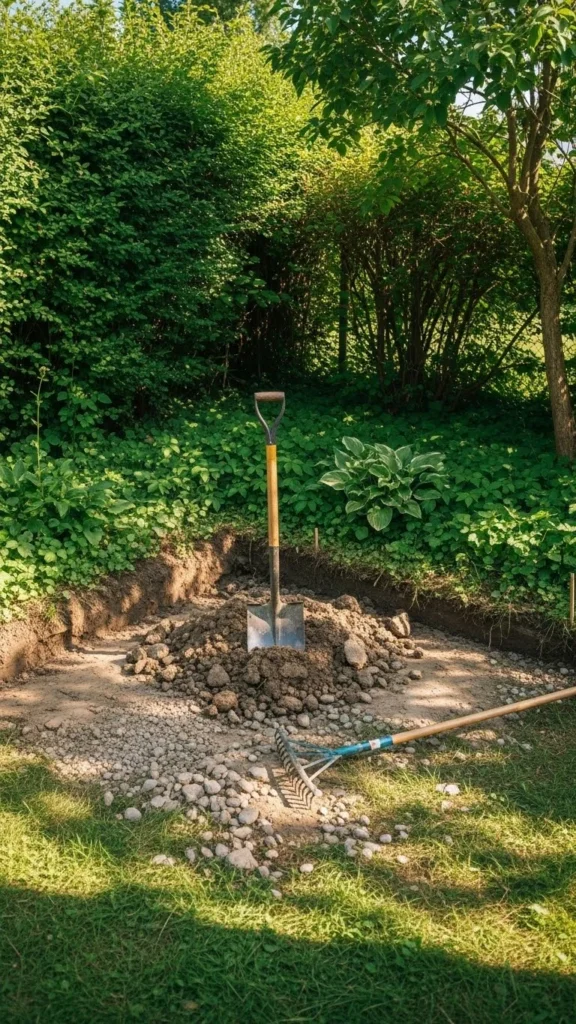
Before you start hammering, pick the perfect spot. The right location makes your shed more useful and helps it last longer.
Things to consider:
- Accessibility: You’ll want your shed close to your garden beds or lawn for easy access.
- Sunlight & Shade: Avoid placing it under large trees that drop branches or leaves.
- Ground Level: Choose a flat, well-drained area to prevent moisture damage.
Tip: Stand in your yard and imagine where you’ll walk with your wheelbarrow or hose. That simple visualization can save you from headaches later.
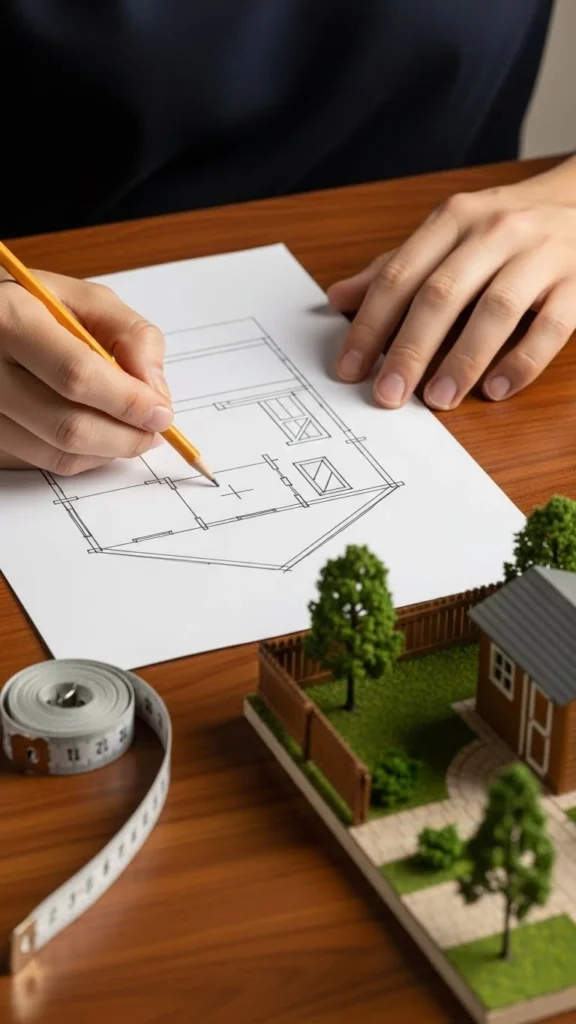
Plan Your Shed Design
The design phase sets the tone for how your shed will look and function. Think about both aesthetics and practicality.
Ask yourself:
- How much storage do I need?
- Will it be purely functional or also decorative?
- Do I want windows for natural light?
You can use free shed plans online or sketch your own. A small shed (6×8 feet) fits most garden needs, but go bigger if you plan to store a lawnmower or potting bench. Consider using durable materials like pressure-treated wood or metal panels for longevity.
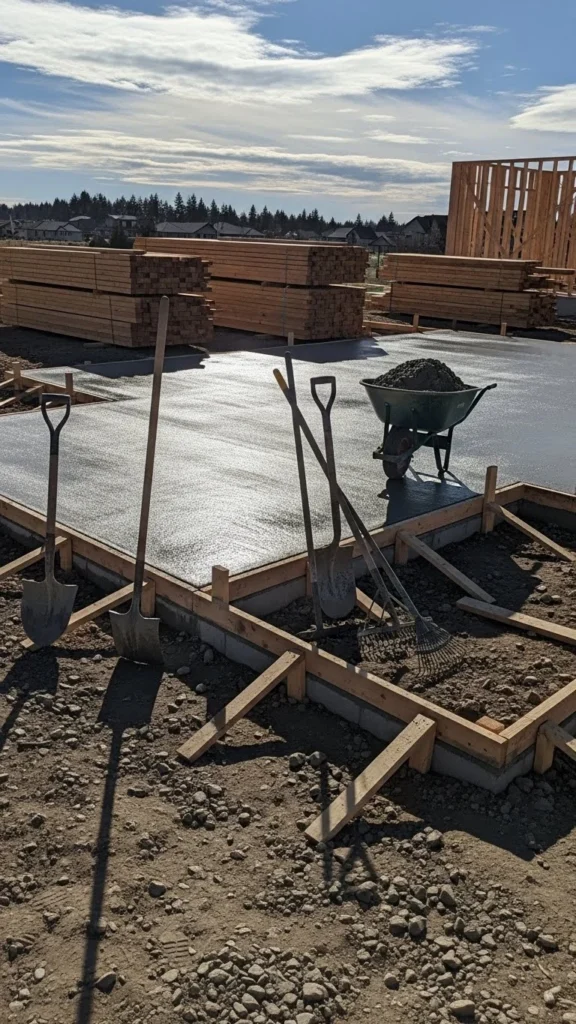
Lay a Strong Foundation
Your shed is only as sturdy as its base. A solid foundation prevents shifting, water damage, and structural issues over time.
Popular foundation types:
- Gravel base: Affordable and good for drainage.
- Concrete slab: Ideal for heavy sheds and long-term use.
- Wood frame on concrete blocks: Perfect for smaller DIY projects.
Make sure your base is level—this step determines how smoothly everything else will go.
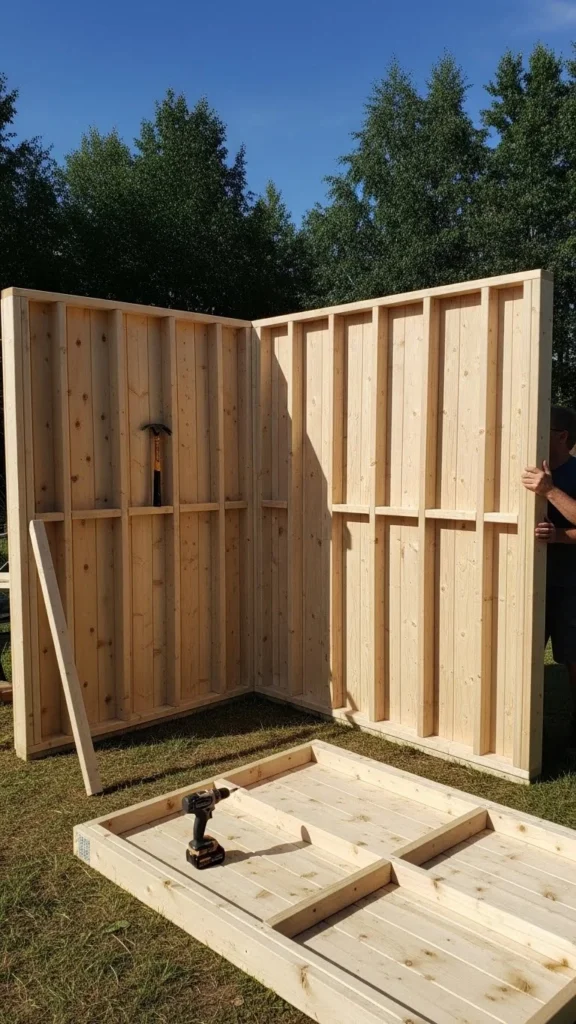
Build the Frame and Walls
Now comes the fun part—building the frame! This stage makes your project come to life.
Step-by-step overview:
- Assemble the floor frame with pressure-treated wood.
- Add wall frames and ensure they’re square before securing them.
- Attach exterior panels or siding. Plywood, cedar, or metal sheets all work well.
- Cut out spaces for windows and doors.
Don’t rush—measure twice, cut once. Once the frame stands solidly, your shed will start to resemble a real structure.
Add the Roof and Finishing Touches
A strong, leak-proof roof is essential. Choose between asphalt shingles, metal panels, or corrugated plastic roofing depending on your style and budget.
Pro Tips:
- Install a slight slope for water runoff.
- Add insulation if you’ll store temperature-sensitive items.
- Include vents or small windows for airflow.
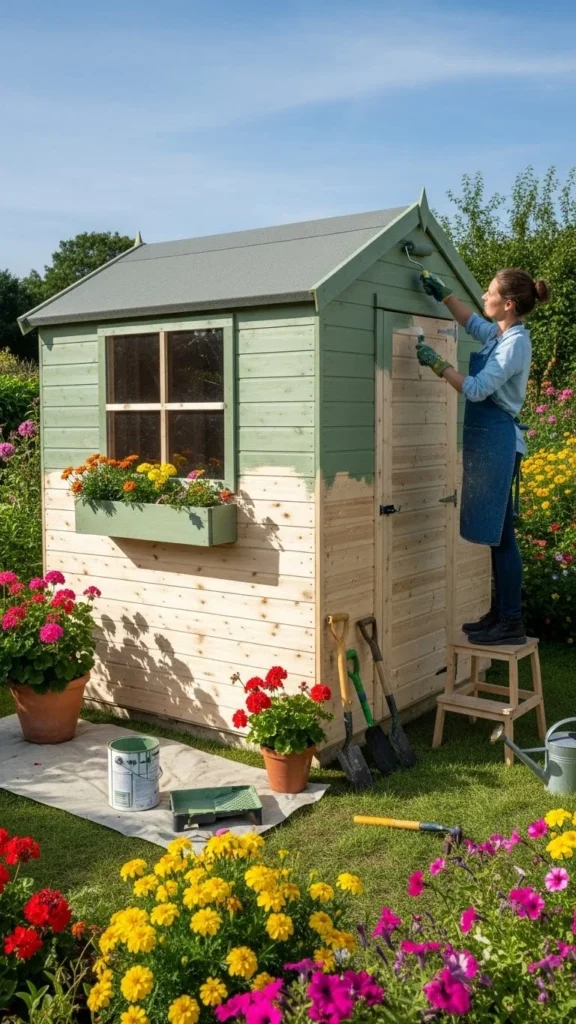
After the roof, you can paint or stain your shed to match your garden’s vibe. Soft sage green, rustic brown, or crisp white all make timeless choices.
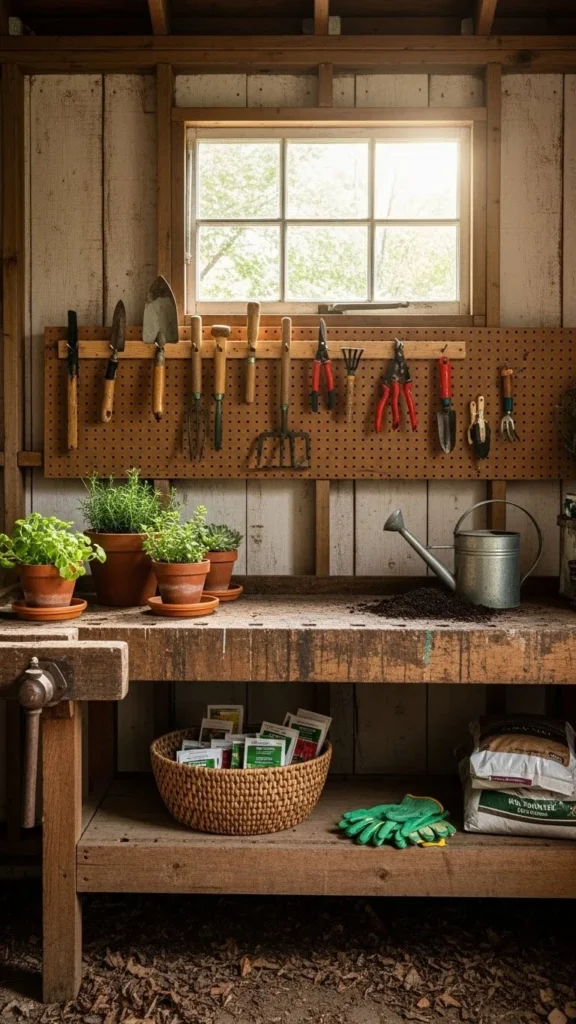
Organize the Interior
Now that the shed is complete, make it functional! A well-organized shed saves you time and stress every time you garden.
Ideas for efficient storage:
- Hang tools on pegboards or hooks.
- Add shelves for pots, soil bags, and small equipment.
- Keep labels on containers for easy sorting.
- Use baskets or bins for gloves, seeds, and twine.
You can even dedicate a small corner for a mini potting station—a surface to repot plants and mix soil without the mess.
Final Touches and Decor
Turn your practical shed into a charming backyard feature with a few decorative touches.
- Add window boxes filled with colorful flowers.
- Hang a wreath or rustic sign on the door.
- Use solar lights to illuminate it at night.
- Lay stepping stones leading up to the entrance.
These small details turn a simple storage unit into a picture-perfect focal point of your garden.
Conclusion
Building your own garden shed is one of the most rewarding DIY projects you can take on. It gives your tools a proper home, adds beauty to your outdoor space, and brings a sense of accomplishment every time you walk into it.
Start small, plan carefully, and enjoy the process—your future self (and your garden) will thank you.
Save this guide for later and make your dream shed a reality this season!

Leave a Reply