
Winter doesn’t have to mean a dull, lifeless garden. With the right evergreen border, your yard can stay structured, cozy, and beautifully green all season long—even when everything else goes quiet. Evergreen borders are one of those garden upgrades that look impressive but are surprisingly beginner-friendly once you know the steps.

Let’s walk through how to start a winter evergreen border that looks intentional, balanced, and easy to maintain.
Why a Winter Evergreen Border Is Worth It
Evergreen borders do more than just stay green in winter. They:
- Frame your garden and pathways year-round
- Provide privacy even when other plants fade
- Add texture, color, and structure to snowy landscapes
- Make spring and summer gardens feel more polished
Think of them as the backbone of your garden design—everything else builds around them.
Step 1: Choose the Right Location
Before buying plants, decide where your evergreen border will live. The location determines which plants will thrive.
Consider these basics:
- Sun exposure: Full sun, partial shade, or shade
- Soil drainage: Evergreens dislike soggy roots
- Visibility: Borders along fences, walkways, or driveways work beautifully
Walk your yard in winter if possible. Notice where snow lingers, wind hits hardest, and sunlight breaks through.

Step 2: Pick Evergreens That Shine in Winter
Not all evergreens look the same once temperatures drop. Choose a mix that adds interest beyond basic green.
Great beginner-friendly options include:
- Compact boxwood for clean structure
- Dwarf spruce or pine for texture
- Holly for glossy leaves and seasonal color
- Juniper for soft, spreading ground coverage
Mix shapes and heights:
- Tall shrubs in the back
- Medium shrubs in the middle
- Low-growing evergreens along the edge
This layered look keeps the border from feeling flat.
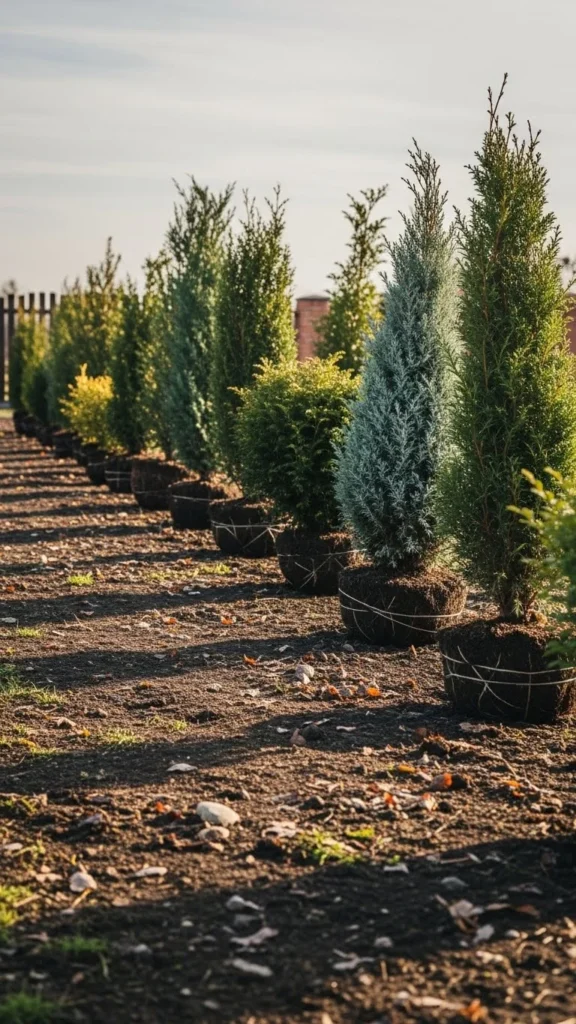
Step 3: Plan Spacing Before Planting
Crowding is one of the most common evergreen mistakes. Shrubs may look small at planting time, but they grow.
Spacing tips:
- Check mature width on plant labels
- Leave airflow between plants
- Avoid planting too close to fences or walls
Lay out pots on the ground before digging. Step back and adjust until it feels balanced and natural.
[Image Prompt] Unplanted evergreen shrubs arranged on soil in a garden border layout, visible spacing between plants, winter light, realistic outdoor photography, no text on image.
Step 4: Prepare the Soil for Cold Success
Healthy roots are the secret to winter survival. Spend time on soil prep—it makes a huge difference.
Do this before planting:
- Loosen soil at least 12 inches deep
- Mix in compost for nutrients
- Remove rocks and compacted clumps
If your soil drains poorly, slightly raise the planting area to prevent root stress during winter moisture.
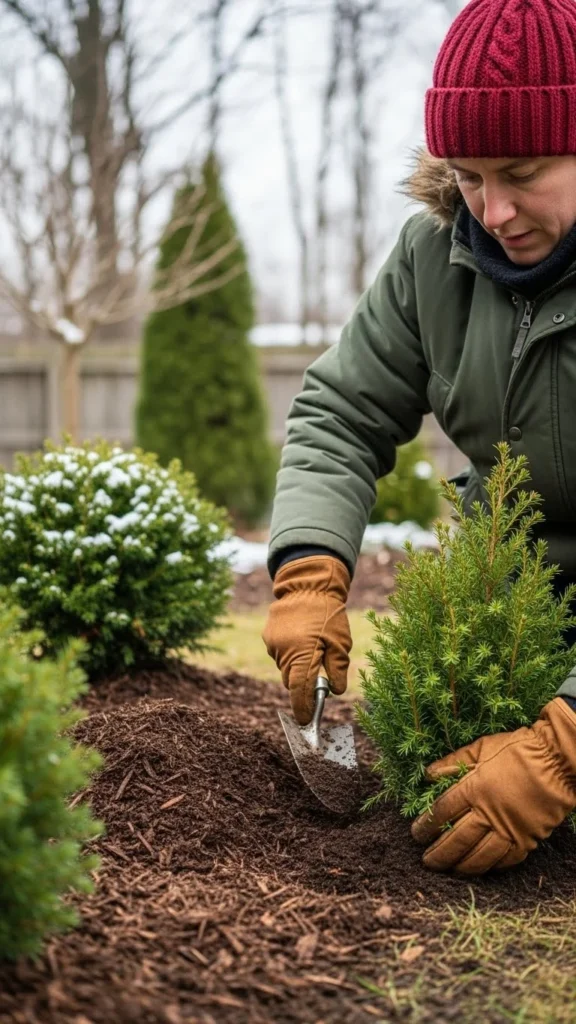
Step 5: Plant With Care and Confidence
When planting evergreens:
- Dig holes twice as wide as the root ball
- Keep the top of the root ball level with soil
- Backfill gently and water deeply
Add a thick layer of mulch around each plant. Mulch insulates roots and keeps moisture consistent during freezing temperatures.
Step 6: Add Finishing Touches for Visual Warmth
Once planted, enhance the border so it feels welcoming—not rigid.
Easy upgrades:
- Natural stone edging
- Wooden garden stakes for subtle structure
- Soft landscape lighting for winter evenings
These small details help your evergreen border feel designed, not just planted.
Step 7: Simple Winter Care Tips
Evergreens are low-maintenance, but a little care keeps them looking great.
Winter care basics:
- Water during dry winter spells
- Brush off heavy snow gently
- Avoid pruning until spring
The goal is protection, not perfection.
Final Thoughts: Build Once, Enjoy Every Winter
Starting a winter evergreen border is one of the smartest garden decisions you can make. It adds instant structure, lasting beauty, and year-round appeal—without constant upkeep.
Take it step by step, choose plants wisely, and let your border grow into its role over time.
Save this guide for later and start planning your evergreen border today

Leave a Reply