

Spring fertilizing sets the tone for how your garden performs all season. When plants wake up, they rely on steady nutrition to form roots, stems, and leaves that hold up through heat and rain. The goal is not excess feeding, but smart timing and simple choices that match real gardens and real budgets. These tips focus on practical actions you can handle with basic tools, common materials, and a little observation. Whether you grow vegetables, flowers, or shrubs, each idea helps you feed plants in a way that supports steady, reliable growth without waste.
1. Start With a Simple Soil Check
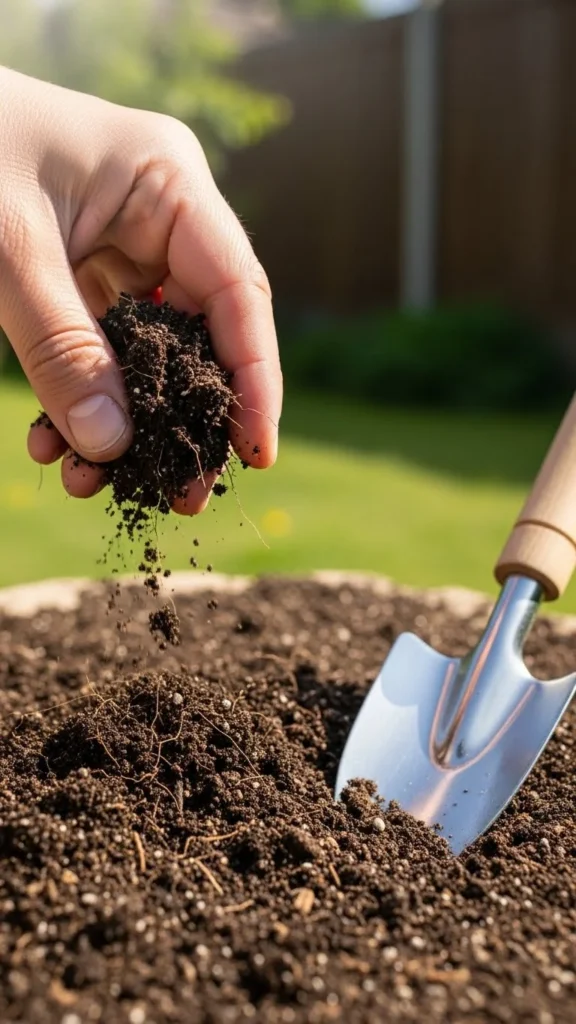
Before adding anything, look closely at your soil. Squeeze a small handful. If it clumps hard, it may hold too much moisture. If it falls apart like dust, it lacks organic matter. This quick check costs nothing and guides your choices.
You do not need lab kits for most home gardens. Plant color and growth rate offer clues. Pale leaves often signal low nutrients. Slow growth points to tired soil.
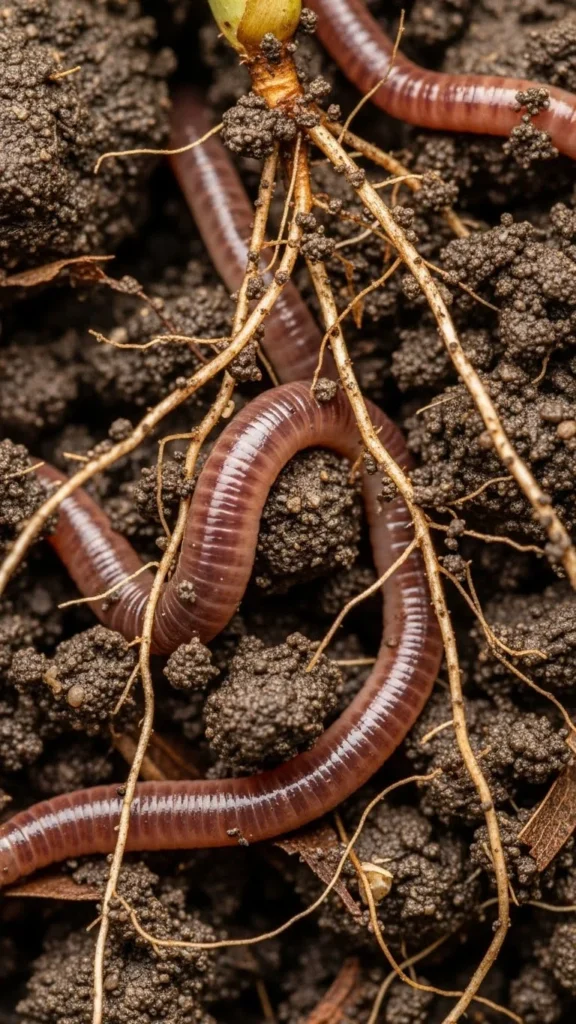
Use compost as a starting point. It feeds soil life and improves texture. Spread a thin layer and mix it into the top few inches.
For containers, refresh old potting mix with a scoop of compost or worm castings. This small step stretches store-bought soil longer.
Keep notes. Write down what you add and where. Over time, patterns appear. That knowledge saves money and prevents overfeeding later in the season.
2. Feed After the Soil Warms

Cold soil slows nutrient use. Adding fertilizer too early often goes unused. Wait until soil feels slightly warm to the touch.
A simple soil thermometer helps, but your hands work too. If the ground no longer feels icy in the morning, roots are active.
This timing helps plants take in nutrients rather than letting them wash away. It also reduces repeat applications.
Use this waiting period to prep beds. Pull weeds and loosen soil so nutrients spread evenly later.
Patience here saves effort. One well-timed feeding often replaces several early attempts that did little.
3. Use Compost as a Base Layer
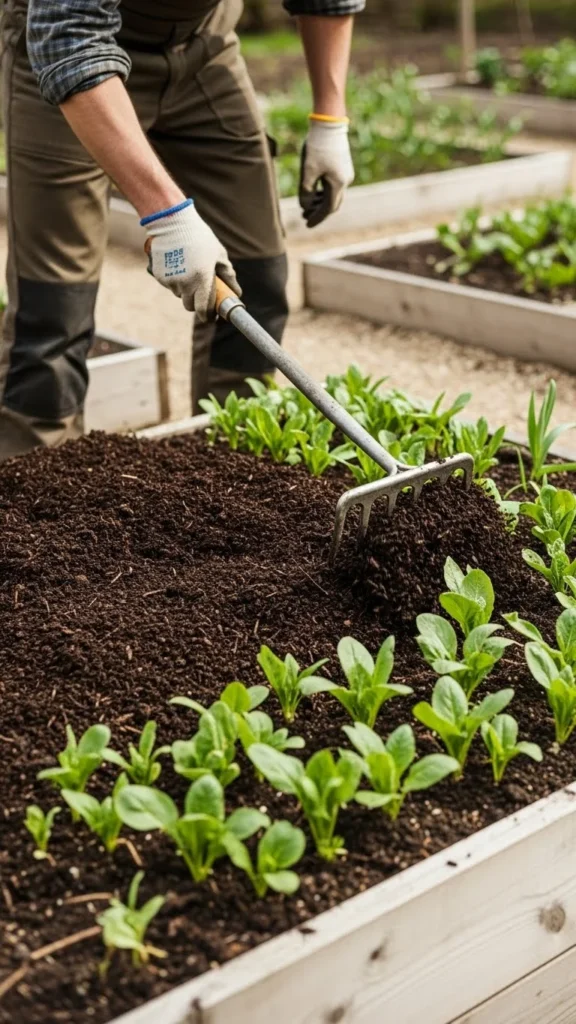
Compost works with almost every plant. It adds gentle nutrition and improves soil structure.
Apply one to two inches across beds. For tight budgets, focus on root zones rather than full coverage.
You can make compost at home from kitchen scraps and yard waste. Even small bins add value over time.
Compost also reduces the need for extra products. Many gardens perform well with compost alone in spring.
This approach keeps feeding simple and steady without guesswork.
4. Match Fertilizer to Plant Type
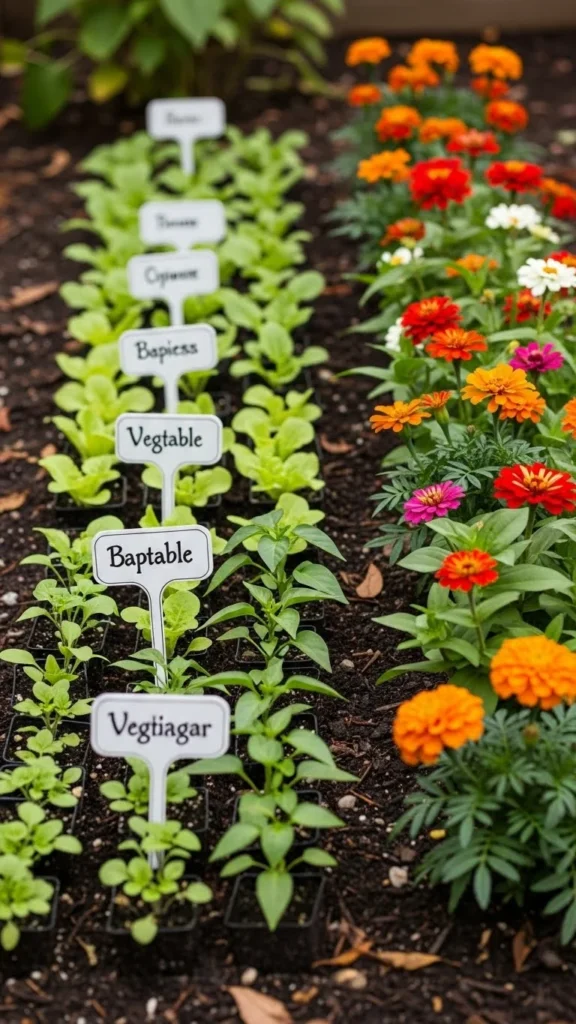
Vegetables and flowers often want different feeding patterns. Leafy greens prefer nitrogen early. Blooming plants need balanced nutrition.
Read plant tags or seed packets. They usually list feeding habits in plain language.
If you grow mixed beds, use compost broadly and targeted feeding where needed.
This avoids spending on multiple products while still supporting each plant.
5. Dilute Liquid Feeds
Liquid feeds act quickly. Diluting them reduces risk and stretches each bottle.
Half-strength mixes often work well for young plants.
Apply to damp soil so roots absorb nutrients smoothly.
This method gives control and prevents leaf damage.
6. Feed the Soil, Not Just the Plantext
Healthy soil life helps deliver nutrients. Compost, leaf mold, and mulch support this system.
Avoid relying only on fast feeds. Combine them with organic matter.
This builds long-term soil health without added cost.
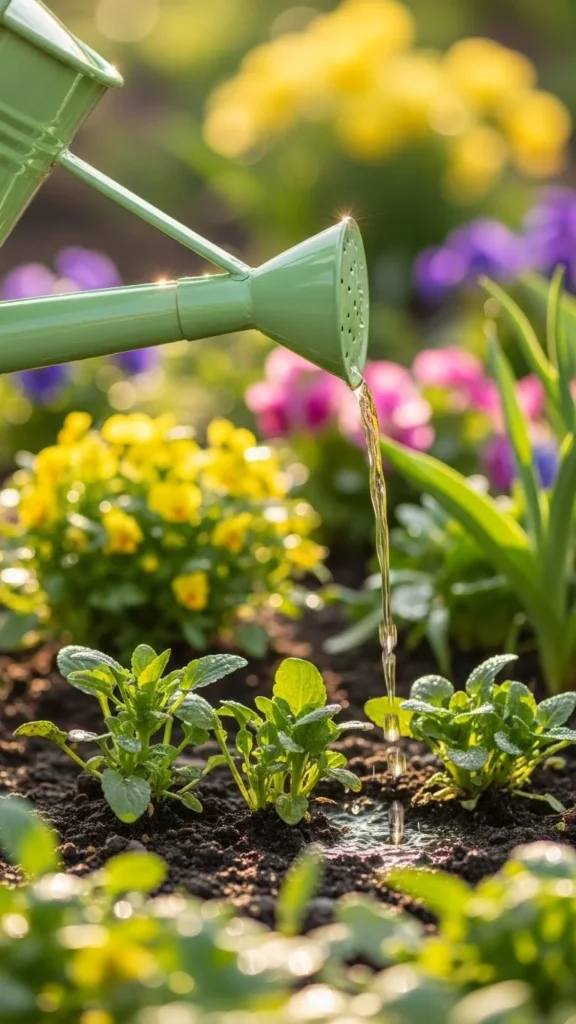
7. Time Feeding After Rain
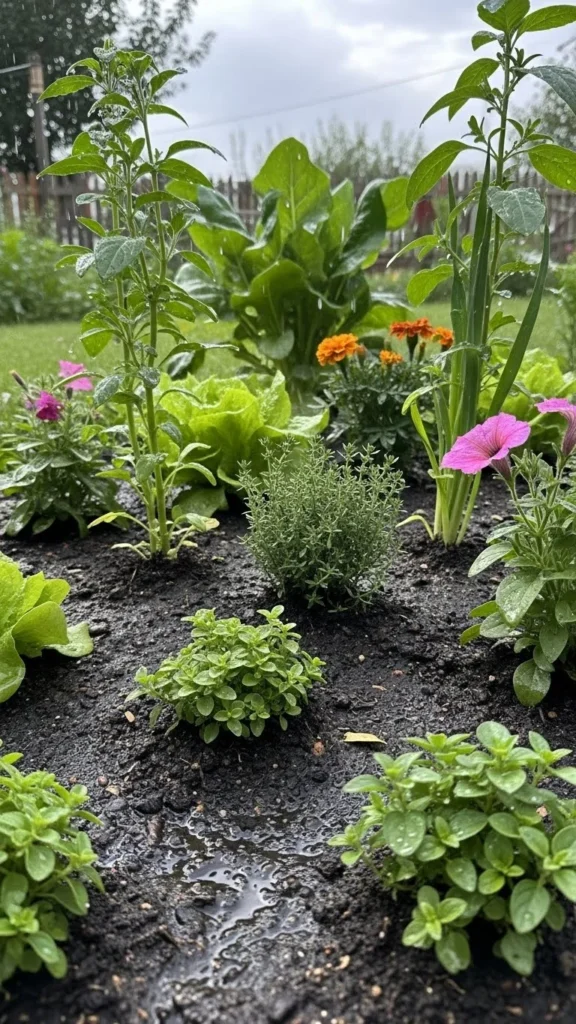
Moist soil absorbs nutrients better. Feeding after rain saves water and improves uptake.
If rain is rare, water lightly before fertilizing.
This habit reduces runoff and waste.
8. Use Kitchen Scraps Wisely
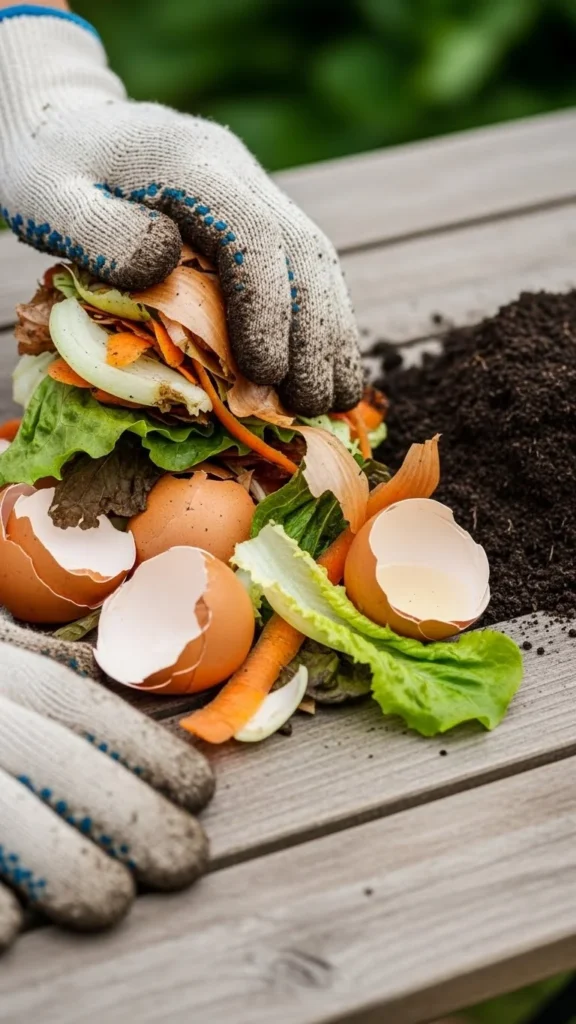
Crushed eggshells add calcium. Coffee grounds improve texture when used lightly.
Dry and crush scraps before use.
Apply sparingly and mix into soil.
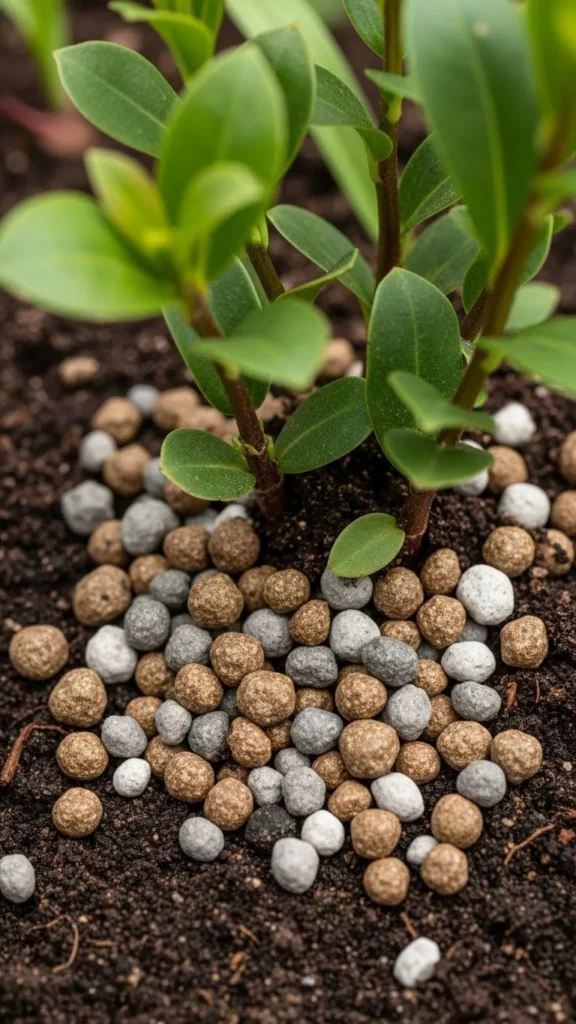
9. Side-Dress Growing Plants

Side-dressing feeds plants during active growth.
Place compost or fertilizer a few inches from stems.
This supports steady development without disturbing roots.
10. Avoid Overfeeding Seedlings
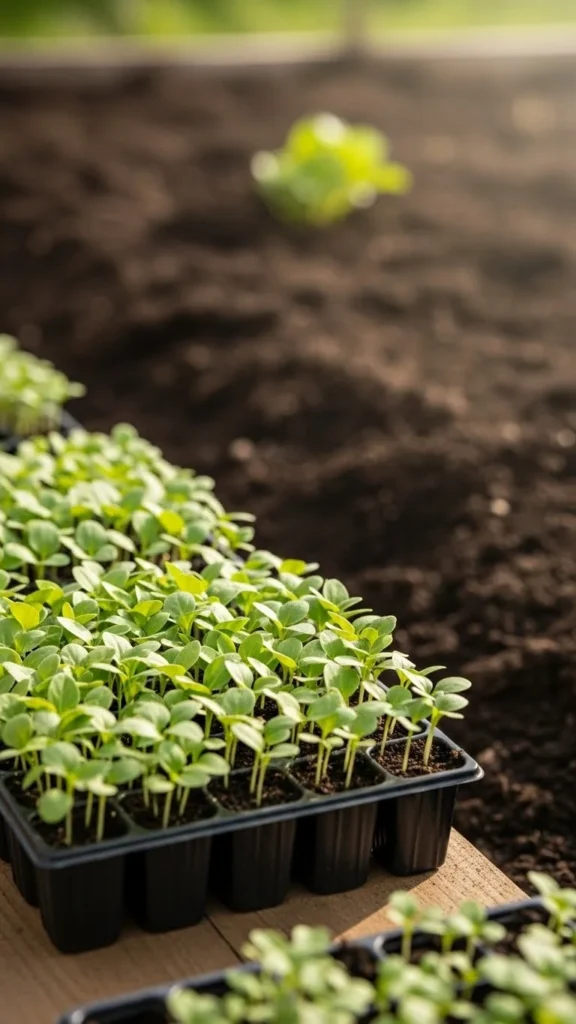
Young plants need less. Too much fertilizer causes weak growth.
Wait until seedlings show several true leaves.
Start with diluted feeds or compost.
11. Use Mulch to Hold Nutrients

Mulch reduces nutrient loss and moisture swings.
Use straw, leaves, or wood chips.
This simple step extends feeding results.
12. Rotate Feeding Areas

Avoid feeding the same spots heavily each year.
Rotate crops and feeding focus.
This keeps soil balanced.
13. Choose Slow-Release Options
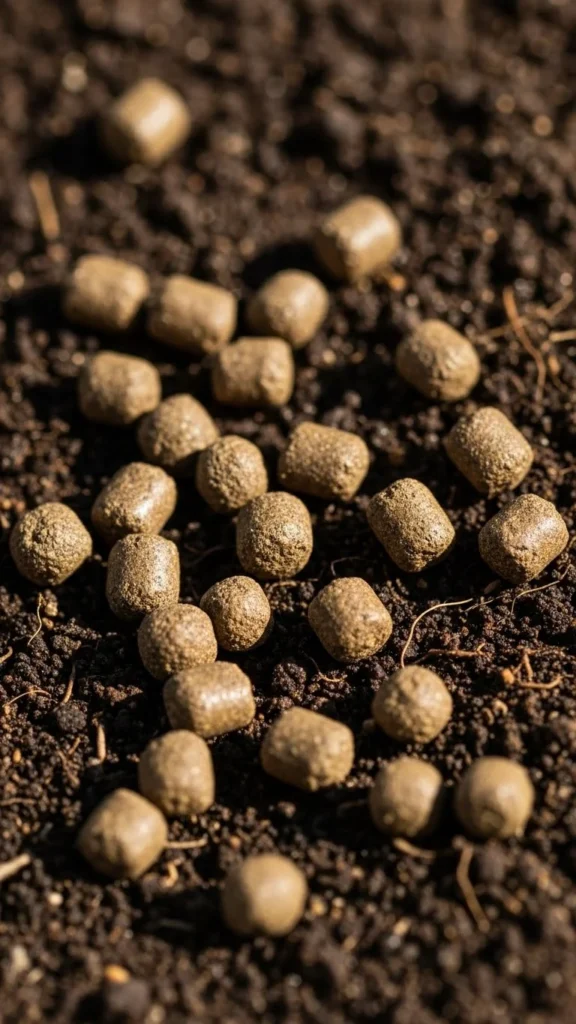
Slow-release products feed over time.
They reduce repeat work and cost.
Use sparingly for steady results.
14. Watch Leaf Color Weekly

Leaves show nutrient status clearly.
Adjust feeding only when changes appear.
Observation saves supplies.
15. Water Deep After Feeding

Deep watering helps nutrients reach roots.
Avoid shallow sprays.
This step improves uptake.
16. Keep Fertilizer Off Leaves
Soil application prevents leaf damage.
Brush off spills right away.
This habit protects plants.
17. Store Fertilizers Properly
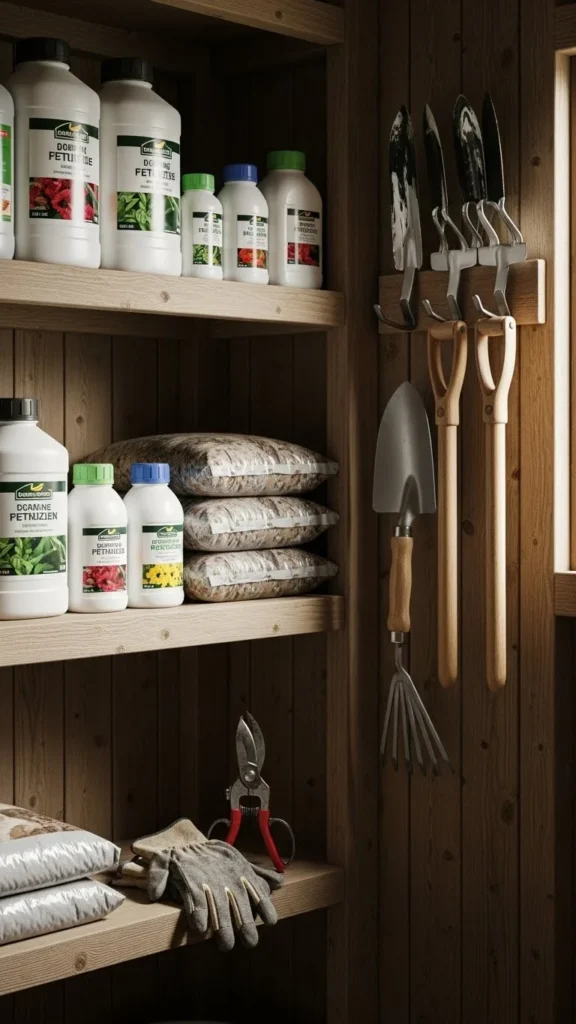
Dry storage extends product life.
Seal bags tightly.
This avoids waste.
18. Feed Perennials Lightly

Perennials often need less feeding.
Compost usually works well.
Too much causes weak stems.
19. Use Grass Clippings Carefully

Dried clippings add nutrients.
Avoid thick layers.
Let them dry first.
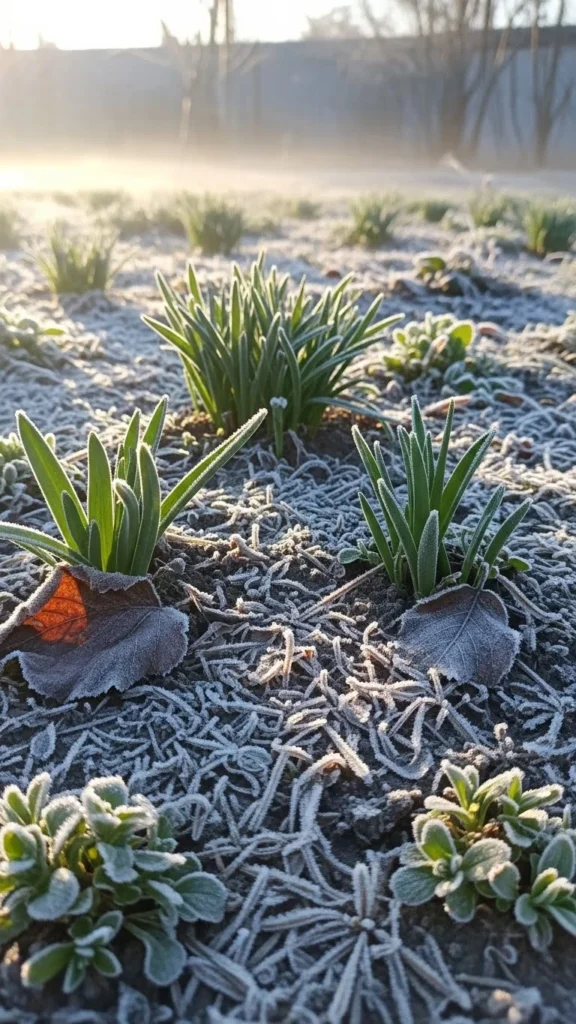
20. Avoid Feeding During Cold Spells

Cold pauses nutrient uptake.
Wait for stable warmth.
This prevents waste.
21. Track What Works
Notes guide future choices.
Write dates and results.
Experience builds confidence.
22. Keep It Simple
Simple routines work best.
Compost, timing, and observation cover most needs.
Consistency brings steady growth.
Conclusion
Smart spring fertilizing relies on timing, observation, and simple materials rather than heavy inputs. By working with soil conditions, choosing gentle feeding methods, and paying attention to plant signals, you support steady growth without waste or stress. These tips fit real gardens and real budgets, helping you build healthier plants season after season. Pick a few ideas to start, stay consistent, and let your garden show you what works best.

Leave a Reply