
Winter doesn’t have to mean collapsed garden structures and broken vines. If you live in a cold climate, a snow-proof trellis can be the difference between a tidy spring garden and a frustrating rebuild. The good news? You don’t need professional tools or expensive materials—just smart design choices that work with snow, not against it.
This guide walks you through how to build a trellis that survives heavy snow, strong winds, and freeze–thaw cycles—while still looking beautiful the rest of the year.
Why Regular Trellises Fail in Snowy Climates
Most trellises are built for summer. Snow changes everything.
Heavy, wet snow creates:
- Downward pressure that snaps thin slats
- Side pull from drifting and wind
- Ground movement from freeze–thaw cycles
A snow-proof trellis focuses on load distribution, anchoring, and materials that won’t crack or rot in winter conditions.
Think of it less like garden décor—and more like outdoor infrastructure.
Step 1: Choose the Right Trellis Shape
Shape matters more than people realize.
Flat, vertical trellises catch snow like a wall. Better options include:
- A-frame trellises (snow slides off both sides)
- Lean-to trellises angled at 10–15°
- Arch trellises that redirect weight downward
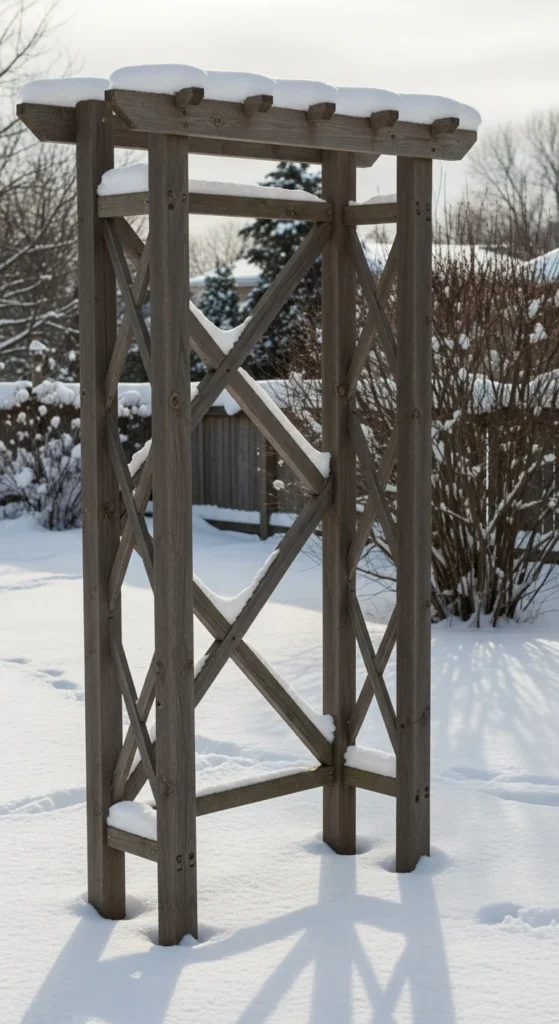
Avoid wide lattice panels unless they’re heavily reinforced.
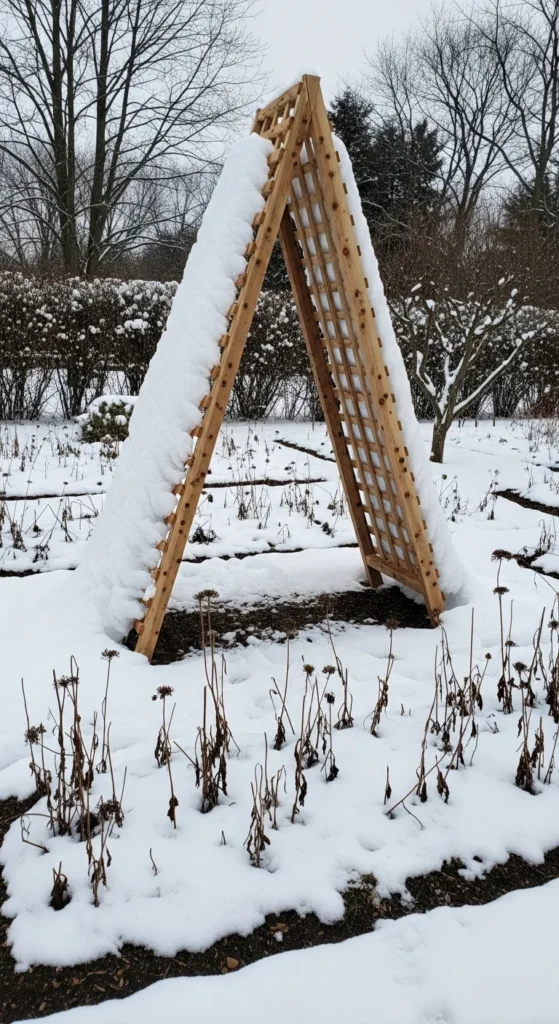
Pro tip: If snow can’t sit flat, it won’t build up enough weight to cause damage.
Step 2: Use Snow-Safe Materials
Material choice is where most failures happen.
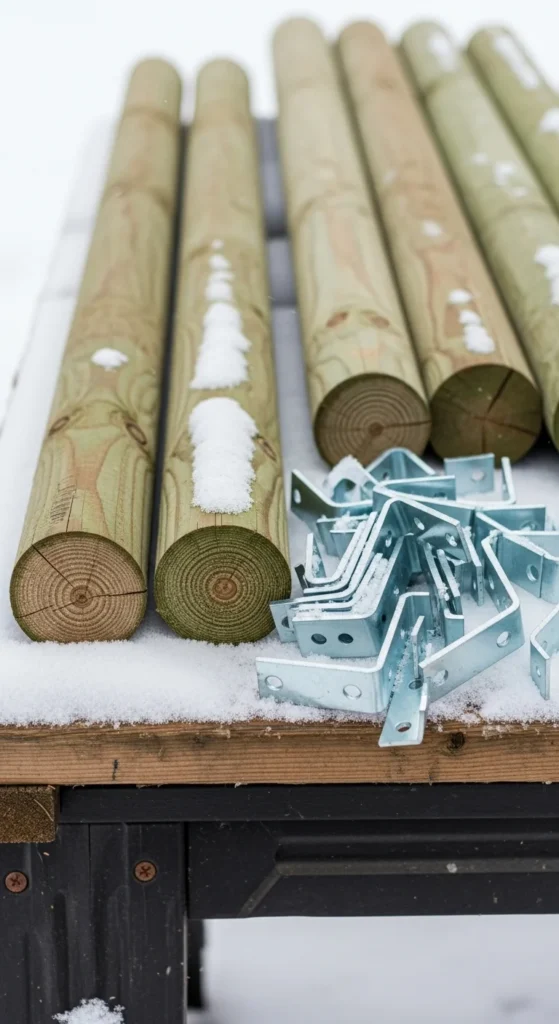
Best options for snowy regions:
- Pressure-treated lumber (cedar or pine)
- Galvanized steel or metal conduit
- Exterior-grade screws and brackets
Avoid:
- Untreated wood (rots fast under snow)
- Thin plastic panels (become brittle)
- Lightweight decorative lattice
Wood thickness matters. Aim for:
- Minimum 2×4 posts
- Cross supports at least 1×3 or thicker
If you want a softer look, you can always stain or paint the trellis after it’s structurally sound.
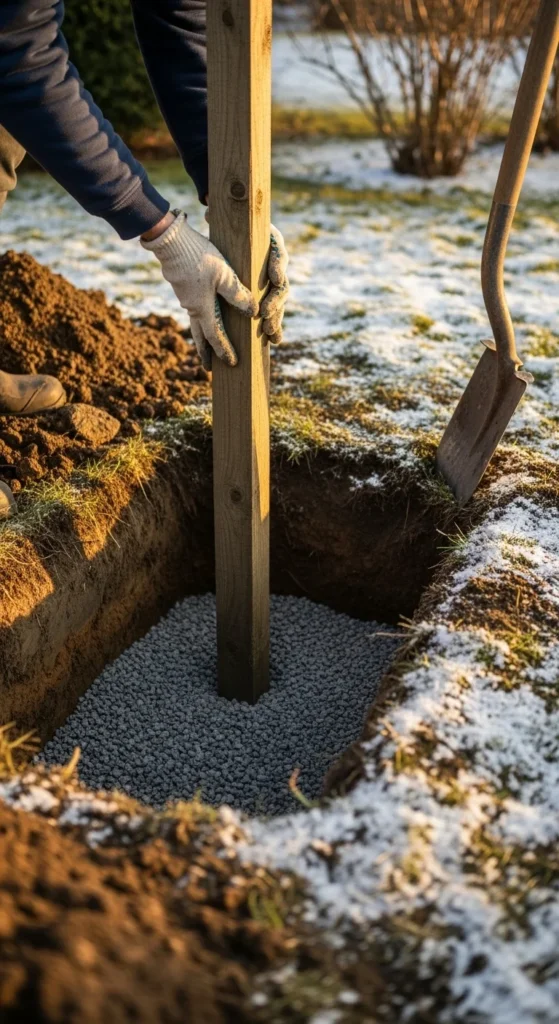
Step 3: Anchor It Like a Fence, Not a Decoration
A snow-proof trellis must be anchored deep.
Shallow stakes won’t survive winter ground movement.
Strong anchoring options:
- Dig post holes 24–36 inches deep
- Set posts in gravel + compacted soil
- Use concrete if soil is loose or windy
If installing near raised beds:
- Anchor posts outside the bed frame
- Tie the trellis back to ground stakes or earth anchors
Important: Leave slight flexibility. Rigid structures crack; flexible ones survive freeze cycles better.
Step 4: Reinforce for Load and Wind
Snow rarely acts alone—wind multiplies the stress.
Add reinforcement where pressure concentrates:
- Diagonal bracing at corners
- Horizontal crossbars every 18–24 inches
- Metal brackets instead of nails
For tall trellises (over 6 feet):
- Add a back support post
- Or tie the top into a fence or pergola beam
These reinforcements are barely visible in summer—but priceless in winter.
Step 5: Design for Seasonal Use
A truly smart trellis works year-round.
Consider:
- Removable panels you can detach in late fall
- Hooks instead of permanent ties
- Fold-down designs for extreme snow zones
If you grow perennials or woody vines:
- Prune aggressively before snowfall
- Remove dead growth that traps snow
Less surface area = less weight.
Maintenance Tips That Prevent Winter Failure
Before the first snowfall:
- Tighten screws and brackets
- Check for wood cracks
- Clear nearby debris that could drift into the trellis
After heavy storms:
- Gently knock off excess snow
- Never pry frozen sections apart
Spring check:
- Inspect ground movement
- Re-level if needed before plants regrow
Final Thoughts: Build Once, Not Every Spring
A snow-proof trellis isn’t about overbuilding—it’s about building smart.
When you:
- Choose the right shape
- Use winter-safe materials
- Anchor deeply
- Reinforce stress points
You create a structure that lasts for years, not seasons.
If you’re planning a cold-climate garden, this is one upgrade that pays off every winter.
Save this guide for later, or pin it so you’re ready before the first snowfall hits.

Leave a Reply