
Winter gardens have a quiet kind of magic. Frosted leaves, muted colors, and bare branches create the perfect backdrop for sculptural pieces that add interest when flowers fade. But winter weather can be tough on outdoor décor—and on safety—if sculptures aren’t placed thoughtfully.
Done right, winter garden sculptures can become stunning focal points that last all season without tipping, cracking, or becoming hazards. Let’s walk through how to add them safely and beautifully.

Why Winter Garden Sculptures Need Extra Care
Cold temperatures change how materials behave. Soil freezes and shifts. Snow adds weight. Ice creates slippery conditions. All of this means sculptures that felt stable in summer may not be safe in winter.
Common winter risks include:
- Tipping from frozen, uneven ground
- Cracking from freeze-thaw cycles
- Slipping hazards near walkways
- Damage from snow buildup or falling ice
Planning with winter in mind protects both your garden and the people enjoying it.
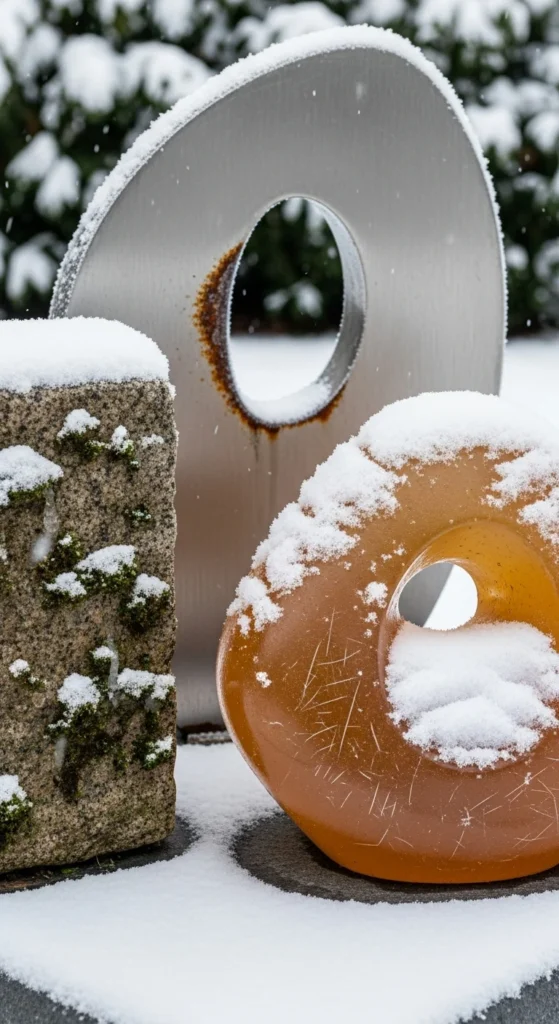
Choose the Right Sculpture Materials for Cold Weather
Not all outdoor sculptures are winter-friendly. Before placing anything outside, consider how it handles freezing temperatures.
Good winter-safe options:
- Stone or concrete – Heavy, stable, and weather-resistant
- Metal (treated or sealed) – Especially steel or iron with rust protection
- Cast stone or resin rated for outdoor winter use
Materials to be cautious with:
- Unglazed ceramics
- Thin glass elements
- Lightweight plastic décor
If you’re unsure, check the manufacturer’s outdoor rating or plan to overwinter delicate pieces indoors.
Pick Safe, Strategic Placement Locations
Placement matters more in winter than any other season. Snow hides edges. Ice reduces traction. A safe sculpture location should feel intentional, not risky.
Smart placement tips:
- Keep sculptures away from main walkways and entry paths
- Avoid slopes where ice can form underneath
- Place on level, compacted ground
- Position where falling branches or roof ice won’t land
Think of sculptures as visual anchors—not obstacles. They should guide the eye, not block movement.
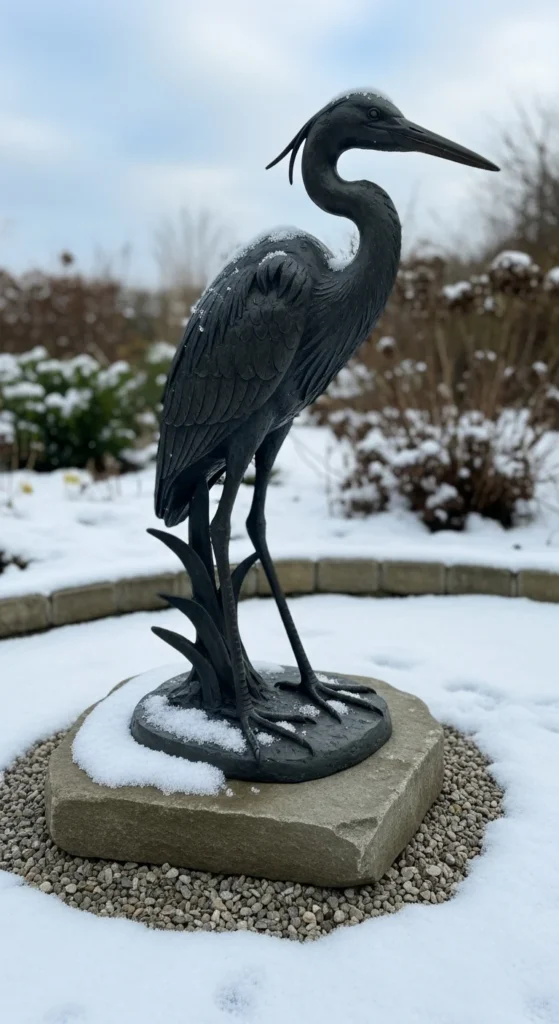
Create a Stable, Winter-Proof Base
A solid base is the biggest safety factor for winter sculptures. Frozen soil expands and contracts, which can cause leaning or tipping.
Ways to improve stability:
- Set sculptures on flat stone pavers or concrete pads
- Use gravel underneath for drainage and reduced frost heave
- Anchor tall or narrow pieces with ground stakes or hidden brackets
- For lightweight items, add internal weight using sand or stones
Before the first freeze, gently test stability by pressing from different angles.
Manage Snow and Ice Around Sculptures
Snow looks beautiful, but buildup can add stress or create hazards—especially near paths.
Simple winter maintenance habits:
- Brush heavy snow off sculptures after storms
- Clear ice around bases using sand or pet-safe traction materials
- Avoid sharp tools that can scratch or crack surfaces
- Let light snow stay if it’s purely decorative and safe
Regular check-ins prevent small issues from turning into mid-winter repairs.
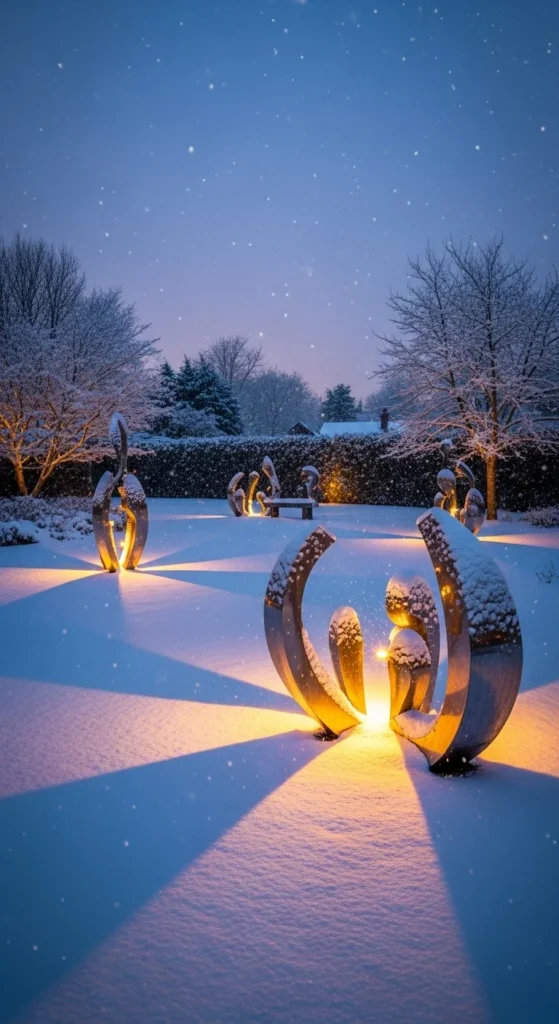
Use Lighting to Improve Visibility and Safety
Winter days are shorter, and sculptures can become hard to see after dusk. Subtle lighting adds both beauty and safety.
Lighting ideas:
- Low solar spotlights angled upward
- Warm LED ground lights along sculpture edges
- Soft uplighting that highlights texture without glare
Avoid cords across snowy ground. Battery or solar-powered lights are safer and easier in winter conditions.
Know When to Bring Sculptures Indoors
Some pieces simply aren’t meant to overwinter outside. If a sculpture has sentimental or high monetary value, storage may be the safest option.
Consider indoor storage if:
- The piece is lightweight or fragile
- Cracks appeared in past winters
- You live in an area with frequent freeze-thaw cycles
Clean and dry sculptures before storing them in a garage, shed, or covered space to prevent moisture damage.
Final Thoughts: Balance Beauty With Safety
Winter garden sculptures can transform a bare landscape into something striking and intentional. With the right materials, stable placement, and a bit of seasonal care, they become highlights instead of hazards.
Take a slow walk through your garden before winter fully sets in. Adjust placement. Secure bases. Add lighting where needed. A few thoughtful steps now make all the difference later.
Save this guide for fall prep and pin it for winter garden inspiration!

Leave a Reply