
Upcycling is one of the best ways to turn something simple into something beautiful. If you have a few tin cans lying around, don’t throw them out! With a little creativity, these humble items can become charming additions to your garden. Whether you want to create rustic planters, hanging lanterns, or a unique wind chime, transforming tin cans into garden decor is both fun and easy. Let’s dive into how you can repurpose tin cans into stylish garden accessories!
Step 1: Gather Your Materials
Before you get started, you’ll need a few basic supplies. Here’s what you’ll need:
- Empty tin cans (cleaned and labels removed)
- Spray paint (outdoor-safe)
- Drill with a small bit (or a hammer and nail)
- Twine or wire (for hanging)
- Potting soil and plants (for planters)
- Decorative elements (e.g., ribbons, stencils, paint brushes)
Tip: Make sure to clean the cans thoroughly and remove any sharp edges from the top using sandpaper or a metal file to avoid any accidents.
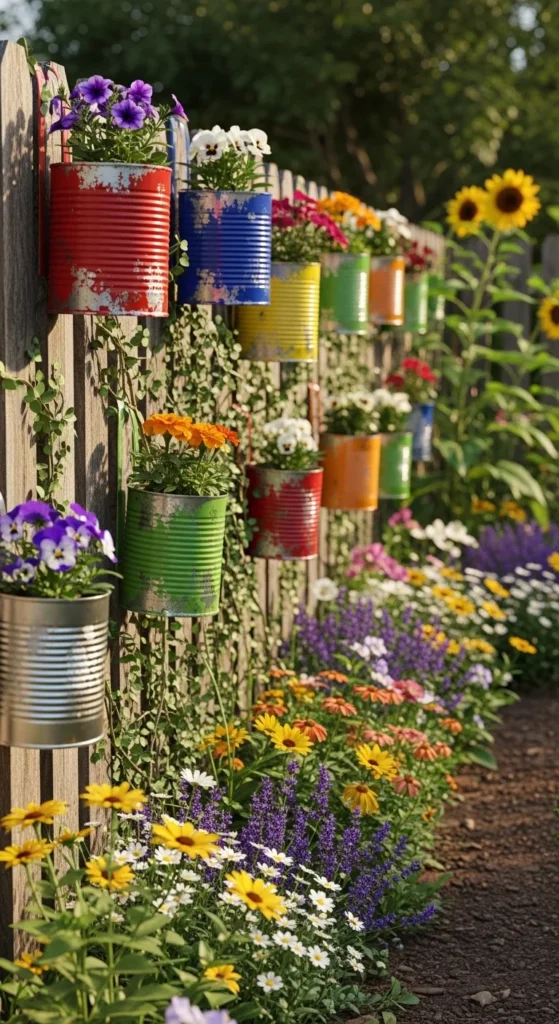
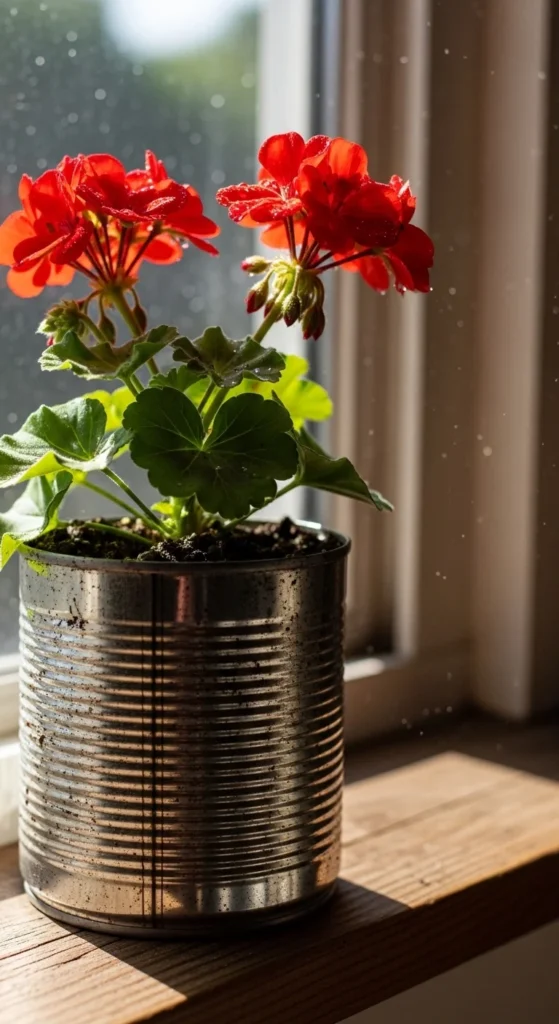
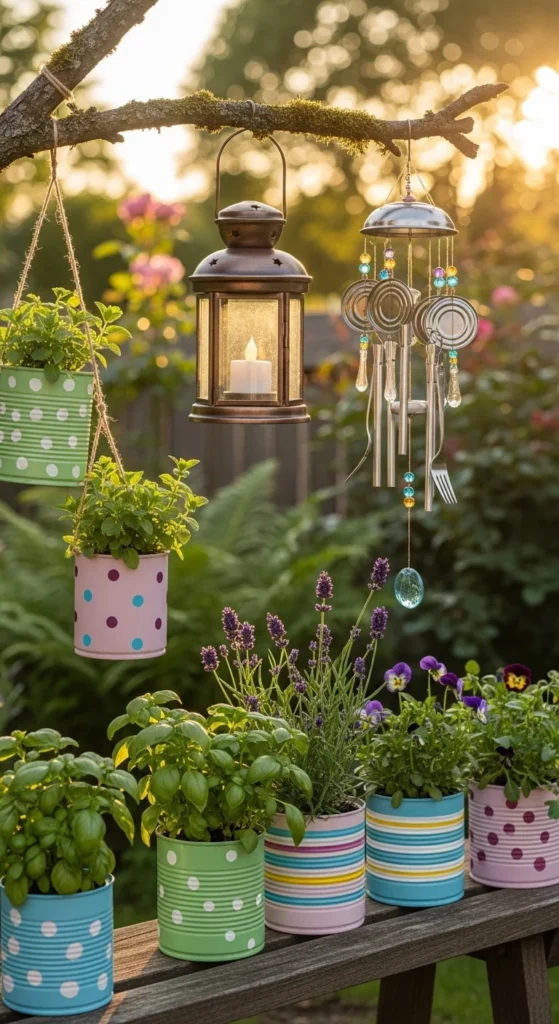
Step 2: Create a Tin Can Planter
Tin cans make fantastic planters for your garden. They’re perfect for small herbs, flowers, or succulents. Here’s how to create your own:
- Prepare the Cans: Start by removing any labels and cleaning the cans. Once clean, use a small drill bit to create drainage holes at the bottom of the can to allow excess water to escape.
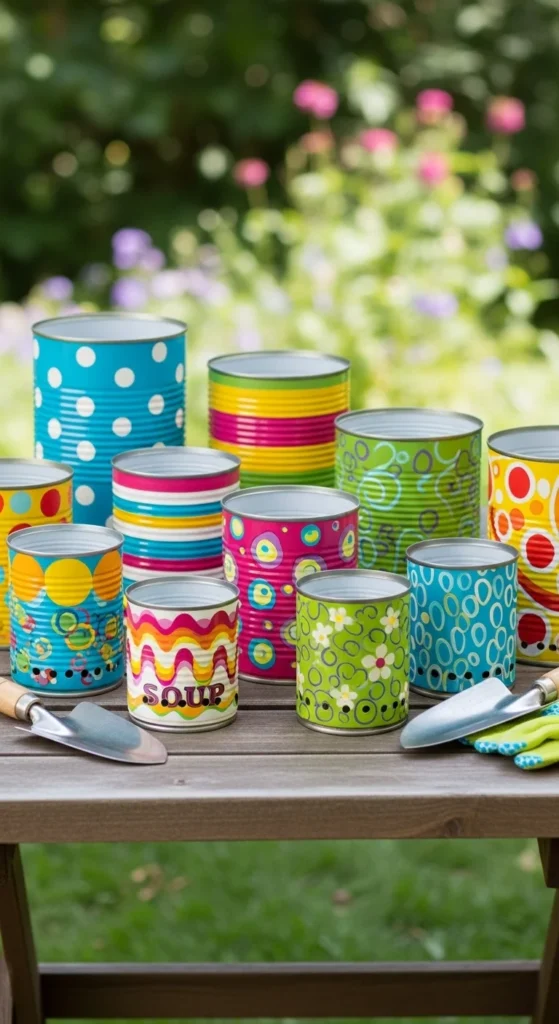
- Paint the Cans: You can spray paint the cans in bright, cheerful colors or add patterns like stripes or polka dots. Use stencils to create designs if you like!
- Fill with Soil: After the paint dries, fill your cans with potting soil and add your favorite plants. Small plants like herbs (basil, mint, or thyme) or colorful flowers (pansies, marigolds, etc.) will thrive in these adorable containers.
- Add a Decorative Touch: You can also add a twine bow around the top or tie the cans to a wooden stake for a rustic, country look.
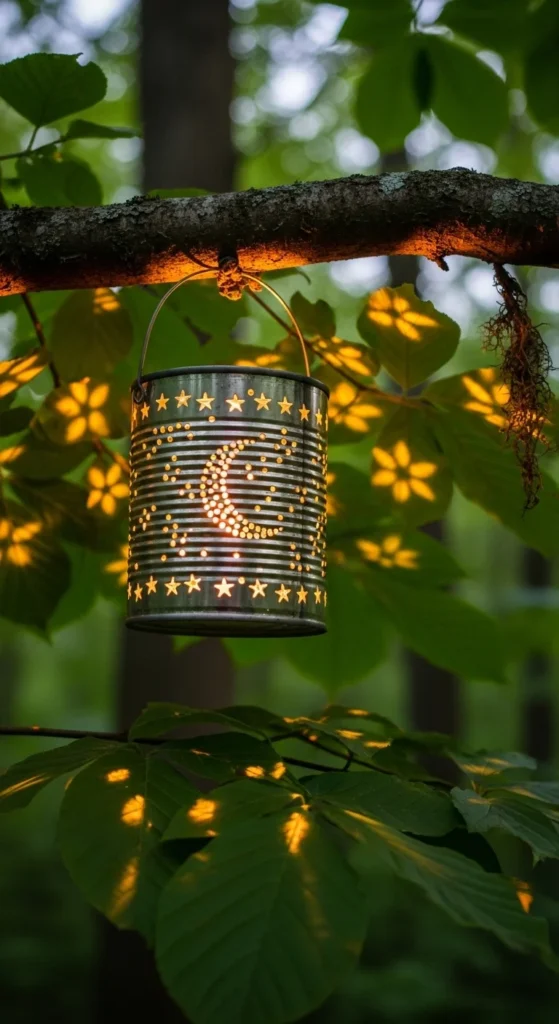
Step 3: Make Hanging Lanterns
Tin cans can also be transformed into beautiful hanging lanterns that will add a soft, magical glow to your garden at night. Follow these steps:
- Prepare the Can: Start with a clean, empty can. Use a hammer and nail (or a drill) to create a pattern of holes in the sides of the can. You can create any design you like—geometric patterns, hearts, stars, or even random dots for a more rustic vibe.
- Paint or Decorate: If you want a more personalized touch, spray paint the cans or add some metallic finishes for an elegant, antique look.
- Add a Hanging Mechanism: Attach a piece of twine or wire to the top of the can for hanging. Make sure the wire is securely attached so it can hold the can without tipping over.
- Insert a Candle: Place a tea light or LED candle inside the can to illuminate the holes. The light shining through the holes will create a beautiful, rustic effect at night.
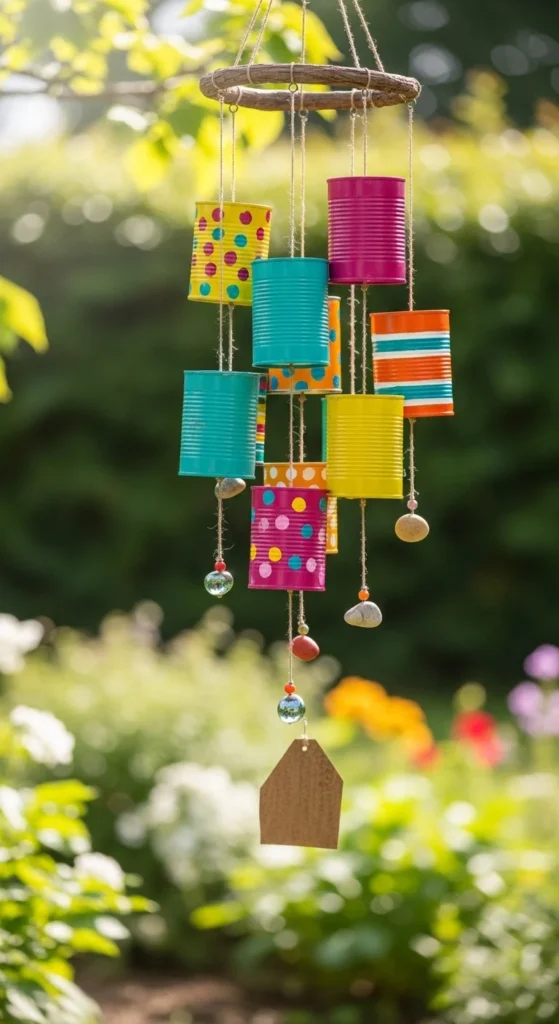
Step 4: Create a DIY Wind Chime
Add a melodic touch to your garden with a tin can wind chime! Here’s how:
- Cut and Prepare the Cans: Take a few tin cans and cut them into various lengths (use a can opener or a saw). The different lengths will create varied tones when they hit each other.
- Drill Holes for Stringing: Use a drill to create small holes at the top of each tin can. Thread a piece of strong twine or wire through each can, adjusting the lengths for a fun cascading effect.
- Hang and Adjust: Securely tie the string at the top and hang the wind chime in a location where it can catch the breeze. Adjust the height and spacing of each can to ensure a beautiful sound when the wind blows.
- Personalize with Paint: You can also add a pop of color by painting the cans or adding a clear coat to protect the paint.
Step 5: Additional Tips for Decorating Your Garden With Tin Cans
- Personalize: Use stickers, stencils, or even decoupage to make the cans match your garden’s theme.
- Layer and Stack: Stack a few cans on top of each other for a taller centerpiece, or use them to form a flower tower by placing one can inside the other.
- Repurpose for Birds: You can also turn a tin can into a bird feeder by adding a little dish of birdseed inside.
Conclusion
Making garden decor from tin cans is not only a fun project but also an eco-friendly way to add some personality and charm to your outdoor space. Whether you’re creating planters, lanterns, or wind chimes, the possibilities are endless. Plus, it’s a budget-friendly way to give your garden a stylish makeover!
Don’t forget to share your creations and inspire others with your tin can garden decor! Happy crafting!

Leave a Reply