
Are you looking for a creative and easy way to add some greenery to your home? A DIY hanging garden decor is the perfect project! Not only will it elevate your space, but it’s also a fun and simple way to show off your plant collection. Whether you’re an experienced gardener or a beginner, this guide will walk you through the steps to create your own stylish hanging garden decor in no time.
Why Choose DIY Hanging Garden Decor?
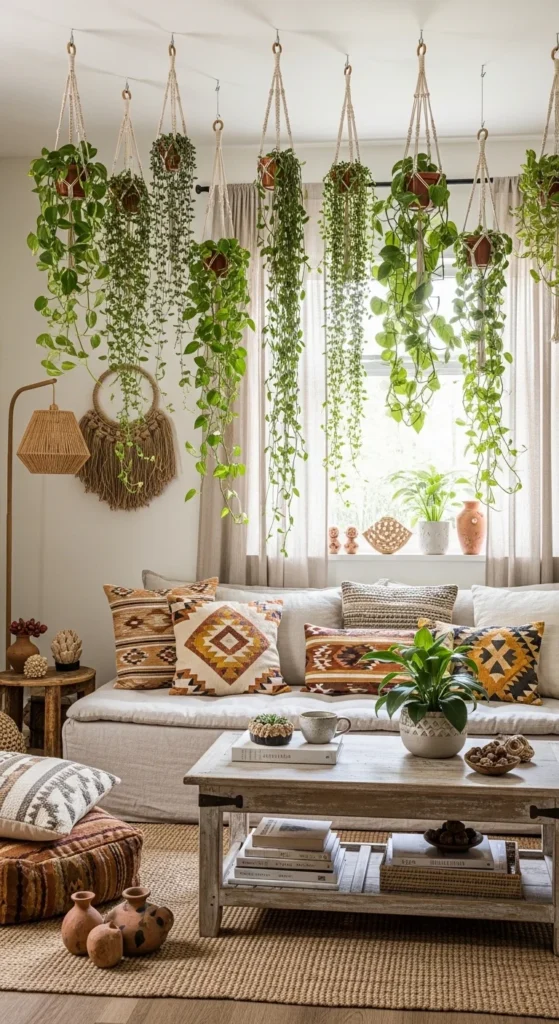
Before diving into the “how-to,” let’s quickly talk about why hanging gardens are such a great choice for home decor. Hanging gardens can turn any blank wall or corner into a lush, vibrant focal point. They don’t require a lot of space, so they’re perfect for small apartments, balconies, or even hanging from ceilings. Plus, with DIY projects, you get the satisfaction of creating something beautiful with your own hands.
Materials You’ll Need
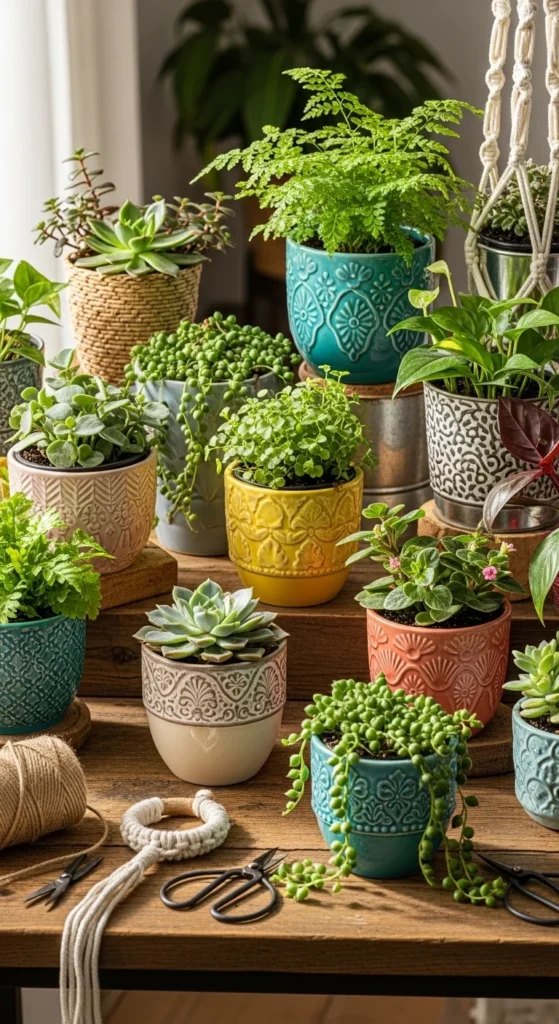
To start your DIY hanging garden, gather the following materials:
- Small planters or pots (these can be any shape or size, depending on your style)
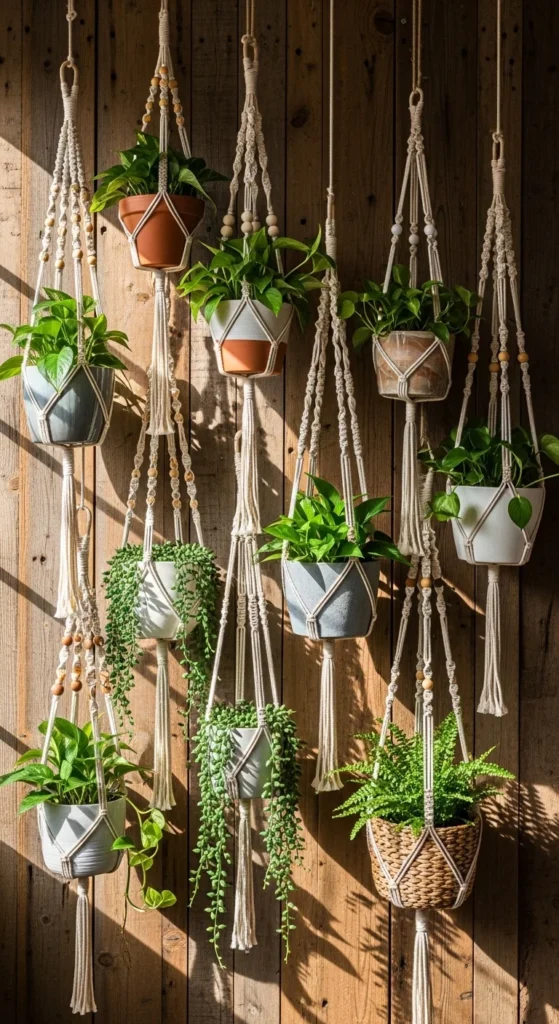
- Strong twine, string, or macramé cords (if you want a boho look, macramé is a great choice!)
- Command hooks or ceiling hooks (depending on where you plan to hang your garden)
- A drill (if you need to attach hooks to the ceiling)
- Scissors
- Plants (succulents, herbs, or trailing plants like ivy work well for hanging gardens)
- Optional: Decorative items like wooden rings, beads, or ribbons
Step 1: Pick the Right Location
First, choose the location where you’d like your hanging garden to live. It could be a corner of your living room, near a window for natural light, or even outside on your balcony. Keep in mind the light requirements of your plants, and try to select a space that will give them the best chance to thrive.
If you’re planning on hanging from the ceiling, make sure you have access to studs or ceiling hooks to ensure your garden stays securely in place.
Step 2: Select Your Plants
The next step is choosing the plants for your hanging garden. Here are some popular options:
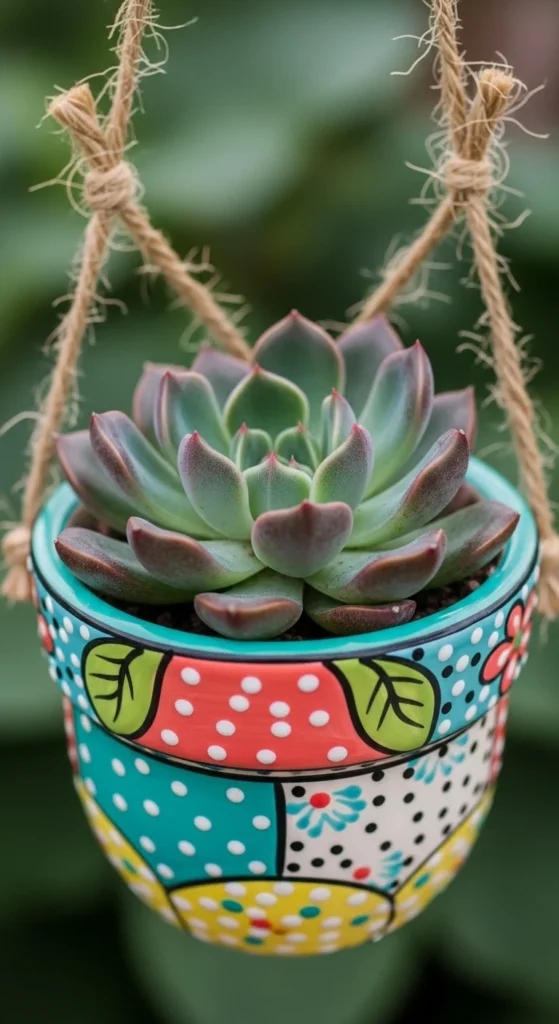
- Succulents: These are low-maintenance and perfect for small pots. They also don’t need a lot of water, making them an ideal choice for hanging arrangements.
- Ferns: If you want a lush, full look, ferns are a great choice. They thrive in humidity and can be perfect for bathrooms or kitchen areas.
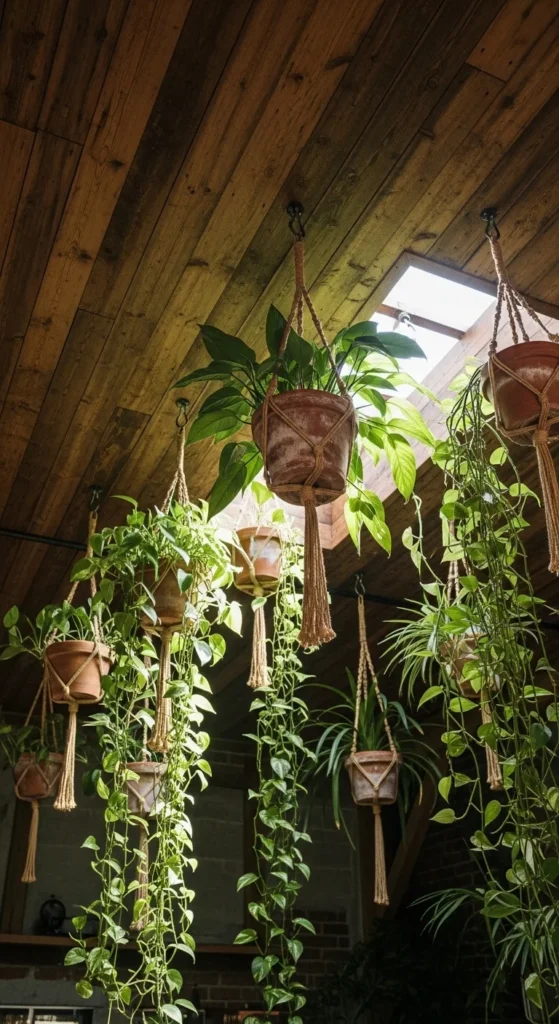
- Trailing Plants: Ivy or pothos vines will look stunning hanging down from your planters. These plants are also easy to care for, growing quickly and looking amazing in hanging planters.
Step 3: Prepare the Planters
Once you’ve chosen your plants, it’s time to prepare your planters. If you’re using pots that don’t already have hanging loops, you can create your own by tying string or twine around the rim of each pot. For a more polished look, you could also make your own macramé holders by learning a few basic knots.
Here’s a simple way to create your own hanging planters:
- Cut four pieces of twine: Each piece should be about 2 feet long (adjust according to the length you want your planters to hang).
- Knot the twine: Tie the four pieces together at one end, and then create a knot to hold the plant pot. Make sure the pot sits securely.
- Adjust the length: If needed, adjust the strings to make sure the pot hangs at the desired height.
Step 4: Hang the Planters
Now comes the fun part: hanging your garden! Depending on where you want to place your hanging garden, you can use command hooks, ceiling hooks, or even a wooden dowel if you’re creating a more rustic look.
- Use a drill to secure the hooks: If you’re hanging from the ceiling, use a drill to attach the hooks into the studs or beams.
- Tie the planters: Once your hooks are in place, tie your planters to the hooks using the twine or string, and adjust the length as needed to create a uniform display.
Step 5: Arrange and Style Your Hanging Garden
Once all your planters are hanging, it’s time to style your hanging garden! You can mix and match different plant types, or create a more uniform look by using similar plants. For added flair, you can incorporate decorative items like fairy lights, beads, or ribbons to make your garden truly unique.
If you have multiple plants hanging at different heights, it will create a beautiful cascading effect. Make sure to leave some space between each plant to allow them room to grow and spread out.
Step 6: Take Care of Your Hanging Garden
Lastly, don’t forget to care for your new hanging garden! Be sure to water your plants regularly (but not too much), and trim any dead or overgrown branches. Hanging gardens tend to dry out faster than regular plants, so it’s important to monitor their moisture levels.
Conclusion: Enjoy Your Beautiful Hanging Garden
Creating a DIY hanging garden is a fun, creative way to bring some greenery into your home. It’s a project that adds personality to any space and provides a low-maintenance way to care for plants. Whether you’re a seasoned gardener or just starting, hanging garden decor is a fantastic way to showcase your plants in a beautiful and practical way.
So, what are you waiting for? Get started on your hanging garden today and watch as it transforms your home into a lush, botanical oasis!
Save this DIY hanging garden tutorial for later and start creating your very own indoor green oasis!

Leave a Reply