
Spring is when roots decide how far they can travel, how well they can drink, and how steady they can hold your plants all season. The good news? Soil health isn’t about expensive products or complicated steps. It’s a set of small habits you can do with what you already have—kitchen scraps, fallen leaves, cardboard, and a little patience. Below are simple, budget-friendly ways to build soil that stays crumbly, drains well, holds moisture, and feeds plants slowly. Pick a few tips to start this week, then add more as your garden wakes up.
Do the Squeeze Test Before You Add Anything
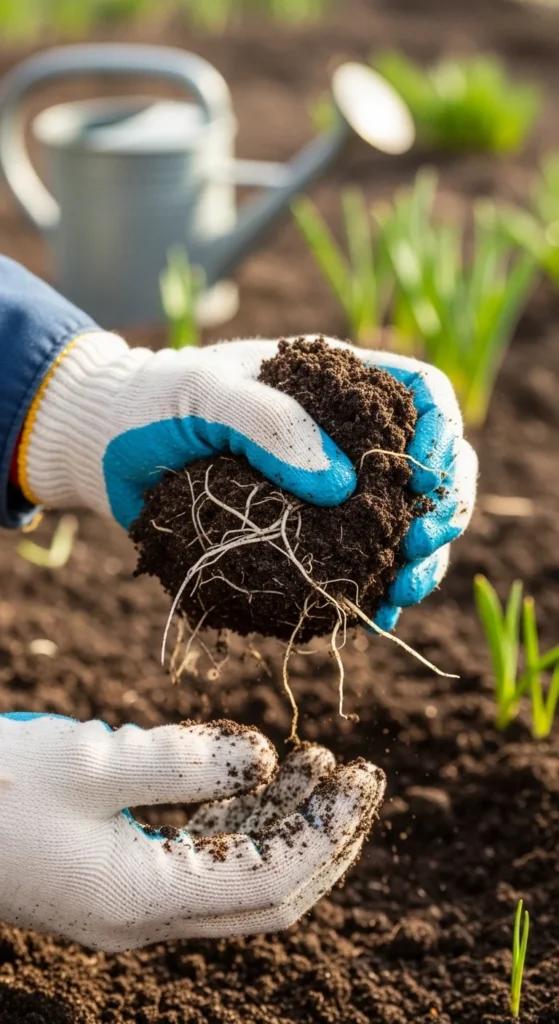
Grab a handful of soil and squeeze it like you’re making a snowball.
Then open your hand and watch what it does.
If it stays in a tight clump and feels sticky, your soil may be holding too much water.
Hold off on heavy mulching for a week and avoid walking on it.
If it falls apart like dry dust, it may dry out fast.
Plan for compost and a thicker mulch layer.
If it forms a loose ball that breaks apart with a gentle poke, you’re in a good spot.
That’s the crumbly texture roots love.
This quick check costs nothing and saves you from guessing.
It also helps you decide how to water.
DIY example: keep a small notebook page for each bed.
Write “sticky,” “dusty,” or “crumbly” after rain and after watering.
Within two weeks, you’ll spot patterns fast.
Budget tip: do this test after a normal watering day, not right after a storm.
That gives you a real read on your routine.
Top-Dress Compost Like You’re Adding Icing
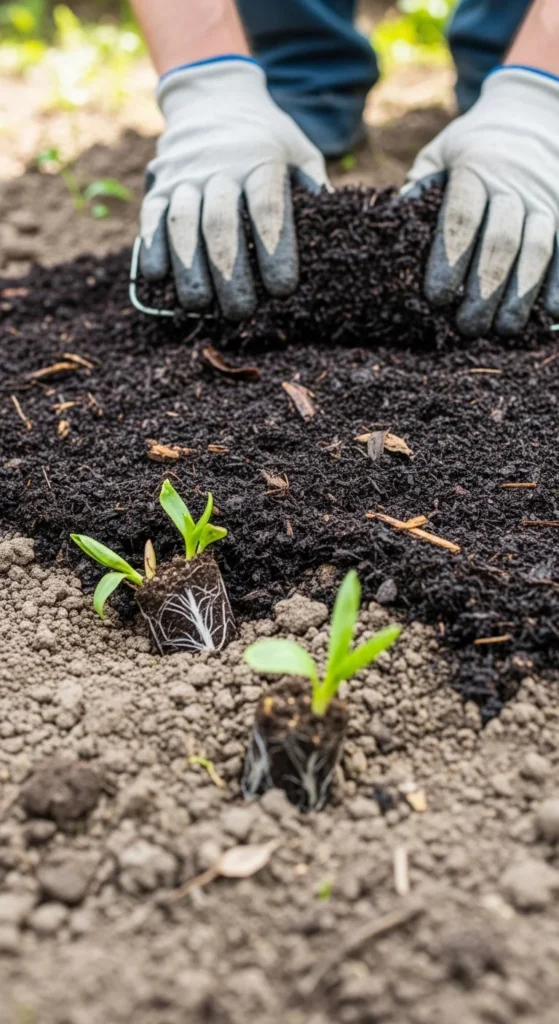
You don’t have to dig compost deep to get results.
A thin layer on top works because water carries goodness down.
Spread ½ to 1 inch of compost over beds like you’re dusting a cake.
Keep it a few inches away from plant stems.
Then water lightly.
Or let spring rain do the job.
This keeps soil structure intact.
It also avoids bringing old weed seeds to the surface.
DIY example: if you don’t have much compost, “spot-feed” around plants.
Make a ring the size of a dinner plate around each seedling.
Budget tip: ask neighbors for bagged leaves in fall and compost them over winter.
Even a small pile turns into rich material by spring.
If compost is pricey where you live, mix a little compost with shredded leaves.
You’ll stretch the volume while still feeding the soil.
Small action, big payoff: top-dress once now, and again mid-season.
Your plants get slow food without constant products.
Mulch With Shredded Leaves to Save Water
Leaves are free mulch, and they break down into soft soil over time.
The trick is to shred them so they don’t mat.
Use a lawn mower, string trimmer in a bin, or crush them by hand.
Spread a 2–3 inch layer over bare soil.
Keep mulch off plant stems.
Give each plant a small “donut hole” of space.
This helps soil stay moist between waterings.
It also reduces weeds, so you pull less later.
DIY example: if leaves blow around, wet them with a watering can after spreading.
They settle down fast.
Budget tip: don’t buy bagged mulch for every bed.
Use leaves for most areas, then add wood chips only where you want a tidy look.
If your leaves are whole and you can’t shred them, mix them with a bit of compost.
That keeps airflow and helps breakdown.
Do one bed this week and notice the difference.
Less crusting on top, softer soil underneath, happier roots.
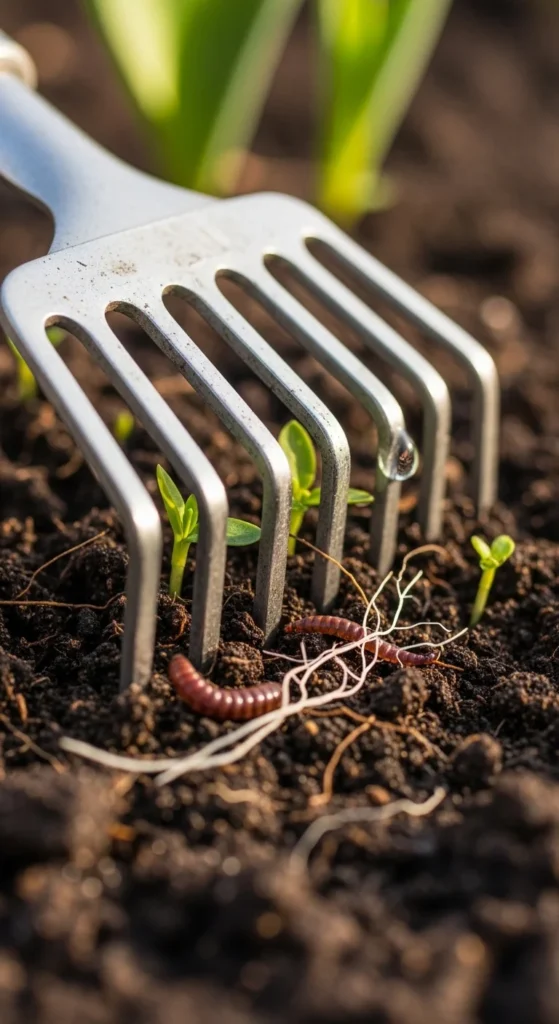
Loosen Only the Top Inch, Not the Whole Bed
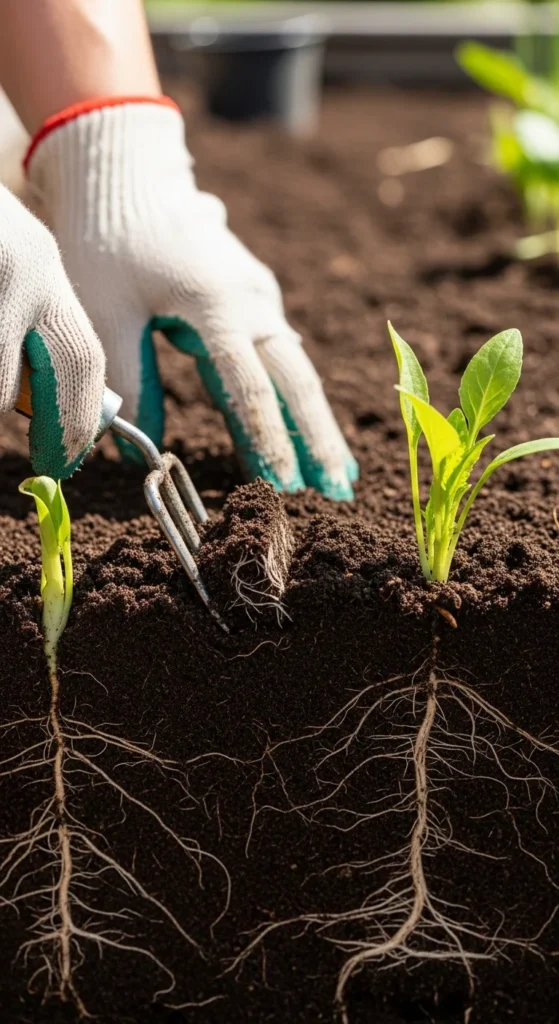
Deep digging can break soil layers and disturb the little helpers underground.
You can still prep beds without flipping everything.
Use a hand rake or garden fork to scratch just the top inch.
You’re making space for air and water, not turning the bed.
This keeps the soil’s natural “crumb” from collapsing.
It also protects worm tunnels that act like tiny drainage pipes.
DIY example: after loosening the top, add compost and lightly rake it in.
That’s enough for most spring planting.
Budget tip: if you have hard soil, focus on mulch and moisture first.
Many soils soften after a few weeks of steady watering and organic matter on top.
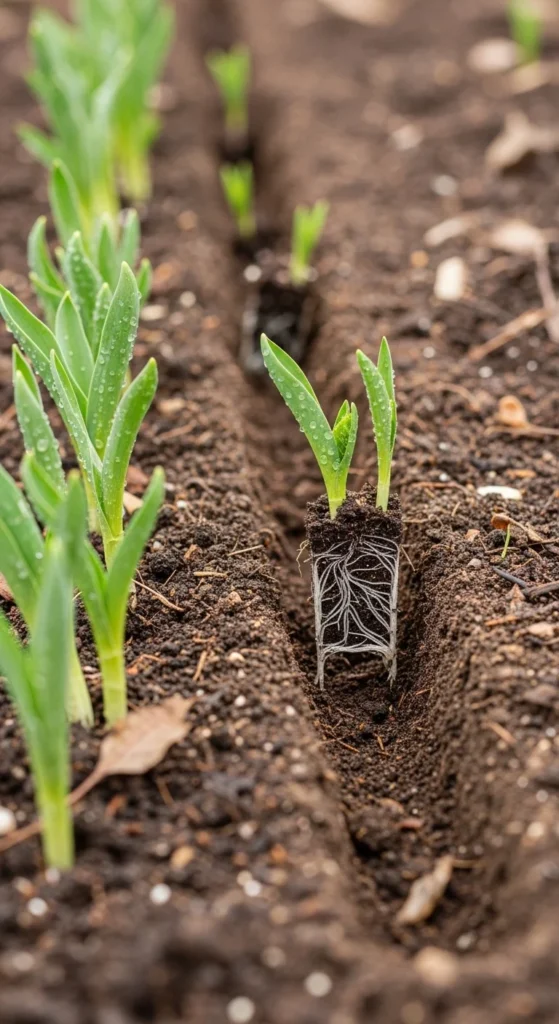
A simple rule: if you can plant a seed or transplant, stop digging.
Roots will do the rest.
If you want deeper loosening, use a fork to lift and wiggle without turning.
Think “fluff,” not “flip.”
Keep Bare Soil Covered, Even Between Rows
Bare soil dries out fast and forms a crust.
That crust blocks water from soaking in.
Cover open spaces with leaf mulch, straw, or even chopped weeds (before they seed).
In paths, you can use cardboard topped with wood chips.
Covering soil also reduces splash when it rains.
That means fewer soil-borne spots on leaves.
DIY example: after planting, lay mulch everywhere except a slim strip right over seeds.
Once seedlings are taller, tuck mulch closer.
Budget tip: use what you have.
Shredded paper under a thin leaf layer can work in a pinch (skip glossy paper).
If you’re worried about slugs, keep mulch a little farther from tender stems.
And water in the morning, not at night.
Covered soil is calmer soil.
It stays cooler on warm days and holds moisture longer, which makes roots steady.
Sheet Mulch Weedy Spots With Cardboard
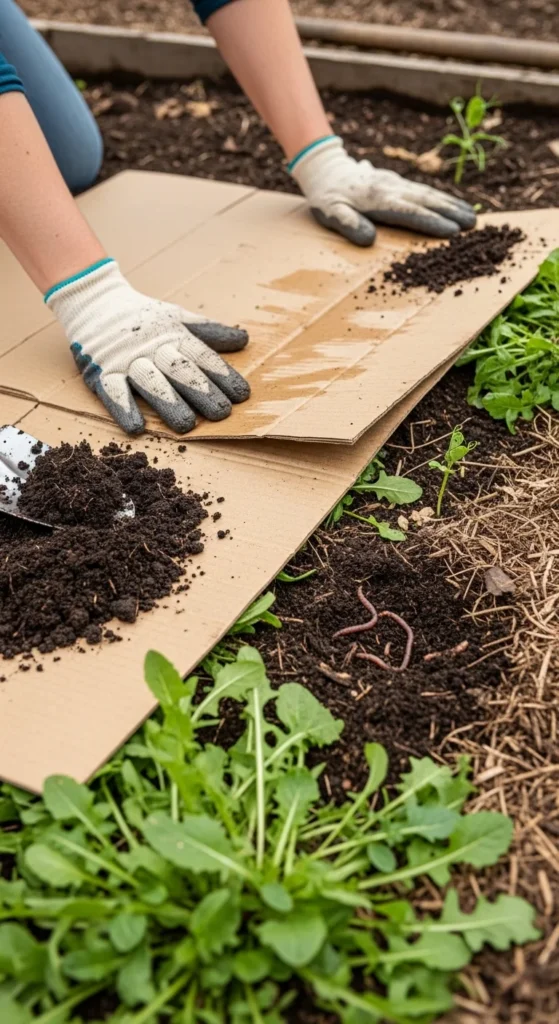
If you have a patch that grows weeds like it’s their job, go simple.
Cardboard blocks light and weakens weed roots over time.
Remove tape and labels from boxes.
Lay cardboard flat, overlapping edges like shingles.
Wet it well.
Then cover with leaves, compost, or wood chips.
In a few weeks, the area becomes easier to plant.
And the cardboard softens into the soil.
DIY example: cut small holes and plant transplants right through the cardboard.
Tomatoes, peppers, and squash do well with this.
Budget tip: grocery stores often have clean boxes for free.
Ask for plain brown cardboard.
Avoid glossy or heavily printed cardboard.
Plain is best.
This method saves time, saves your back, and keeps you from buying weed fabric.
Plus, it feeds soil life slowly as it breaks down.
Make a Simple Compost Soak for Transplants
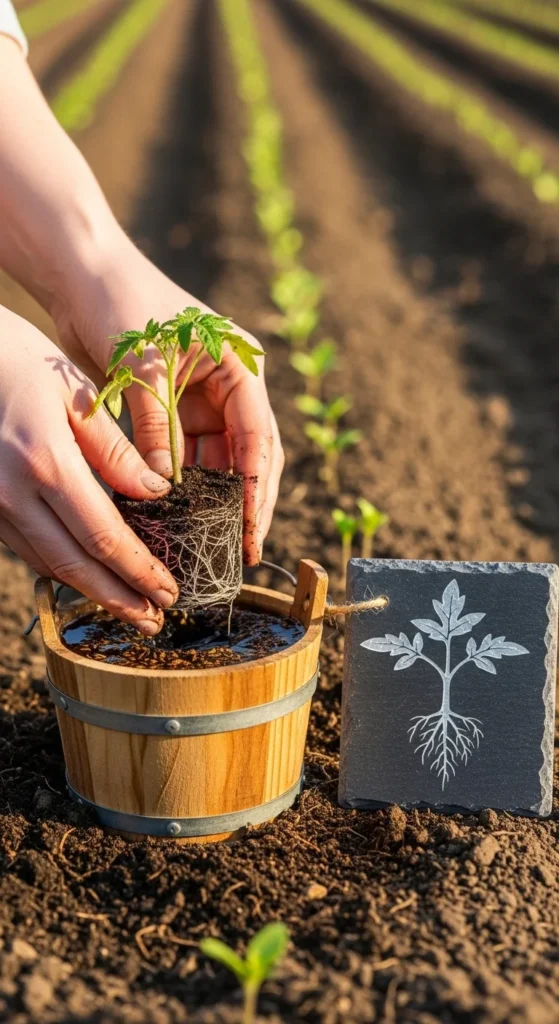
You don’t need fancy liquids.
A gentle compost soak can help seedlings settle in.
Put a handful of compost in a bucket of water.
Stir, let it sit for a few hours, then stir again.
Use the brownish water around transplants.
Skip pouring thick sludge on leaves.
This is more about moisture and mild nutrients than magic.
It’s a low-cost habit that fits real life.
DIY example: use an old pillowcase as a “tea bag” for compost.
Tie it, soak it, and you’ll get cleaner water.
Budget tip: if compost is limited, use worm castings if you have them.
A small amount goes far.
Don’t store this mix for days.
Make it and use it the same day.
If your plants look stressed after planting, this can be a gentle follow-up.
Combine it with shade for one afternoon using an upside-down crate.
Simple steps, calm plants, steady root growth.
Invite Worms With Kitchen Scraps the Right Way
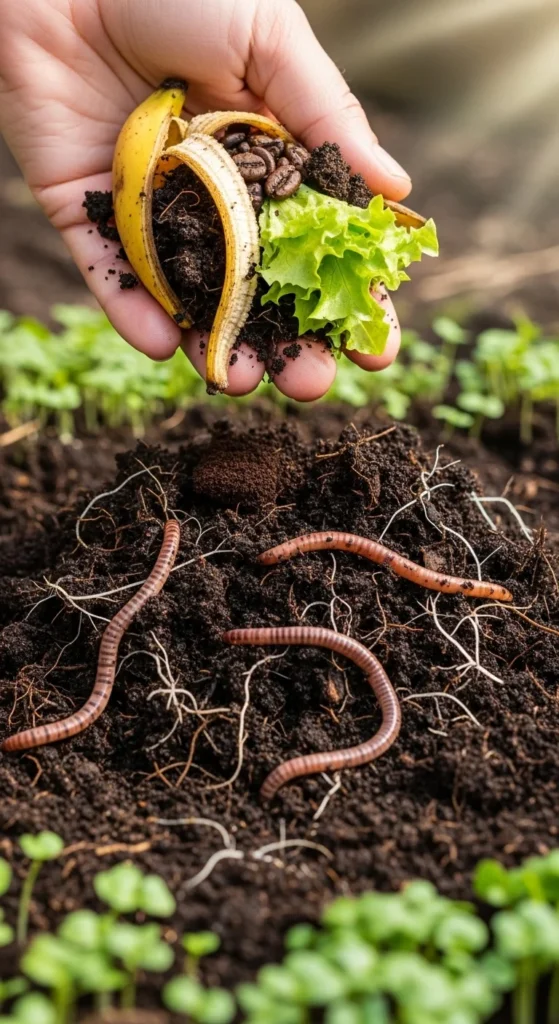
Worms are free labor.
They pull organic matter down and leave crumbly castings behind.
Bury small amounts of veggie scraps 6–8 inches deep.
Cover well so animals don’t notice.
Rotate burial spots around the bed.
Think of it like “hidden snacks” for the soil.
DIY example: keep a small container in the kitchen.
When it’s full, bury the scraps in one spot and mark it with a stick.
Budget tip: if digging is hard, start a small worm bin in a tote.
Use shredded cardboard and veggie scraps.
Then sprinkle the castings around plants.
Avoid burying oily foods or anything that smells strong.
Stick to plant scraps.
Worm activity often shows up as small soil “crumbs” on top after rain.
That’s a good sign.
You won’t see results overnight, but you’ll feel the soil change over the season.
Softer, darker, easier to plant.
Use Grass Clippings Without Making a Slimy Mat
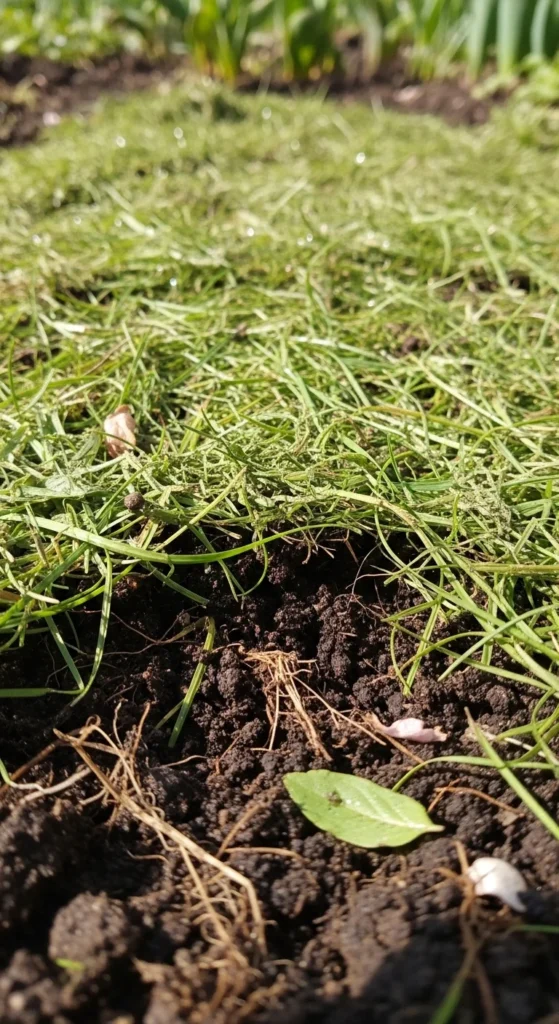
Grass clippings can be great mulch, but only if used thinly.
Thick layers can clump and block air.
Spread clippings in a light layer, about ½ inch at a time.
Let them dry a bit, then add another thin layer later.
Mix clippings with shredded leaves to keep them fluffy.
That combo breaks down well and smells clean.
DIY example: after mowing, toss clippings into a wheelbarrow with dry leaves.
Stir with a shovel, then spread.
Budget tip: this is a free way to feed beds all season.
No bags to buy, no fancy tools.
Avoid clippings from lawns treated with weed killers.
If you’re unsure, skip them.
Also keep clippings away from seed rows until seedlings are taller.
Young sprouts can get buried.
Used well, clippings help soil hold moisture and add nitrogen over time.
Used poorly, they can create a slick layer.
Thin wins every time.
Lighten Potting Mix With Coconut Coir in Containers
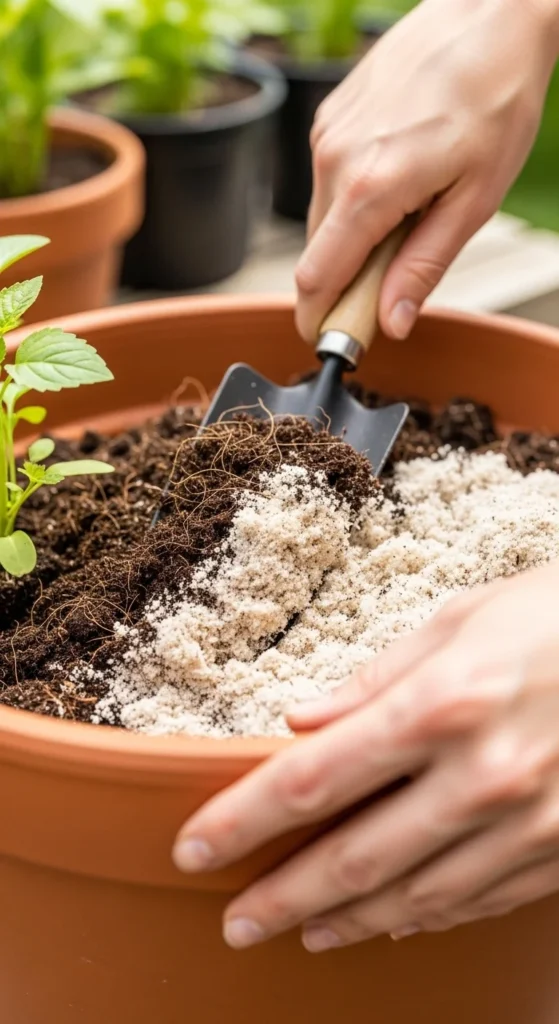
Container soil dries out faster than garden beds.
That’s why many pots struggle in warm spring sun.
Coconut coir helps hold water without turning into mud.
Mix a small amount into potting mix, about 20–30% by volume.
If you buy coir bricks, soak them in a bucket.
Fluff them with your hands before mixing.
DIY example: refresh last year’s container mix by adding coir and a scoop of compost.
Stir well and remove old roots.
Budget tip: coir bricks often cost less than multiple bags of potting soil.
One brick can stretch several planters.
Don’t use garden soil in pots.
It compacts and makes roots struggle.
If coir isn’t available, shredded leaves can help a little, but they break down faster.
Coir is steadier for pots.
Finish with a thin mulch layer on top of the pot.
Even a handful of leaves can slow drying and reduce watering chores.
Add Wood Chips Around Perennials, Not in Seed Beds
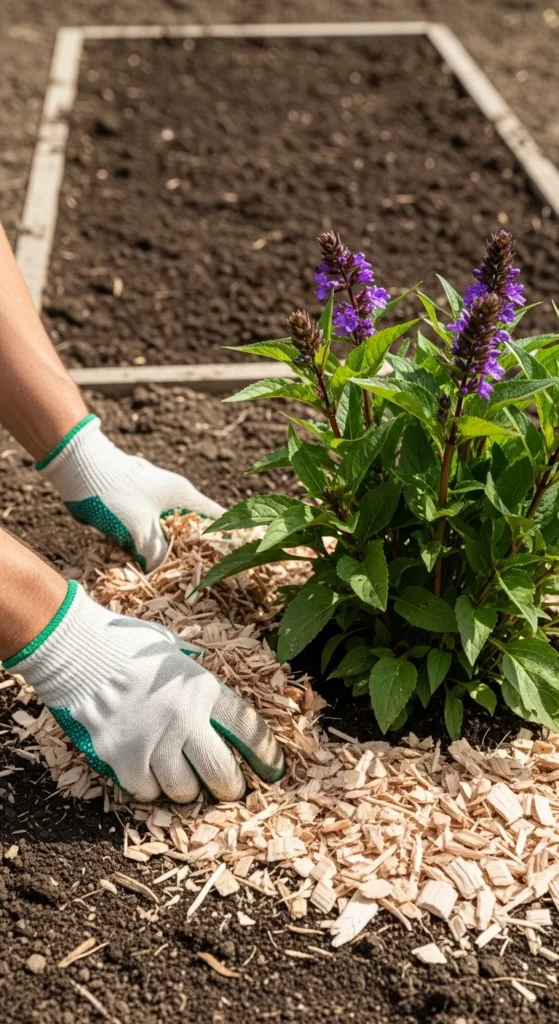
Wood chips are great around trees, shrubs, and perennial flowers.
They break down slowly and protect soil from heat swings.
Spread chips 2–4 inches deep around established plants.
Keep chips several inches away from trunks and stems.
Skip wood chips in tiny seed beds.
Seeds can struggle when the top layer is chunky.
DIY example: use wood chips on walking paths and around berry bushes.
Use leaf mulch in vegetable beds.
Budget tip: check local tree services for free chip drops.
You may get a large pile, so plan where it will go.
If chips look too rough, lay a thin compost layer under them first.
That helps the soil side stay active.
Over time, you’ll see a darker layer under chips.
That’s where roots often spread wide.
Chips also cut down on mud and weeds near perennials.
Less work, cleaner garden edges, happier soil.
Rake Gently So You Don’t Strip Away Soil Life
Spring clean-up can turn into soil damage if it’s too aggressive.
A hard rake can scrape off the darker top layer that feeds plants.
Use a leaf rake or your hands to lift debris lightly.
Leave some small bits of plant matter as a thin blanket.
If you have old stems, cut them and lay them down as mulch.
That keeps nutrients on-site.
DIY example: make a “messy corner” behind a shed.
Pile twigs and stems there for a month, then use the partly broken bits as bed topping.
Budget tip: skipping heavy clean-up saves time and money.
It also saves moisture because soil stays shaded.
If you must clear for planting, clear only where you’re planting.
Don’t strip the whole bed.
You can still make the garden look tidy.
Just focus on edges and paths, not bare soil everywhere.
Gentle cleanup keeps the living layer in place.
That living layer helps roots find water and nutrients without stress.
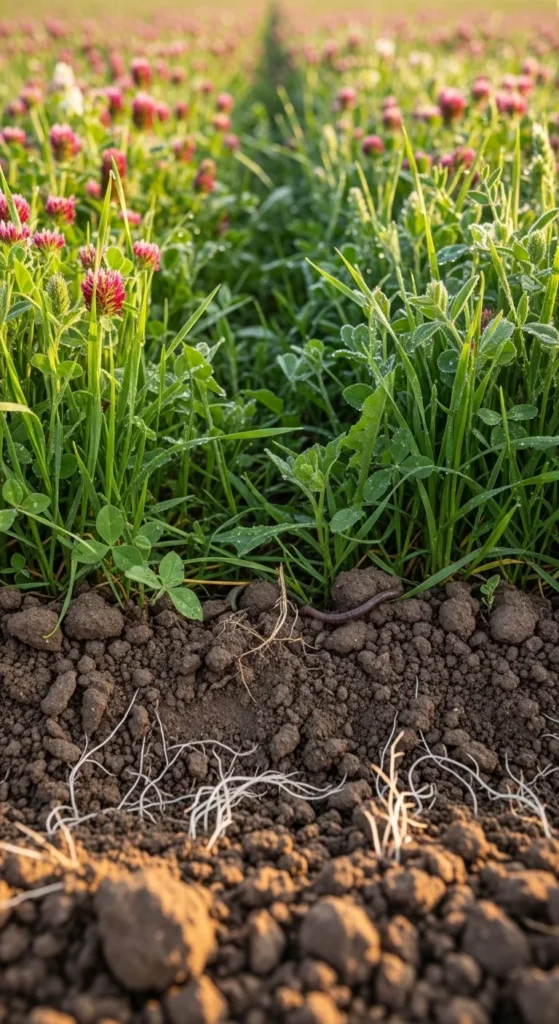
Try a Small Patch of Quick Cover Crops

Cover crops aren’t only for big farms.
A small patch can protect soil and add organic matter.
Pick something simple like oats or field peas, based on what your local garden shop carries.
Sow it in an empty area while you wait to plant warm-season crops.
When plants get knee-high, cut them down.
Leave the cuttings on the soil as a layer.
DIY example: use cover crops in a bed you won’t plant until late spring.
It keeps weeds from taking over.
Budget tip: a small bag of cover crop seed can cost less than multiple mulch bags.
And you can save leftover seed for later.
If you don’t want to buy seed, even a “green mulch” of fast-growing greens can work.
Let them grow, then chop them down before they flower.
This habit keeps soil from sitting exposed.
Roots feed the soil while they grow, then your next crop enjoys the improved texture.
Save Eggshells for a Slow Calcium Sprinkle
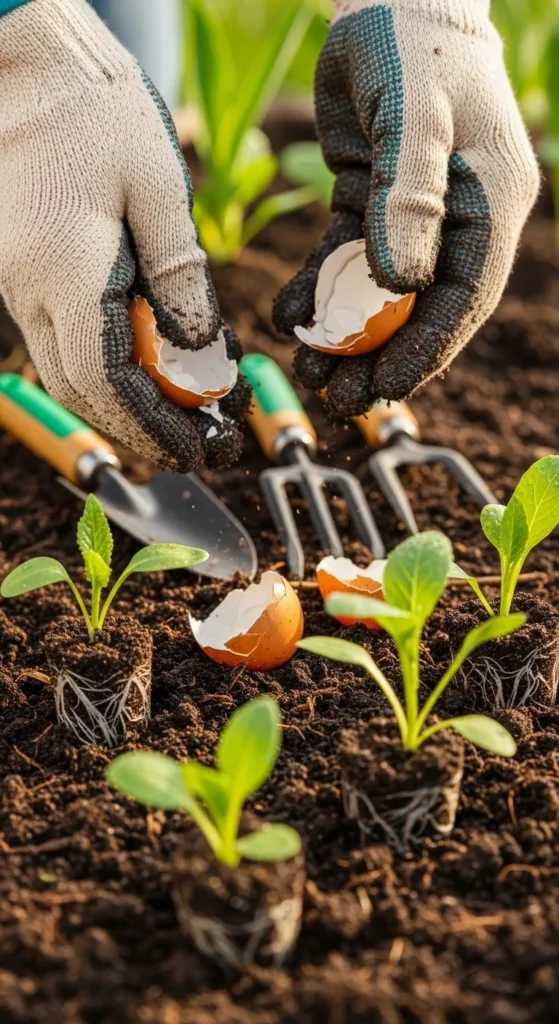
Eggshells are a simple, zero-cost add-on.
They break down slowly, so think long game.
Rinse shells, let them dry, then crush them as small as you can.
A rolling pin and a jar work well.
Sprinkle around tomatoes, peppers, and squash.
Then cover with mulch so shells don’t blow away.
DIY example: keep a “shell jar” under the sink.
Add shells all week, crush on the weekend, and apply once a month.
Budget tip: if you have a blender you don’t mind using, pulse dried shells briefly.
Finer pieces mix into soil faster.
Eggshells won’t fix a major problem overnight.
But they add grit and slow calcium over time.
If your soil is very acidic or very alkaline, a basic soil test helps more than guessing.
Still, eggshells are a low-risk habit for most gardens.
Pair shells with steady watering and mulch.
That combination helps plants use nutrients without stress.
Use Coffee Grounds Like a Seasoning, Not a Meal
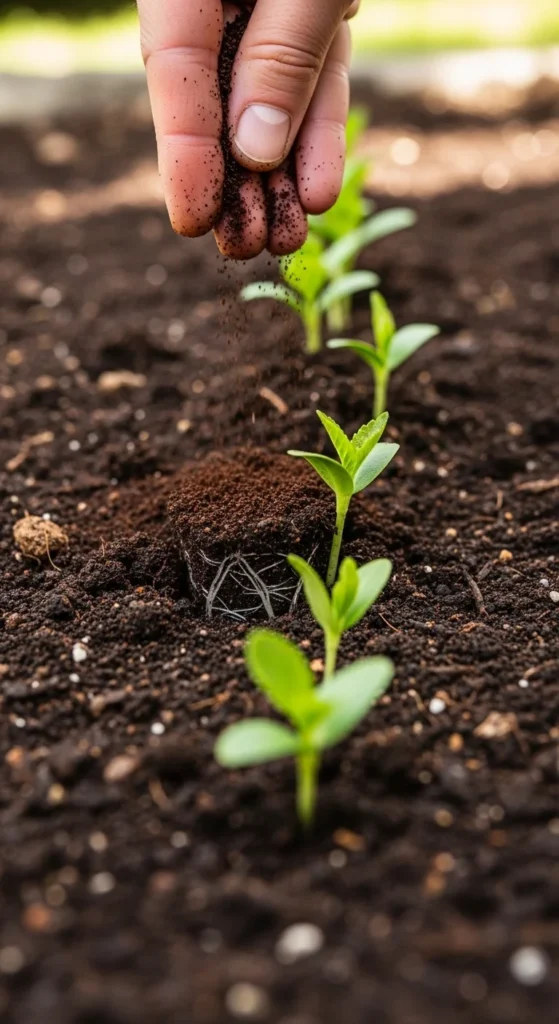
Coffee grounds can be helpful, but too much can make soil clump.
Small amounts are the sweet spot.
Sprinkle a thin layer, then cover with leaves or compost.
Or mix grounds into compost first.
DIY example: add one cup of grounds to a five-gallon bucket of dry leaves.
Mix, then spread as mulch.
Budget tip: many cafes give away used grounds for free.
Take a small amount, not a trunk full.
Avoid piling grounds thickly around seedlings.
That can form a crust when it dries.
If you want a simple routine, add grounds to compost weekly.
That’s easier than deciding where they go in the garden.
Used lightly, grounds add organic matter and can attract worms.
Used heavily, they can block airflow.
If you’re unsure, start with less.
You can always add later, but you can’t un-clump a crust easily.
Water Deeply So Roots Learn to Travel
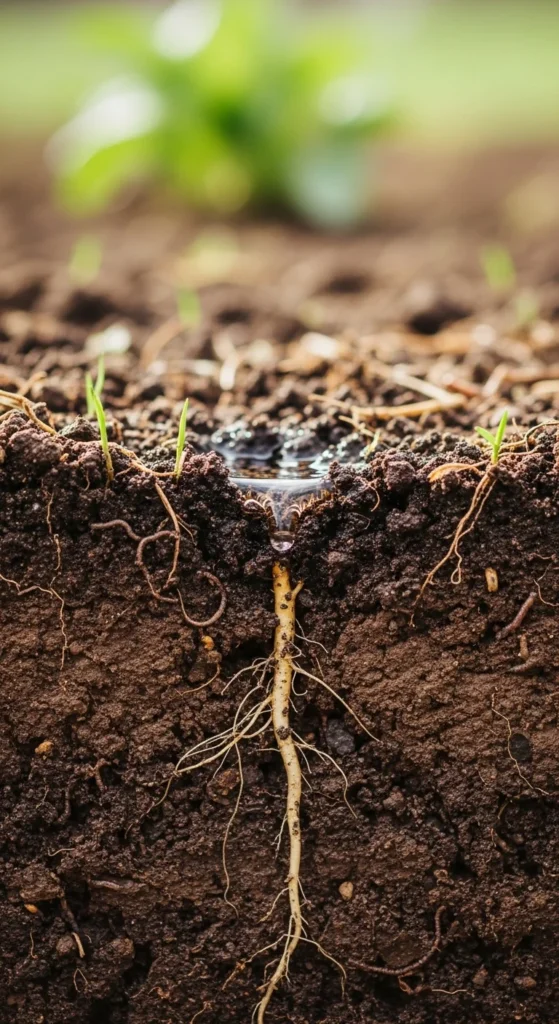
Frequent light watering trains roots to stay near the surface.
That makes plants wilt faster on warm days.
Try watering more deeply, less often.
Aim to soak the soil several inches down.
A simple check: push your finger or a stick into the soil.
If it’s dry two inches down, it’s time to water.
DIY example: use a bucket with a tiny hole near the bottom.
Set it by a plant and let it drip slowly for 30–60 minutes.
Budget tip: water early in the morning.
Less evaporation, more water reaches roots.
Mulch makes this easier.
It slows drying so you aren’t tied to the hose.
If you have clay soil, water slower.
If you have sandy soil, water a bit longer.
The goal is steady moisture, not soggy soil.
Roots like air and water together.
Once plants settle in, you’ll often water less overall.
Deep watering is a habit that saves time later and helps plants handle hot spells.
Fix Drainage With Small Channels, Not Big Projects
If water pools for hours after rain, roots can struggle.
But you don’t need major construction to help.
Start with a shallow channel that guides water away from beds.
Even a 2–3 inch groove can change flow.
Add mulch and compost on top of the bed.
Over time, soil structure improves and water sinks in better.
DIY example: make a tiny “swale” along the bed edge using a hoe.
Guide water toward a lawn area or a gravel strip.
Budget tip: use leftover stones or broken pavers to line the channel.
It reduces erosion and looks neat.
If your bed is low, raise it slightly by adding compost and leaf mulch over a few weeks.
You’re building height slowly without hauling lots of soil.
Also avoid stepping in wet beds.
Footprints become mini-puddles that stay wet.
Small drainage tweaks are often enough.
Once water moves and soil stays airy, roots can spread without sitting in soggy spots.
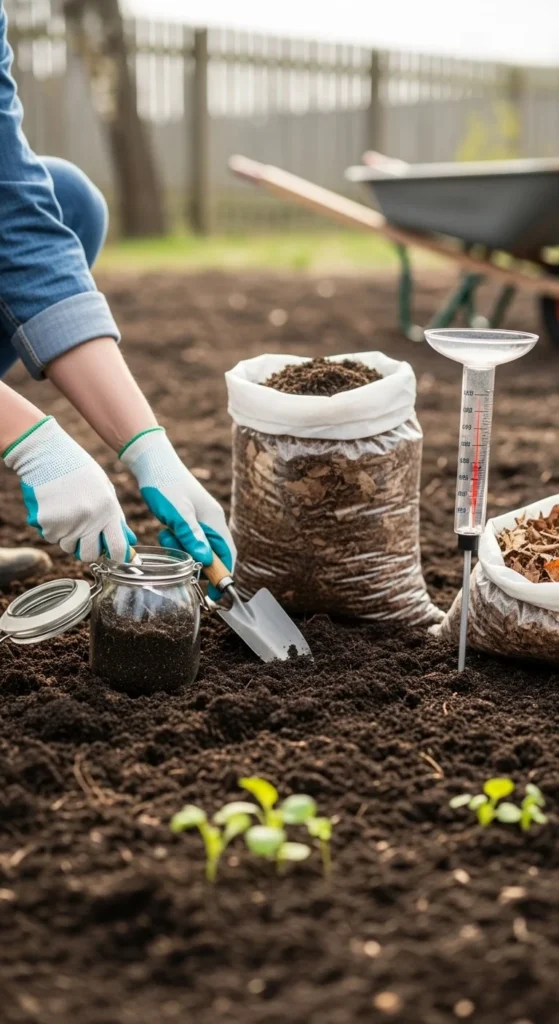
Do a Cheap Soil Test Before Buying Anything
It’s easy to spend money on the wrong thing.
A basic soil test helps you avoid that.
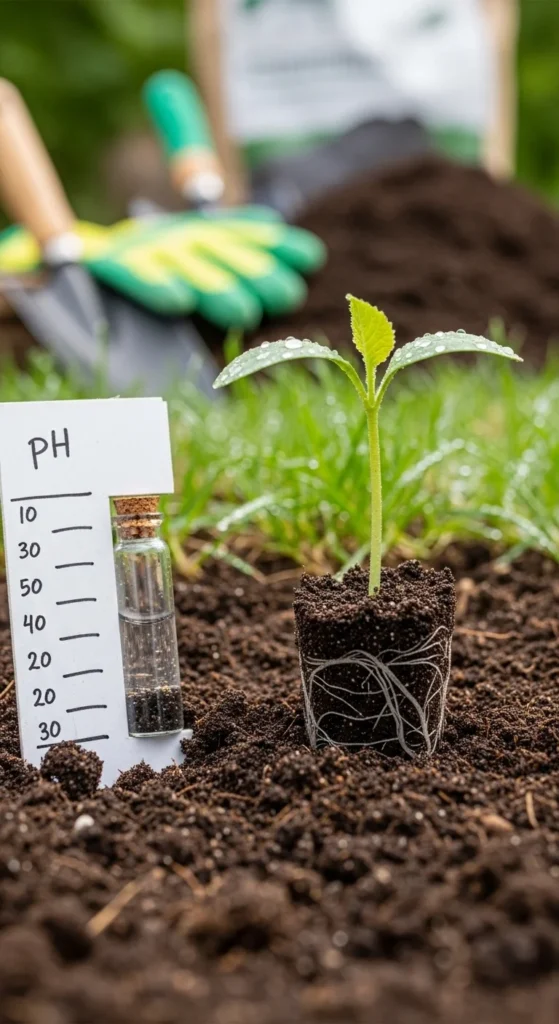
You can use an at-home kit for a quick snapshot.
Or use a local lab if it’s affordable where you live.
Focus on a few basics: pH, organic matter, and major nutrients.
That’s enough for most home gardens.
DIY example: take small soil samples from several spots in a bed.
Mix them in a clean bucket, then test that mix.
This gives a better average result.
Budget tip: if a lab test feels expensive, do it once for your main garden area.
Use that result for years, then retest every few seasons.
If your pH is off, simple fixes exist.
But don’t guess—amending blindly can create new problems.
Even without numbers, the act of sampling makes you look closely at your soil.
You notice compaction, rocks, roots, and moisture patterns.
A test doesn’t garden for you.
It just helps you make smarter, cheaper choices.
Rotate Plant Families to Reduce Soil Stress
Planting the same crop in the same spot year after year can invite repeat problems.
Rotation changes what the soil “sees” each season.
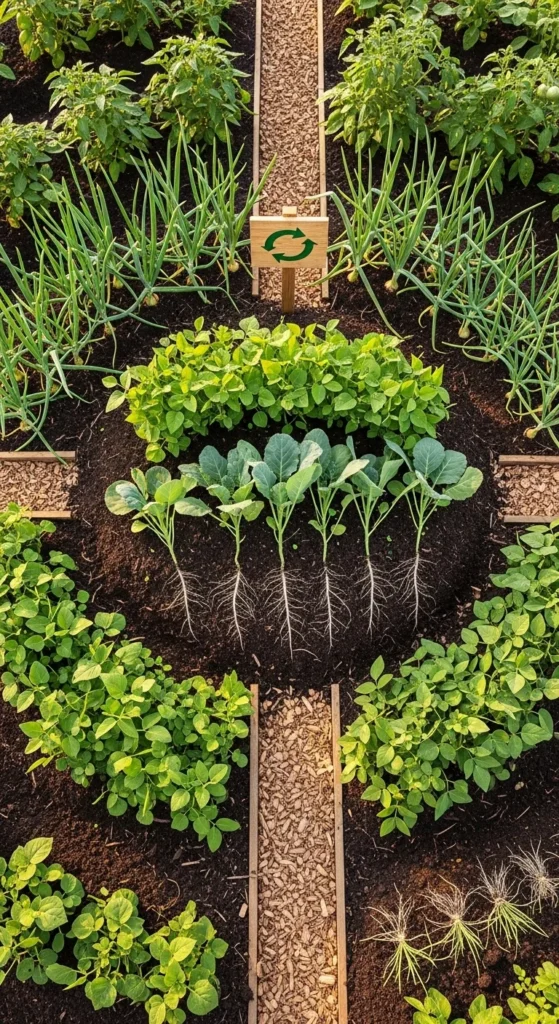
A simple home-garden rotation can be as easy as moving groups.
Tomatoes and peppers move to a new bed.
Beans go where tomatoes were.
Leafy greens shift again.
DIY example: draw your beds on a paper and label last year’s main crops.
Then pick new spots for each group.
Budget tip: use a free phone note or calendar reminder with bed names.
You’ll remember next year without guessing.
Rotation also spreads nutrient demands around.
Some plants are heavy feeders, while others are lighter.
If you only have one bed, rotate within the bed.
Plant tomatoes on one end this year, the other end next year.
Pair rotation with compost top-dressing.
That keeps soil from getting depleted in one area.
This is a planning habit that costs nothing.
It can reduce repeated issues and keep soil more balanced over time.
Start a Chop-and-Drop Corner for Free Mulch
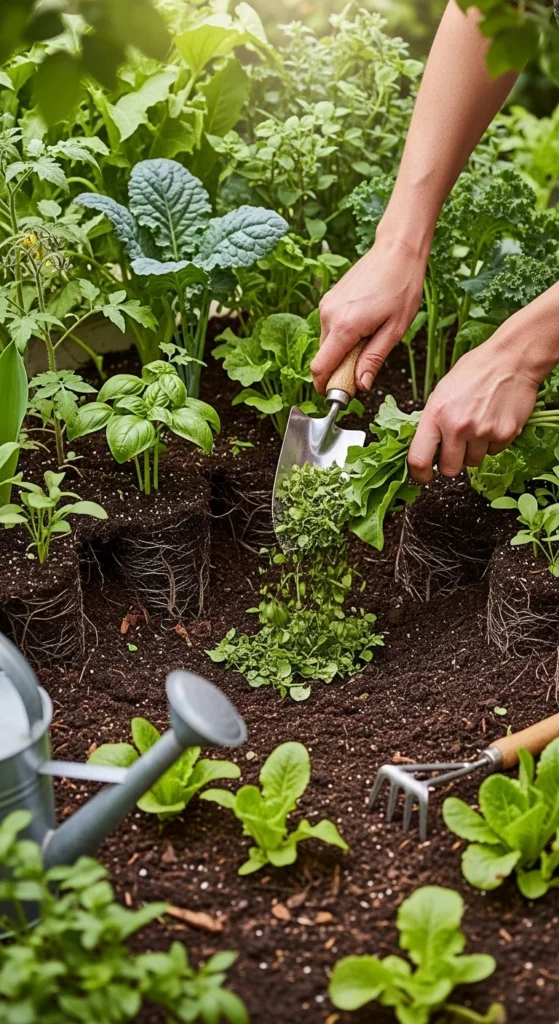
“Chop-and-drop” just means cutting plants and leaving them on the soil.
It’s free mulch and free organic matter.
Pick a corner where you can grow fast plants like clover or simple greens.
Let them grow, then cut them down before they flower.
Lay the cuttings right on the soil.
They dry and break down, feeding the bed.
DIY example: when thinning seedlings, don’t toss the extras.
Lay them between rows as a light mulch.
Budget tip: this reduces how much mulch you buy.
It also saves trips to the compost pile.
If your cuttings are thick and wet, spread them out thinly.
That helps them dry instead of turning slimy.
Over time, you’ll see the soil darken and soften in chop-and-drop areas.
Worms often show up too.
This method works well between crops.
After harvesting early greens, chop leftover tops, leave them, and plant the next crop right through the layer.
Small habit, steady soil improvement, less waste.
Create a No-Step Zone to Stop Compaction

Soil compaction happens fast.
A few steps on wet soil can press out air pockets that roots rely on.
Decide where your feet go and where they never go.
Mark paths with stones, wood chips, or boards.
If you have wide beds, add a stepping board you can move.
It spreads your weight and keeps soil from packing down.
DIY example: lay two old fence boards along a bed edge.
Use them as a stable path when planting and weeding.
Budget tip: wood chips in paths are cheaper than rebuilding soil later.
They also reduce mud.
If a bed is already compacted, start by keeping off it.
Then add compost on top and mulch.
Moisture and time help it loosen.
Compaction can look like water pooling on top or hard cracking when dry.
Fixing it is slower than preventing it.
A no-step rule is one of the simplest ways to protect soil health.
Roots grow easier when the ground stays airy.
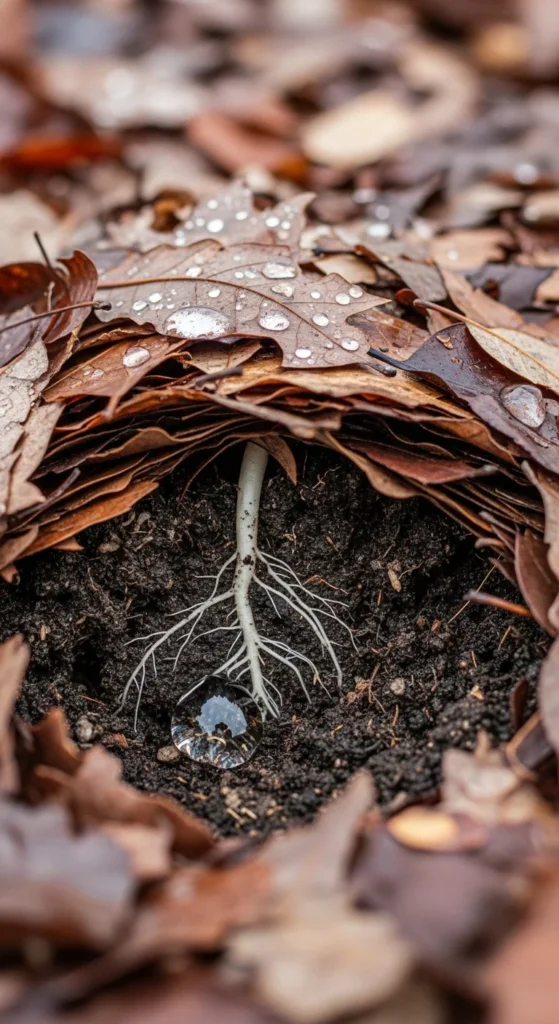
Start a Leaf-Mold Pile Now for Next Spring
Leaf mold is just leaves that break down into a soft, dark material.
It’s amazing for water-holding and soil texture.
Pick a shady corner.
Pile leaves in a simple wire ring or breathable bag.
Water the pile if it’s dry.
Then leave it mostly alone.
DIY example: stuff leaves into large reusable yard bags.
Poke a few holes for airflow, then set them behind a shed.
Budget tip: this is nearly free soil material.
You’re turning yard waste into something useful.
Leaf mold takes time, but it’s low effort.
By next spring, you’ll have a soft, crumbly amendment you can spread like mulch or mix into potting soil.
If you only have a small amount of leaves, still do it.
Even one bag becomes a “soil saver” for containers.
This is also a great way to use leaves without filling trash bins.
Your garden gets the benefit instead.
Start now, and your future self will be glad you did.
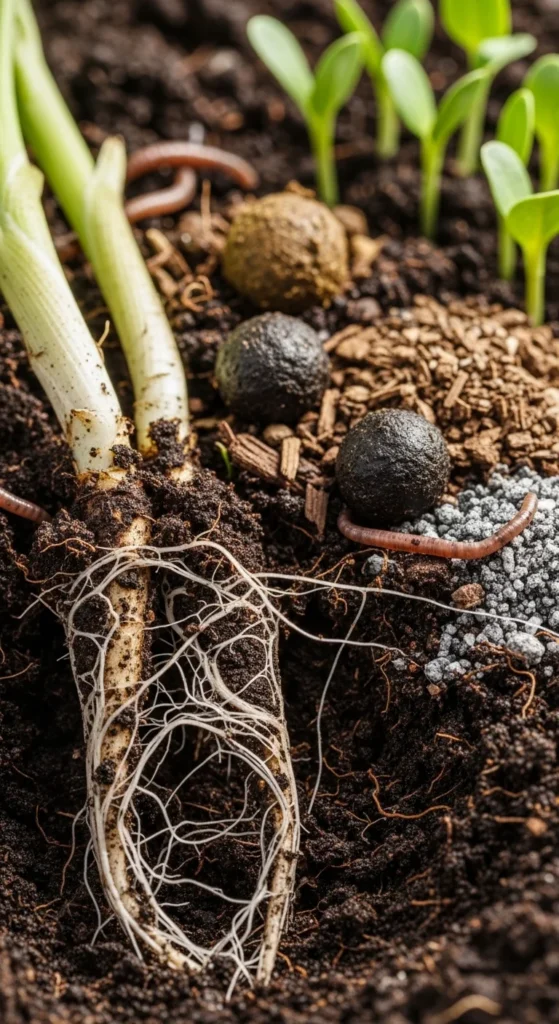
Add a Simple “Root Zone” Compost Ring
If you don’t want to spread compost everywhere, focus it where roots will feed.
Most feeder roots sit in the top few inches and spread outward.
Make a ring of compost around each plant.
Aim for the ring to be wider than the plant’s leaves.
Water the ring lightly.
Then cover it with leaf mulch to hold moisture.
DIY example: for tomatoes, make a compost ring about 12–18 inches wide.
For peppers, 8–12 inches works.
Budget tip: use compost where it counts most.
This stretches a small compost supply across many plants.
Avoid piling compost right against the stem.
That area should stay drier and airy.
Over the weeks, roots reach out into that ring.
You can repeat the ring mid-season with a thinner layer.
This approach is simple, tidy, and easy to maintain.
It’s also beginner-friendly because you can see exactly where you fed the soil.
Use a “Mulch Donut” to Prevent Stem Rot
Mulch helps soil, but mulch against stems can cause trouble.
Moist material touching stems can lead to rot and pests.
Make a simple “donut” around each plant.
Leave 2–3 inches of bare soil around the stem, then mulch outside that circle.
This keeps the root zone shaded while the stem stays dry.
It’s a small detail that prevents a lot of problems.
DIY example: use shredded leaves around seedlings.
As plants grow, widen the donut so mulch stays off the main stem.
Budget tip: if you’re short on mulch, use it only in the donut zone first.
Then fill in other areas later.
This also helps you water better.
You can water inside the donut so moisture goes down, not across the surface.
If you see mold on mulch, don’t panic.
That’s often normal breakdown.
Just keep it away from stems and keep layers airy.
A mulch donut is a simple habit that keeps plants healthier without extra products.
Add a Thin Layer of Sand Only Where It Makes Sense
Sand can help in a few specific cases, like leveling a lawn patch or improving a potting mix.
In garden beds, too much sand can make soil harder, not softer.
If you want to try sand, use it lightly and mix it with organic matter.
Never add sand alone to heavy clay.
DIY example: for a soggy walkway, spread a thin layer of coarse sand, then cover with wood chips.
This improves footing and reduces mud.
Budget tip: use sand for paths, not for beds.
It’s usually cheaper and more effective there.
If your goal is better soil texture, compost and leaf mulch are safer.
They improve both drainage and water-holding without creating a hard layer.
If you already have sandy soil, don’t add more sand.
Add compost and mulch to help it hold moisture.
This tip is here to save you money and headaches.
Sand sounds simple, but it’s easy to overdo.
When in doubt, choose organic matter first.
Use Kitchen Scrap Compost Trench Between Rows
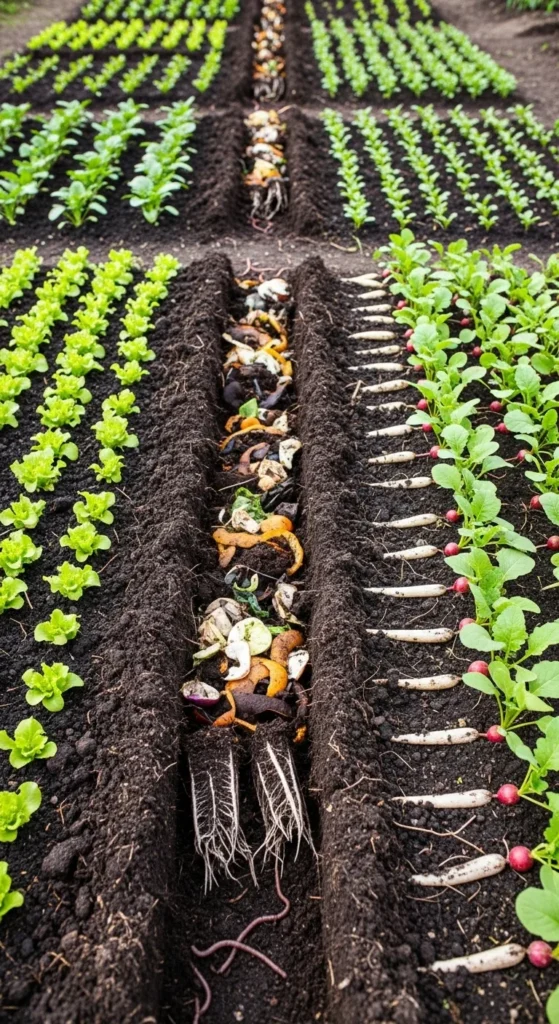
A compost trench is a tidy way to feed soil without a big compost bin.
You bury scraps in a long, shallow trench between plant rows.
Dig a trench 8 inches deep.
Add veggie scraps, then cover with soil and a little mulch.
As scraps break down, worms and microbes spread nutrients outward.
Plants nearby can tap into that zone.
DIY example: do this between rows of corn or along the edge of a squash bed.
Keep the trench away from tiny seedlings at first.
Budget tip: this reduces waste and turns it into soil food.
No extra tools beyond a shovel.
Keep trenches covered well to avoid smells and animals.
Stick to plant scraps.
If you’re short on scraps, add chopped leaves too.
It balances moisture and helps breakdown.
You can rotate the trench location each time.
That spreads organic matter across the whole bed over the season.
This is practical gardening: less trash, better soil, and a system you can repeat without spending money.
Use a Simple Garden Fork “Wiggle” for Air

If soil feels tight, you don’t need to turn it over.
You can add air with a gentle fork method.
Push a garden fork straight down 6–8 inches.
Pull back slightly and wiggle.
Then pull it out and move a few inches over.
This opens tiny spaces for water and air.
Roots like that.
DIY example: do the fork wiggle in a compacted bed, then top-dress compost and mulch.
The openings help compost wash in.
Budget tip: a basic garden fork lasts years.
If you don’t have one, borrow from a neighbor.
Do this when soil is slightly damp, not soggy.
Wet soil compacts more easily.
If you hit lots of rocks, don’t fight it.
Work around them and focus on adding organic matter on top over time.
This method is fast and gentle.
It supports soil structure while making planting easier.
Try it in one corner and compare that spot in two weeks.
You’ll often feel the difference when you push your finger into the soil.
Make a Low-Cost Seedling Mix From What You Have
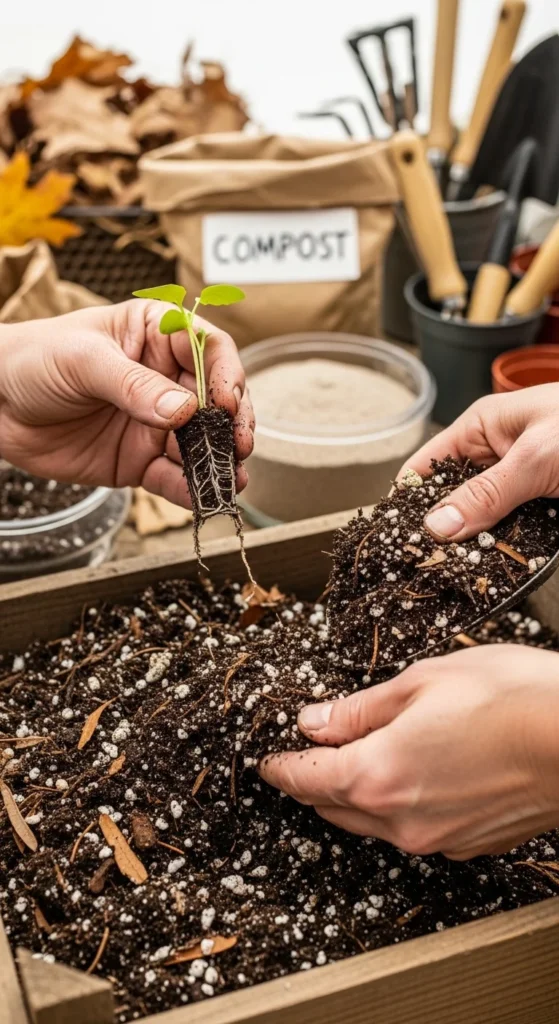
Seedlings don’t need expensive mixes.
They need a light, airy medium that holds moisture.
A simple DIY blend can be: potting mix plus a bit of coir or leaf mold.
If you have compost, use a small amount, not half the mix.
DIY example: for a small tray, mix 3 parts potting mix and 1 part coir.
Stir well, dampen it, then fill cells lightly.
Budget tip: reuse containers like yogurt cups with drainage holes.
Clean them and label them with a marker on the bottom if you want.
Avoid heavy garden soil for seedlings.
It compacts and makes tiny roots struggle.
If you must use garden soil, sift it and mix it with coir or leaf mold.
That helps airflow.
Keep the surface lightly mulched with a pinch of coir or fine compost.
It reduces crusting.
Good seedling soil is about texture.
When you squeeze it, it should hold together softly, then crumble easily.
This saves money and gives you control.
You’ll also learn what your plants like by watching how they grow.
Use Rain Barrels or Buckets to Catch Free Water
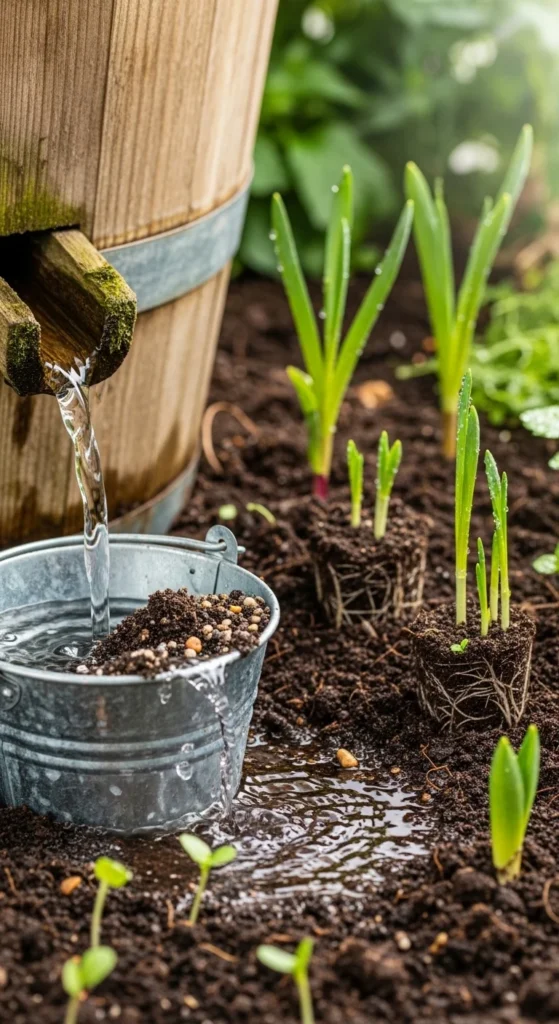
Soil health and watering go together.
If you can catch free rainwater, your garden becomes easier to manage.
You don’t need a full rain barrel setup.
A clean trash can or large bucket under a downspout can work short-term.
Use the water to soak beds after a dry week.
Rainwater is often gentler on plants than heavily treated tap water.
DIY example: place two buckets by the downspout during rain.
Afterward, use a watering can to spread the water where it’s needed.
Budget tip: check local groups for used barrels.
People often give them away after moving.
Cover containers with a lid or fine mesh.
That keeps bugs out and water clean.
Even a few gallons help.
Use it on new transplants, seed beds, or containers that dry out quickly.
Pair rainwater with mulch.
Mulch helps every drop last longer.
This is a simple way to cut water bills and keep soil moisture steadier.
Steady moisture supports steady root growth.
Feed Soil With Cheap, Slow Inputs (Not Constant Feeding)
You don’t have to feed plants every week if you feed the soil well.
Slow inputs break down over time and support steady growth.
Use compost, shredded leaves, and simple kitchen-scrap methods.
Add a little, then let time do the work.
DIY example: pick one slow habit per month.
March: compost top-dress.
April: leaf mulch.
May: compost ring refresh.
Budget tip: avoid buying multiple bottles and powders.
Put that money into one good compost source, or build your own.
If you like using store-bought fertilizer, keep it simple and light.
Too much can stress roots and soil life.
The “slow and steady” plan also fits busy schedules.
You’re not locked into weekly routines.
Watch your soil over the season.
If it stays crumbly and holds moisture, you’re on track.
If plants look pale, add compost around them or use a gentle compost soak.
Then wait a week before adding anything else.
The goal is a calm soil system.
When soil stays stable, roots spread wider and plants handle weather swings better.
Turn Weeds Into Mulch (Before They Seed)
Weeds can be annoying, but they’re also free organic matter.
If you pull them early, you can reuse them.
Shake off soil from roots.
Then lay weeds on top of the soil as a thin layer.
Do this only before weeds have seeds.
Seeded weeds belong in a hot compost pile or trash.
DIY example: after weeding, place weeds between rows like a light blanket.
Cover with leaf mulch to keep them from re-rooting.
Budget tip: this reduces how much mulch you buy.
It also saves trips back and forth.
If weeds are thick and wet, spread them out thinly so they dry.
Dry weeds break down slower and don’t get slimy.
For stubborn weeds that re-root easily, dry them in the sun for a day.
Then lay them down.
This turns weeding into soil building.
You’re not just removing a problem—you’re adding material that helps the soil hold moisture and stay crumbly.
Small habit, less waste, better beds over time.
Conclusion
Strong roots start with small, steady soil habits you can actually keep up with. Top-dress compost, cover bare soil, water deeply, and protect beds from compaction. Use free materials like leaves, cardboard, and clean kitchen scraps to feed soil over time. Pick three tips to do this week, then add one more each weekend. Your garden will be easier to water, easier to weed, and far more rewarding by mid-season.

Leave a Reply