
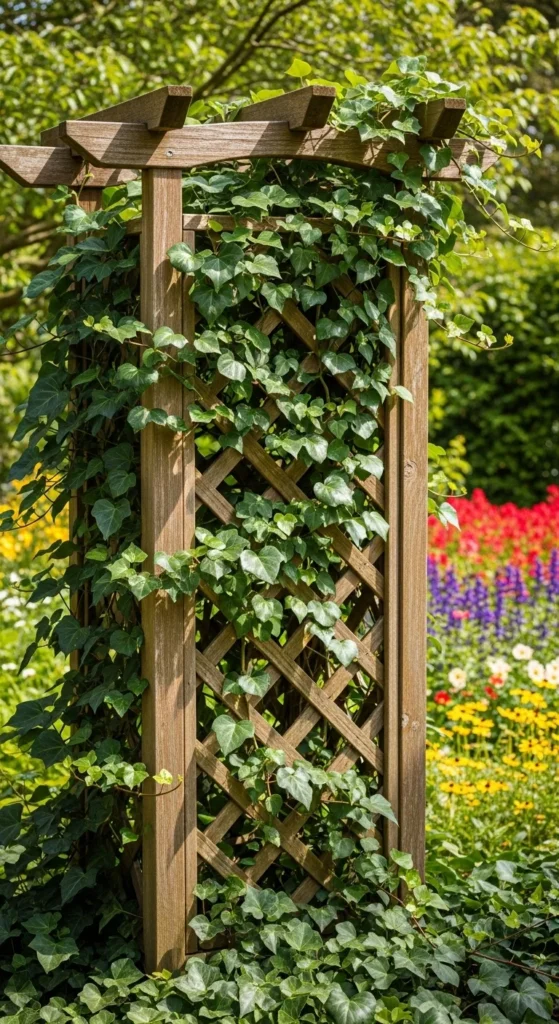
If you’re looking to add a touch of elegance and functionality to your garden, building your own garden trellis is a great DIY project. Whether you want to support climbing plants or simply create a beautiful structure, a trellis can be a charming addition to your outdoor space. And the best part? It’s easier than you think!
In this guide, we’ll walk you through the steps to make a simple and stylish garden trellis that suits your space. Let’s get started!
Materials You’ll Need for Your DIY Garden Trellis
Before you begin building your trellis, gather the following materials. Don’t worry, you won’t need to spend a fortune on this project!
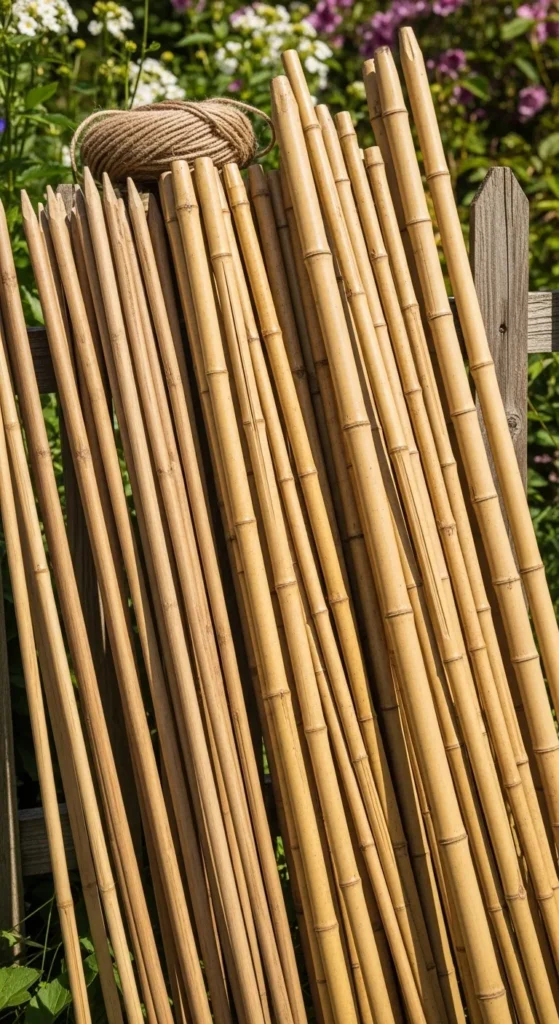
- Wooden stakes or bamboo poles (length depends on your desired height)
- Horizontal slats (e.g., cedar or treated pine wood)
- Nails or screws
- Hammer or drill
- Saw (if cutting wood to size)
- Measuring tape
- Outdoor wood paint (optional for finishing)
- Safety gear (gloves, goggles)
Step 1: Plan Your Trellis Design
First, decide on the size and shape of your trellis. Do you want it to be a small archway, a tall vertical structure, or a wide horizontal trellis? Take into consideration the space where it will be placed, as well as the type of plants you plan to grow on it.
- Arch Trellis: Great for vines or flowers that you want to grow over a walkway.
- Lattice Trellis: Ideal for small spaces or against a wall.
- Free-standing Trellis: Perfect for growing plants like tomatoes, peas, or climbing roses in open spaces.

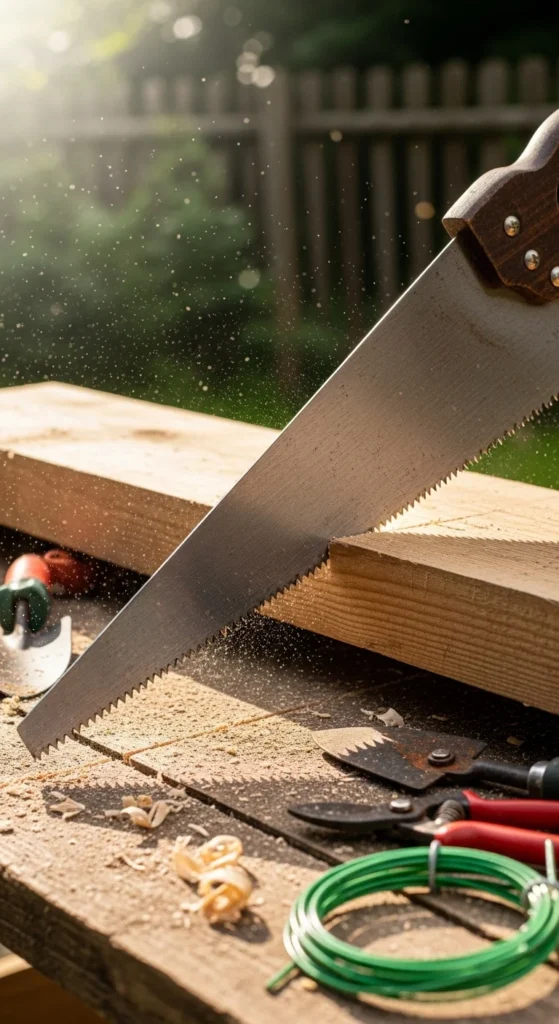
Step 2: Cut the Wood to Size
Once you’ve settled on the design, it’s time to cut the wood to the right lengths. You’ll need four vertical stakes (depending on the height you want), and horizontal slats to connect them.
- For a basic trellis, the vertical poles should be at least 6 feet tall.
- Cut the horizontal slats to your desired width, ensuring they fit evenly between the vertical stakes.
If you’re using bamboo poles, simply cut them to size, as they’re usually light and easy to handle.
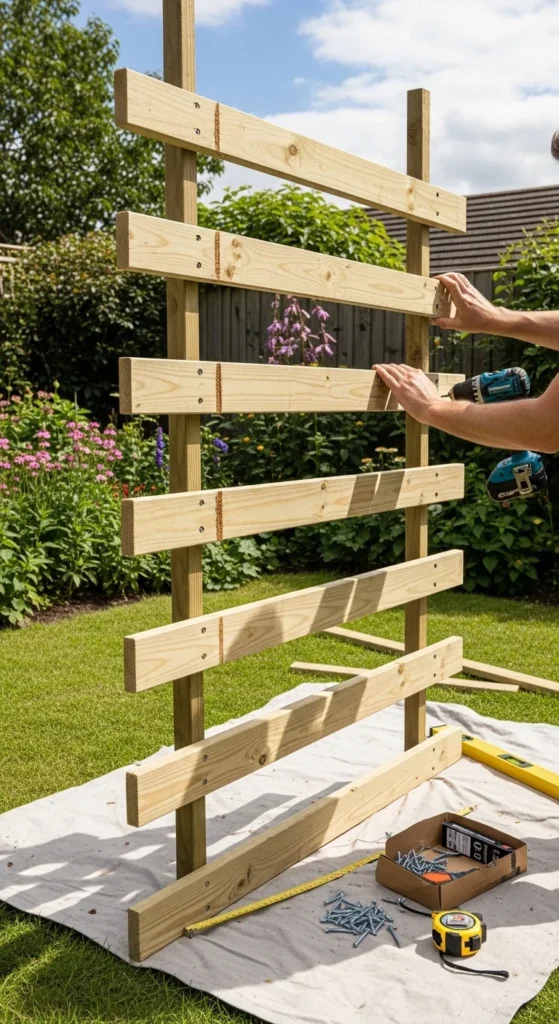
Step 3: Assemble the Trellis Frame
Start by laying out the four vertical poles in a square or rectangular shape, depending on your design. Use your measuring tape to make sure they’re evenly spaced. Then, attach the horizontal slats between the poles.
- Tip: Start with the bottom horizontal slat and work your way up, leaving equal space between each slat to allow plants to climb.
- Use a hammer or drill to secure each slat with nails or screws. Make sure the frame is sturdy and square.
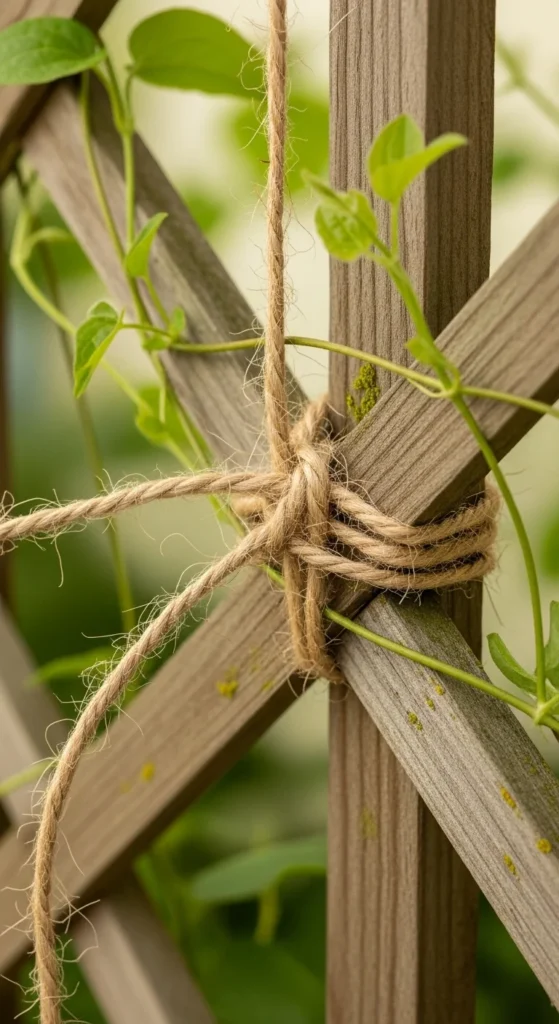
Step 4: Add Support for Climbing Plants
For plants that need extra support, you can add additional vertical slats or strings. Attach vertical pieces of wood or twine between the horizontal slats, creating more areas for the plants to climb. This is especially useful for growing beans, cucumbers, or climbing flowers.
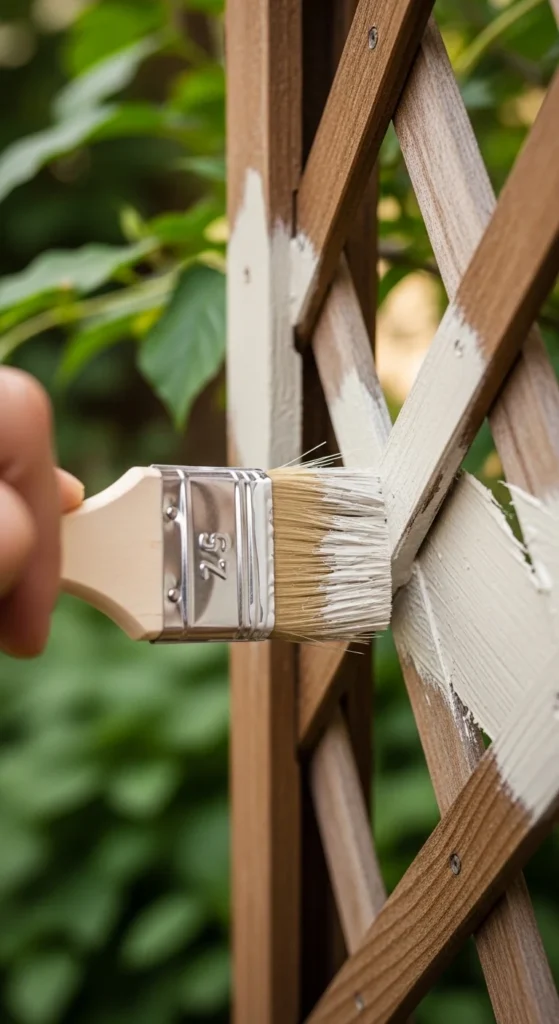
Step 5: Paint or Treat the Wood (Optional)
If you want your trellis to last longer and blend with your garden’s aesthetic, consider painting or staining the wood. Choose a non-toxic outdoor wood paint that complements your garden design. A coat of paint will not only give your trellis a polished look, but it will also help protect it from the elements.
- Tip: Light colors, like white or soft pastels, can create a fresh, clean look, while darker shades provide a more rustic or elegant feel.
Step 6: Install the Trellis in Your Garden
Now that your trellis is built, it’s time to install it in your garden! Choose a location that gets enough sunlight for your plants. Use a post-hole digger or a shovel to make holes for the vertical poles. Make sure the base is secure by filling the holes with dirt or gravel.
- For extra stability, you can attach the base of the trellis to a wooden frame or wall.
Once your trellis is standing tall and sturdy, start training your plants to climb. Gently tie their vines to the structure with plant ties or twine.

Final Thoughts
Creating a DIY garden trellis is a fun and rewarding project that adds beauty and function to your outdoor space. Not only will it support your climbing plants, but it will also elevate the look of your garden.
So, grab your tools and get started on this simple garden project. Happy gardening!
Save this guide for later and start building your own trellis today!

Leave a Reply