
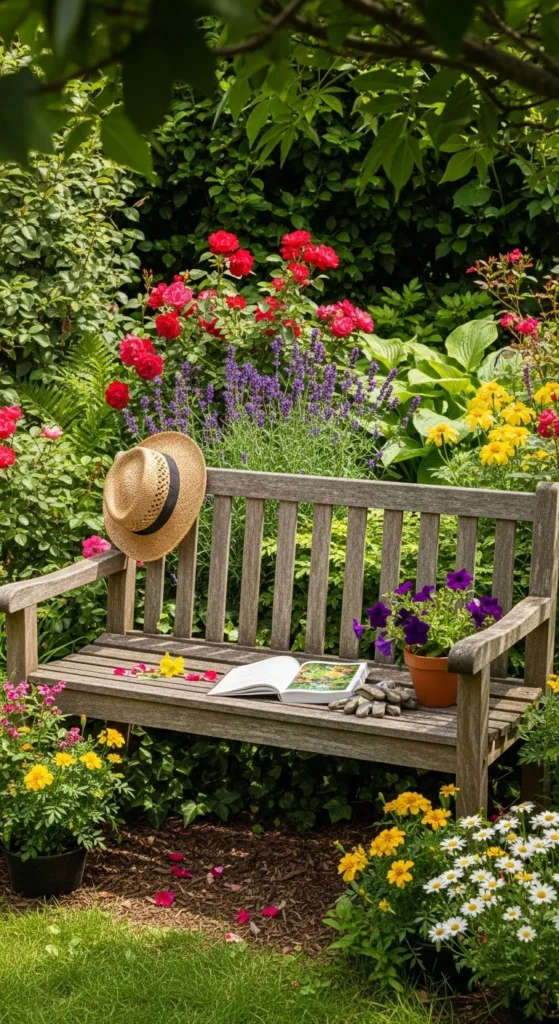
Transforming your garden into a cozy, inviting retreat doesn’t have to cost a fortune. One of the simplest ways to elevate your outdoor space is with a charming DIY garden bench. Whether you’re sipping morning coffee, reading a book, or entertaining friends, a handmade bench adds both function and style. And the best part? You can craft one with minimal tools, a bit of creativity, and some recycled or affordable materials.
Why Make Your Own Garden Bench?
Before we dive into the “how,” let’s talk about the “why.” DIY garden benches are:
- Customizable – Choose the size, style, and color that fits your garden perfectly.
- Budget-friendly – Upcycling wood or using affordable materials can save hundreds compared to store-bought benches.
- Fun & rewarding – Nothing beats the satisfaction of sitting on furniture you built yourself!
Plus, a DIY bench can be a conversation starter. Imagine telling your friends, “I made this myself!”
Materials You’ll Need
Here’s a simple list to get you started. You don’t need a professional workshop—just basic tools and materials:
- Wooden planks (cedar, pine, or reclaimed wood)
- Screws and nails
- Wood glue
- Sandpaper (medium and fine grit)
- Exterior wood paint, stain, or sealant
- Saw, drill, and screwdriver
- Optional: cushions or decorative throws for comfort

Step 1: Plan Your Bench
Every great project starts with a plan. Decide:
- Size – How many people should it seat? Standard benches are about 4–5 feet long.
- Style – Do you prefer a rustic farmhouse look, a sleek modern design, or a playful garden charm?
- Location – Measure the garden space so your bench doesn’t crowd other plants or pathways.
Sketching a simple diagram helps you visualize proportions and avoid mistakes during assembly.
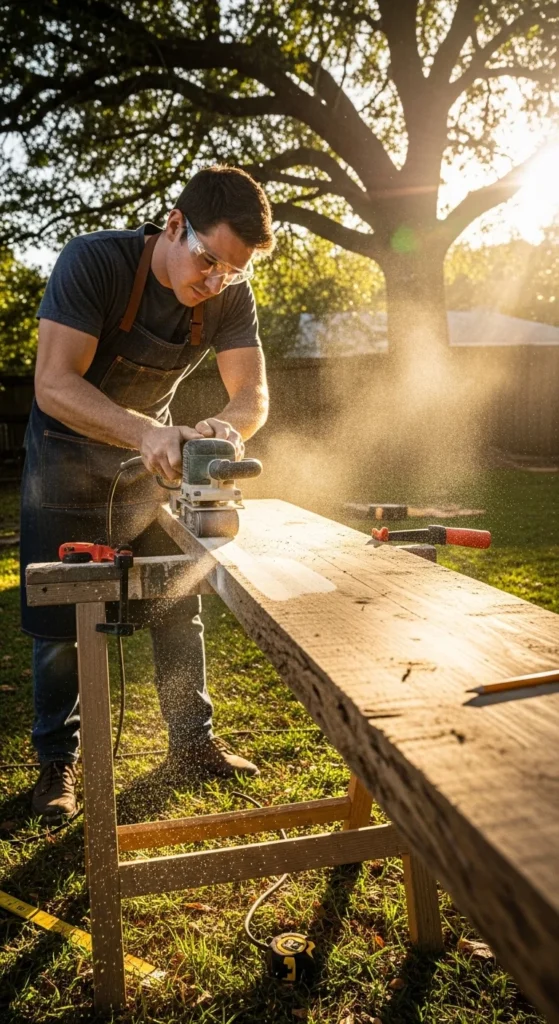
Step 2: Cut and Prepare the Wood
Once you have a plan, it’s time to prep your wood:
- Measure carefully – Mark the planks according to your bench dimensions.
- Cut planks – Use a saw for straight edges.
- Sand the surfaces – Smooth all edges and surfaces to avoid splinters.
- Optional – Treat the wood with a primer if you plan to paint or stain it.
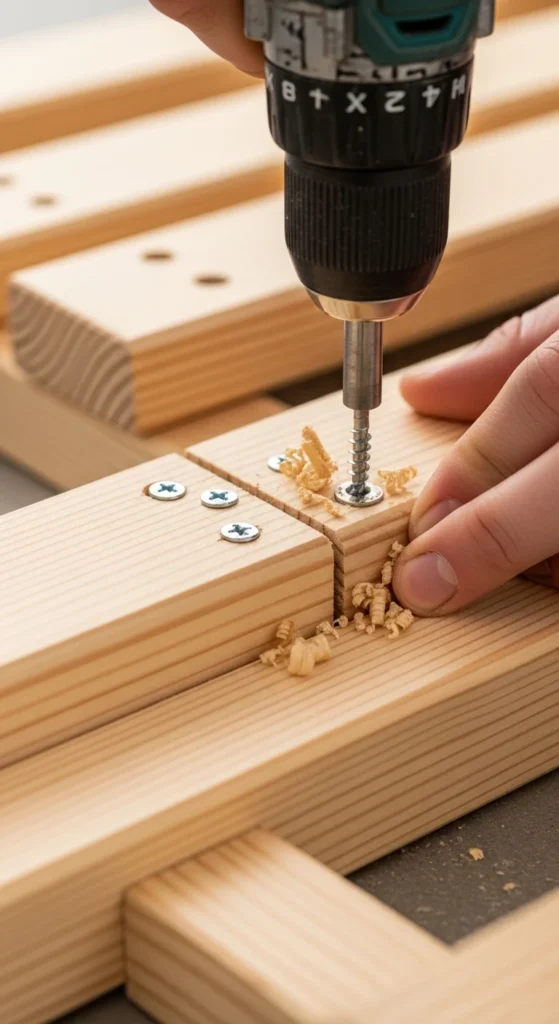
Step 3: Assemble the Bench
Now the fun part—bringing your bench to life!
- Start with the frame – Build the legs and supports first. Ensure everything is level.
- Attach the seat – Secure the top planks to the frame using screws or nails.
- Add the backrest – If your design includes a backrest, attach it last for stability.
- Reinforce joints – Use wood glue or extra screws for durability.
Tip: Always double-check that your bench is sturdy before moving it.
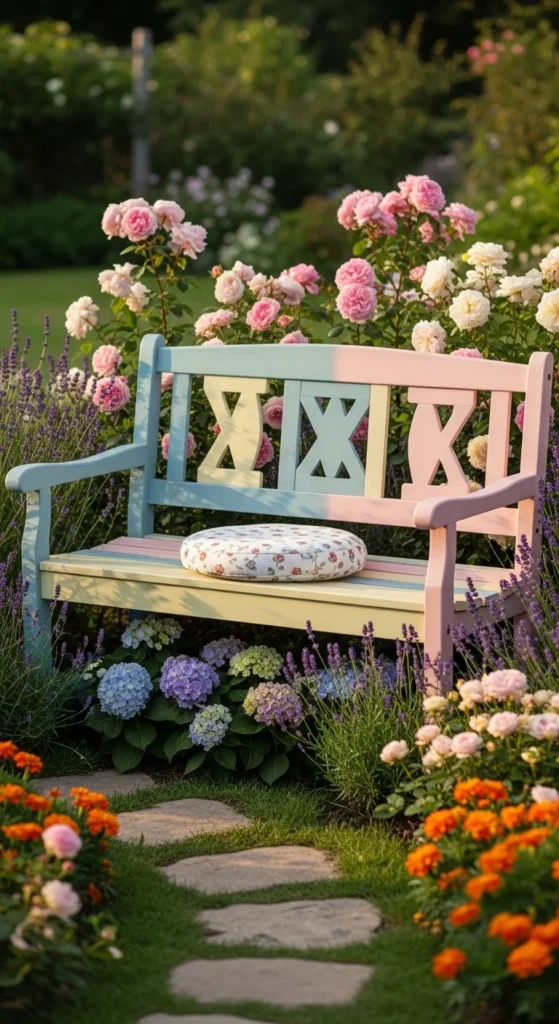
Step 4: Finish Your Bench
A good finish protects your bench from the elements and enhances its look:
- Paint or stain – Choose weather-resistant paint or a natural wood stain.
- Seal – Apply an outdoor sealant for longevity.
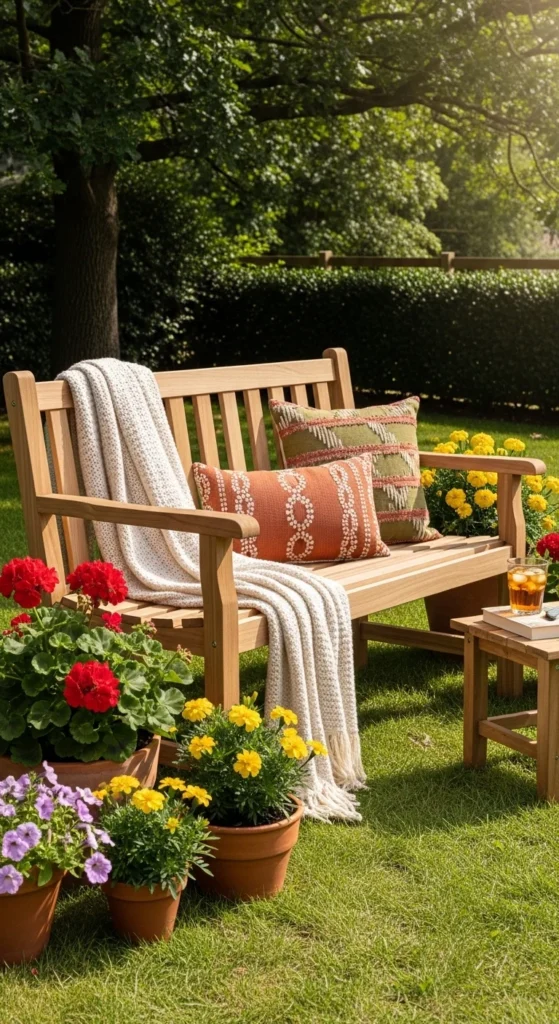
- Decorate – Add cushions, blankets, or even small potted plants nearby for a cozy vibe.
Tips for a Long-Lasting Bench
- Position your bench on a flat surface to prevent wobbling.
- Avoid direct contact with wet soil; place pavers or stones underneath.
- Clean and re-seal annually to protect from rain and sun damage.
- Experiment with colors and textures—your bench can be a statement piece!
Final Thoughts
Building your own garden bench is easier than you think, and it transforms your outdoor space instantly. With a few tools, some wood, and a touch of creativity, you’ll have a functional and beautiful centerpiece that’s entirely your own.
So, grab your materials, follow these steps, and create a DIY bench that invites relaxation and admiration. Your garden is waiting!

Leave a Reply