
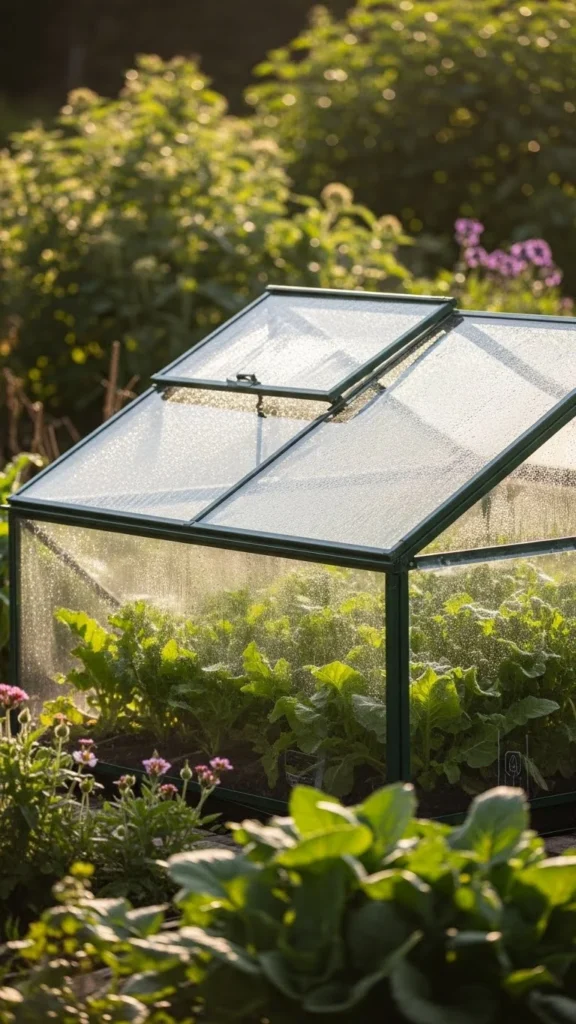
Cold frames give gardeners extra weeks—sometimes months—of growing time. They trap warmth, protect tender plants, and create a mini greenhouse effect that helps seeds and seedlings grow even when the outside temperature dips. Whether you garden on a patio, a backyard bed, or a small urban space, simple cold-frame ideas can stretch your harvest and keep greens thriving longer than you expect. Below are 26 practical, budget-friendly ideas that help you get more from your garden without complex builds or expensive tools.
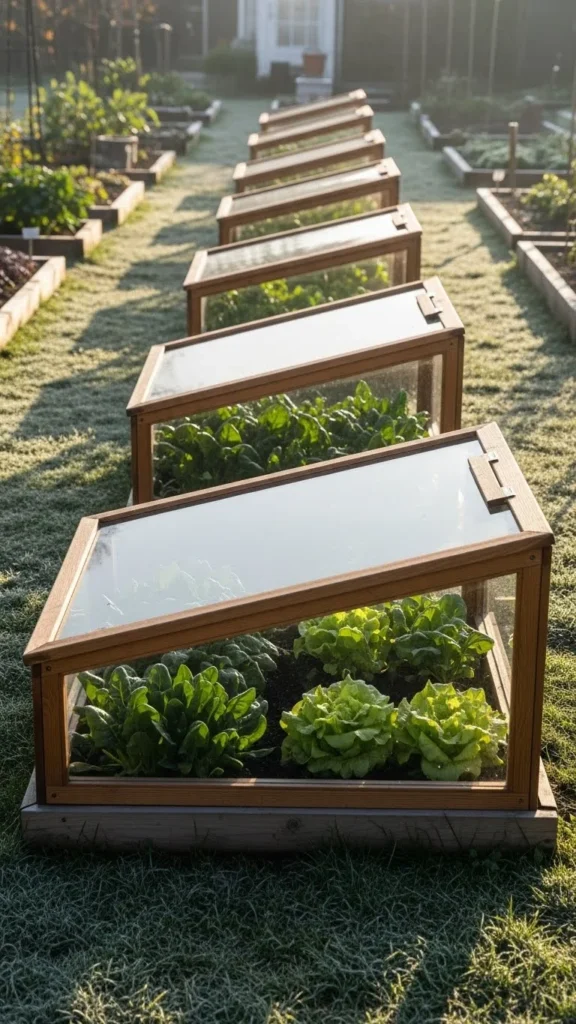
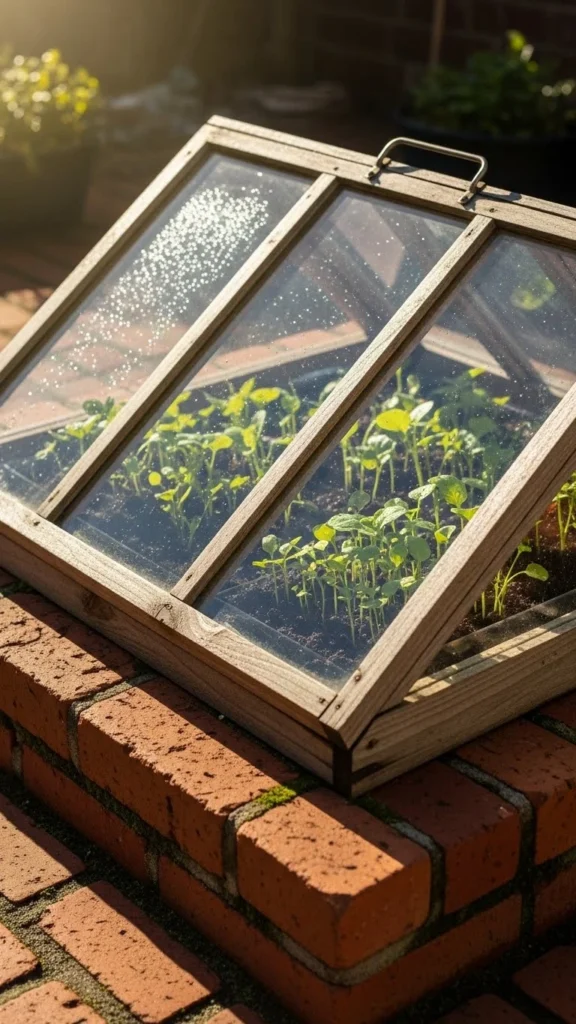
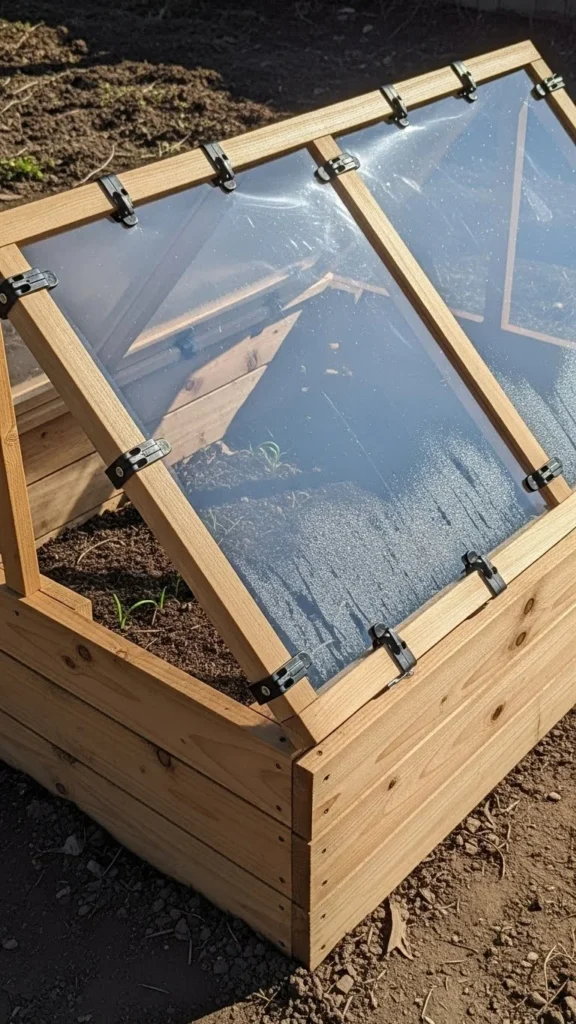
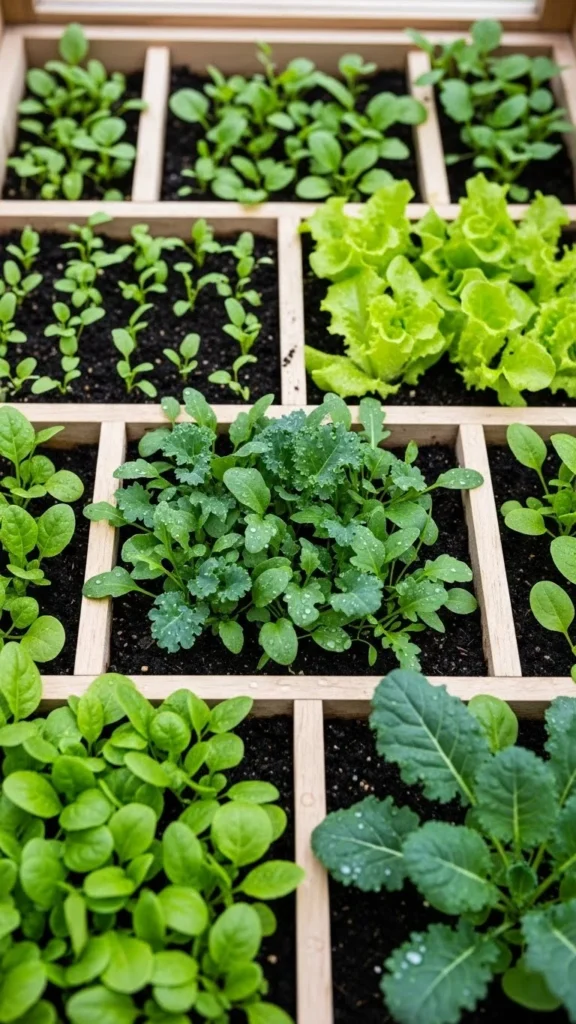
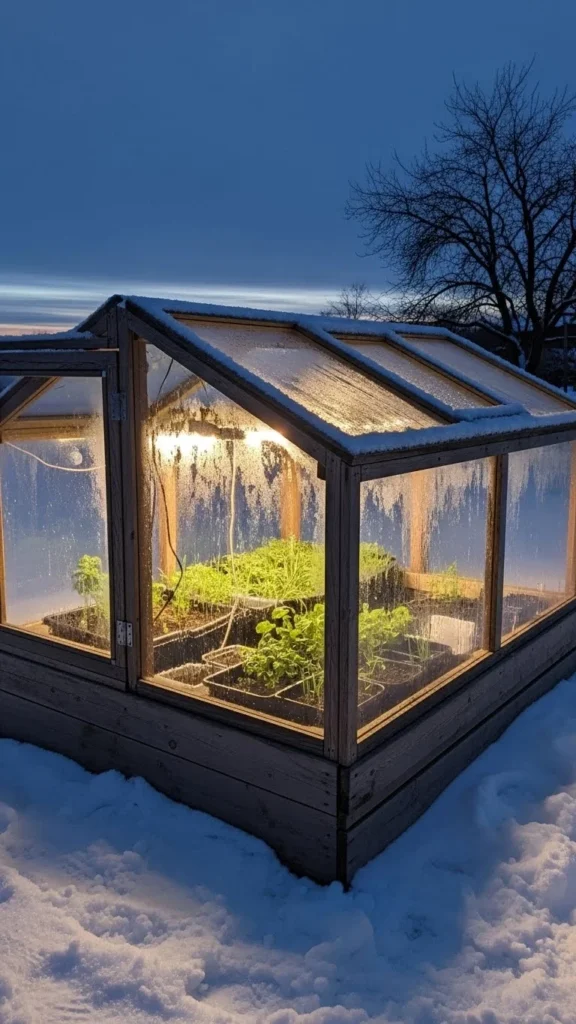
1. Build a Simple Wooden Box Frame
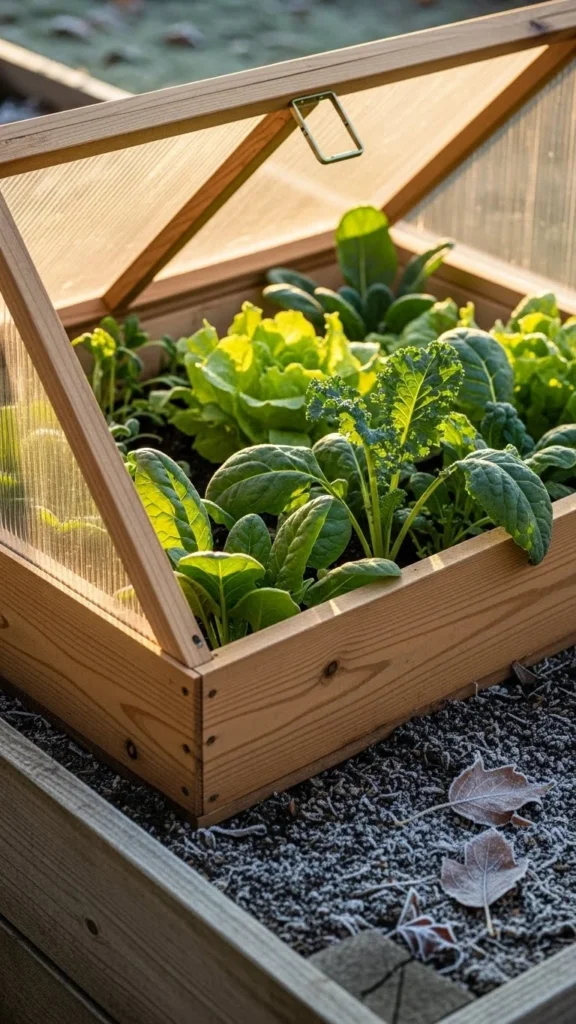
A wooden box frame is one of the easiest cold-frame setups. You can assemble it using scrap wood or leftover pallet boards. Keep the sides low so sunlight reaches the plants throughout the day. Add a clear lid made from old windows or plexiglass. This keeps warmth inside while letting light through.
Place the frame over hardy greens like spinach, kale, or lettuce. These plants tolerate cooler temperatures and respond well to the extra protection. If your area gets windy, add simple corner stakes to prevent the frame from shifting.
A small wooden frame is ideal if you want quick results without heavy construction. You can move it around the garden when different crops need protection. You can even stack straw bales around the outside for extra insulation during colder nights. A design like this helps you stretch your season with minimal effort and cost.
2. Repurpose an Old Window for the Lid
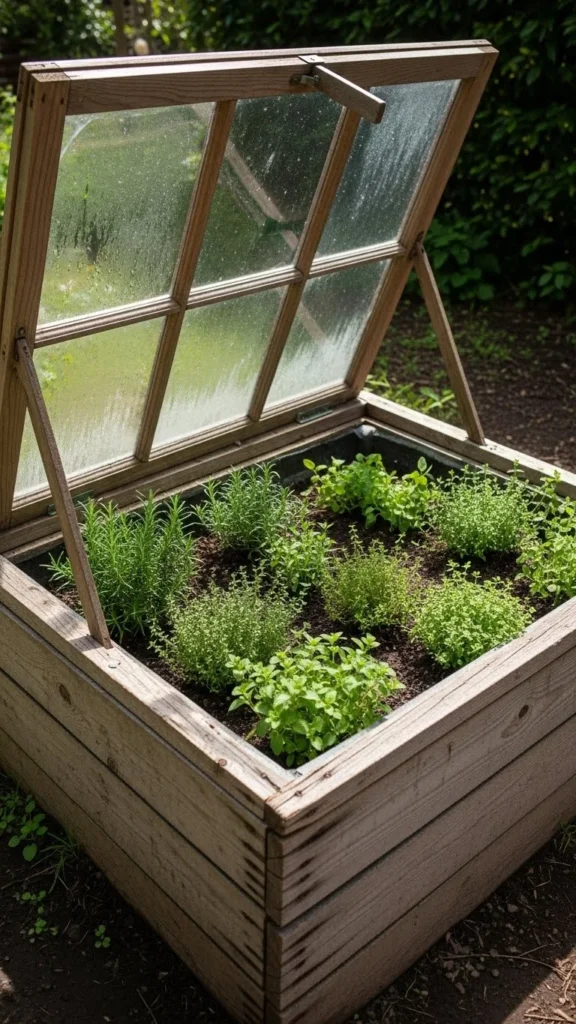
Old windows make excellent lids because they already have hinges and glass panels. Place the window over a wooden base or cinder block setup. Angle it toward the sun so the inside warms up quickly during winter mornings.
You can add a simple block or stick to prop it open on warm afternoons. This prevents overheating and gives your plants gentle airflow. Using an old window keeps costs low and adds charm to your garden.
This setup works well for gardeners who enjoy reclaimed materials. It also helps reduce waste since you’re giving old windows new life. Herbs like parsley, cilantro, and chives thrive under this type of cold frame because it maintains steady warmth without trapping excessive moisture.
3. Use Hay Bales as the Walls
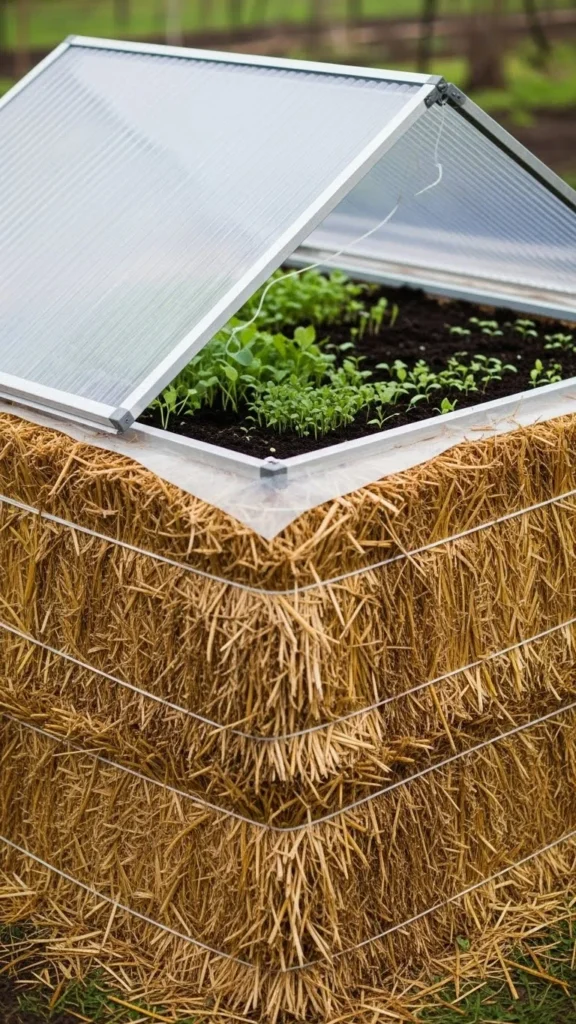
Hay or straw bales create naturally insulated walls. Stack four of them in a square, leaving the middle open. Add a clear plastic sheet or plexiglass panel on top. The thick bales trap warmth and block harsh winds.
This method is low-cost and works well for temporary winter setups. The bales last through the season and can be reused as mulch in the spring. The interior stays warm enough for cold-tolerant crops like carrot tops, radishes, or hardy greens.
Rotate the top panel open on sunny days to prevent trapped heat. Because the walls are thick, this setup handles colder nights better than thin wood frames. It’s perfect if you’re experimenting with season extension for the first time.
4. Add Bricks or Pavers Around the Base
Bricks and pavers absorb sunlight during the day and release it slowly at night. Place them around the outside of your cold frame or even create the frame walls using them. The stored heat gives your plants a more stable environment after the sun goes down.
This method works especially well for gardeners in regions with big temperature swings. You can reuse bricks year after year and rearrange them to fit different bed sizes.
Inside the frame, grow hardy greens or slow-growing root vegetables. The extra nighttime warmth helps them stay productive even when temperatures drop close to freezing.
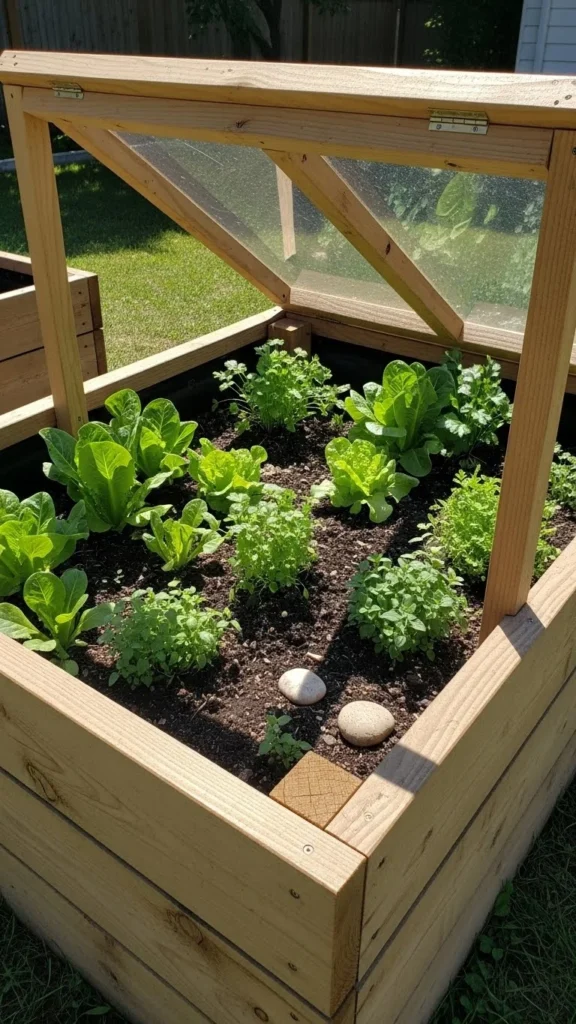
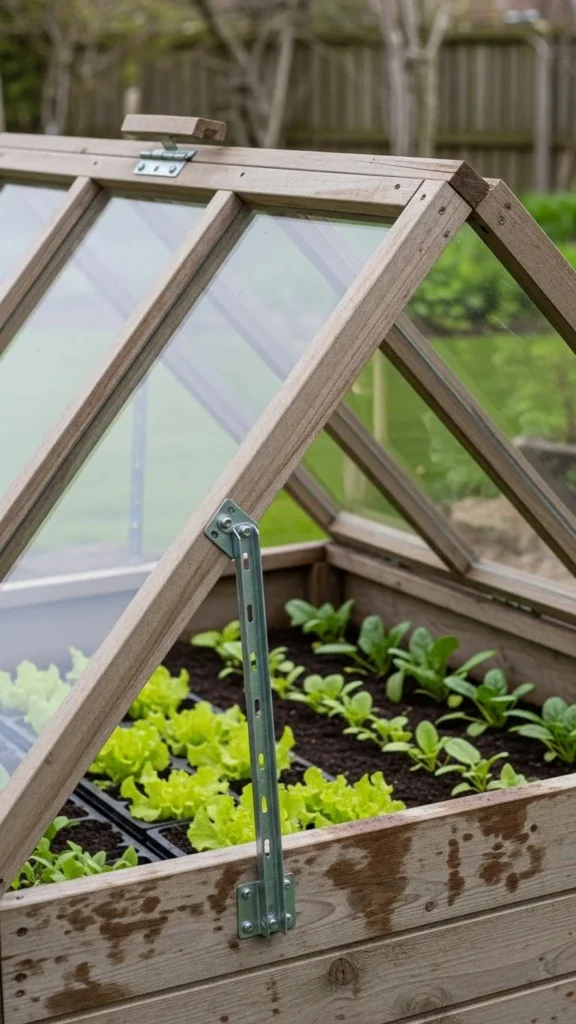
5. Install Hinges for Easy Opening
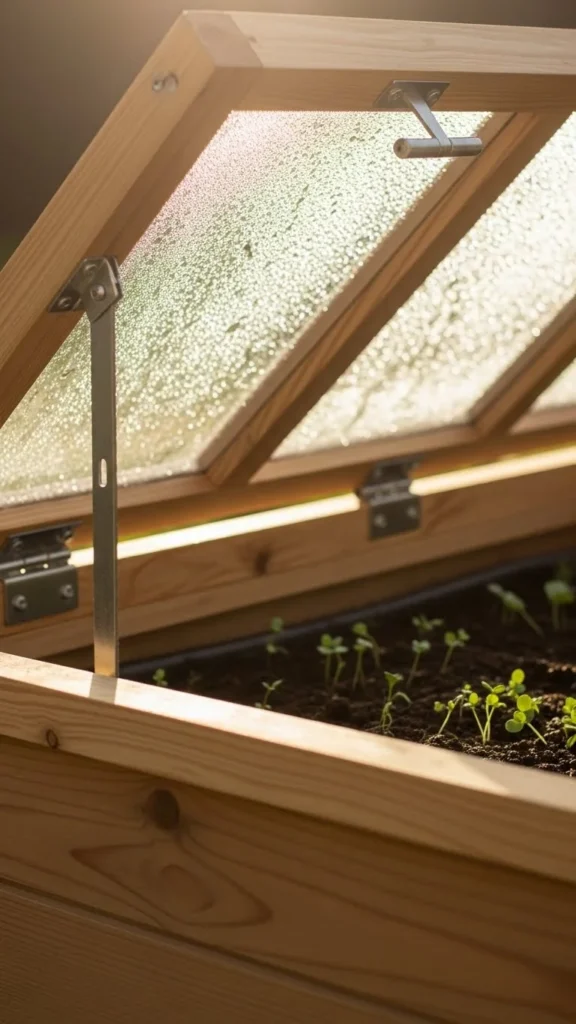
A hinged lid makes managing airflow easier. Attach simple metal hinges to one side so you can lift the lid quickly whenever temperatures climb. This prevents plant stress and reduces moisture buildup.
A hinged design is especially helpful when weather changes fast. You can open the frame in seconds to prevent trapped heat. It also makes seedling care easier since you don’t need to lift the entire lid each time.
If you grow delicate greens or winter herbs, this setup gives you more control. Hinges cost very little and turn your cold frame into a long-term garden tool that lasts through multiple seasons.
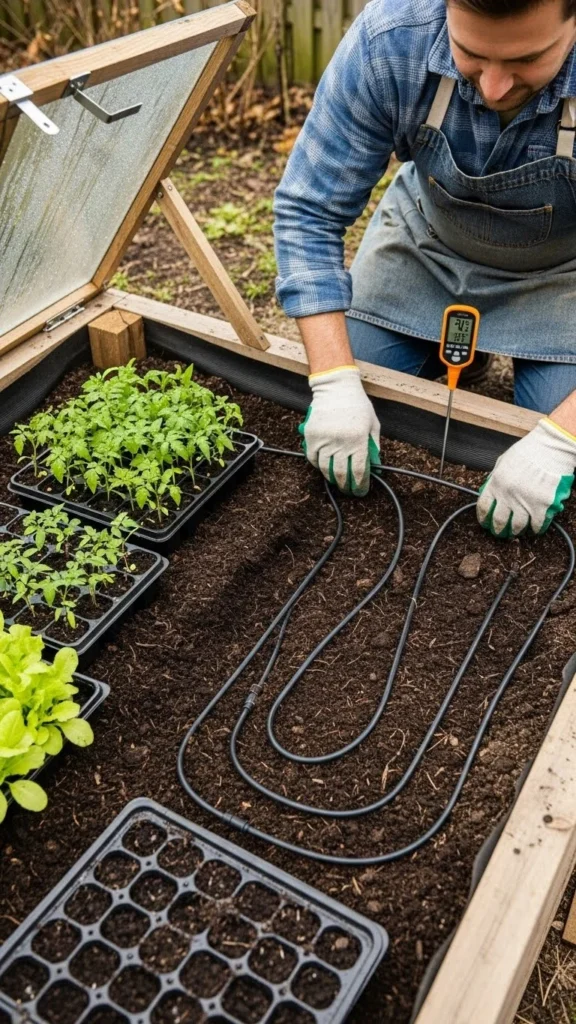
6. Add a Thermometer Inside
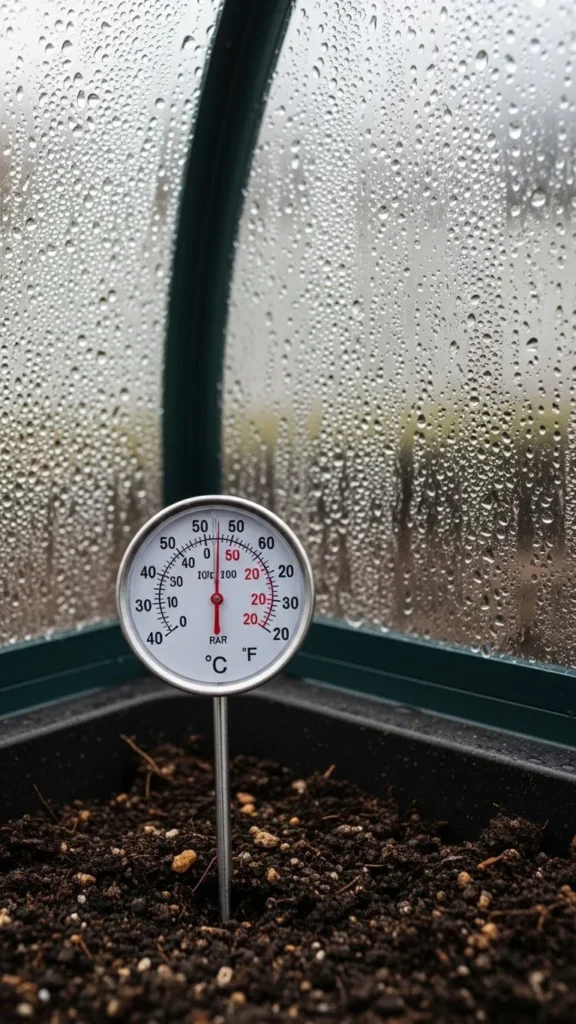
A small soil or air thermometer lets you monitor temperature changes inside the cold frame. This helps you decide when to open the lid or add extra insulation.
Cold frames warm up faster than you might expect. On sunny days, temperatures inside can rise high enough to harm cool-season crops. A thermometer gives you quick insight so you can avoid overheating.
Choose a simple weatherproof model and place it near the plants. You’ll learn how your frame reacts to different weather patterns, making your gardening more predictable and efficient.
7. Use Clear Plastic Sheeting for Budget Lids
Clear plastic sheeting is a practical option if you don’t have old windows or plexiglass. Stretch it tightly across a wooden or PVC frame. Use strong clips or staples to secure the edges.
This material warms quickly and allows plenty of light in. It’s lightweight and easy to replace when needed. Even a single layer can help seedlings survive sudden frosts.
Plastic lids work well for short-term season extension. If you want more durability, double up the plastic to create a small air pocket that improves insulation. This simple improvement costs little and helps keep your plants thriving longer.
8. Build a Portable Mini Cold Frame
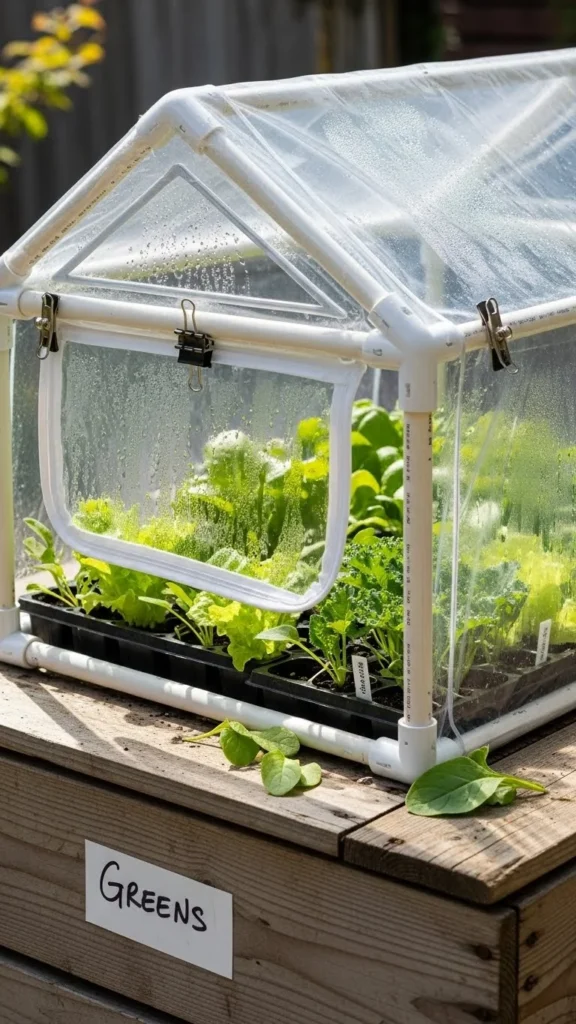
Portable cold frames let you protect plants wherever they need help. Build a small structure from PVC pipes or thin wood. Make it light enough to lift with one hand.
This is helpful when different crops mature at different times. You can move the frame from leafy herbs to seedlings to late-season greens as needed. It keeps production steady without requiring multiple permanent structures.
If you like container gardening, a portable frame fits perfectly over buckets, grow bags, or patio planters. It extends your growing season even in small spaces.
9. Add Water Jugs for Thermal Mass
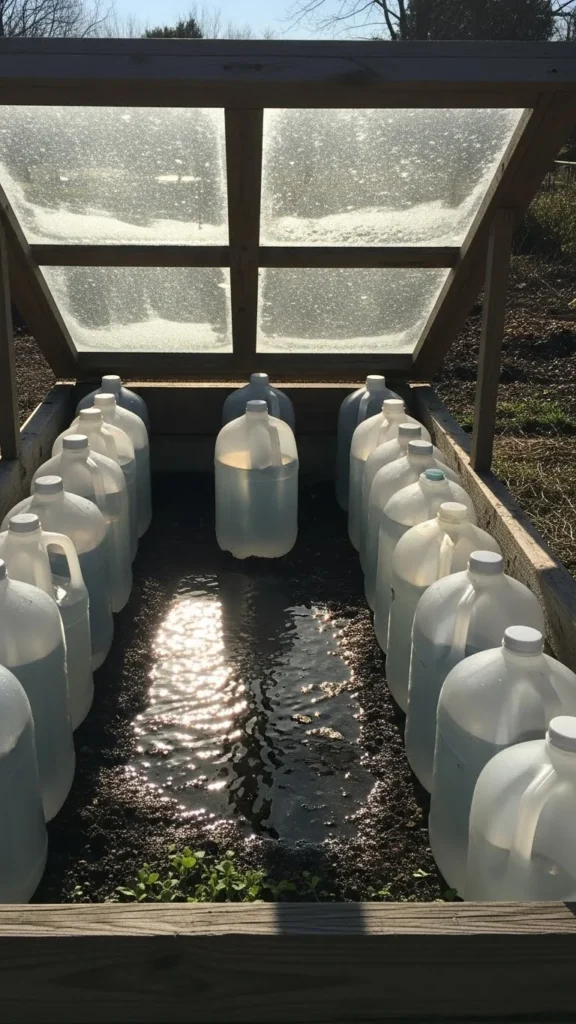
Water absorbs heat during the day and releases it slowly at night. Place gallon jugs or water bottles around the inside edges of your cold frame. Dark-colored containers work especially well.
This small change improves nighttime warmth by a surprising amount. It’s helpful for gardeners in colder regions or those growing slow-maturing crops.
Use recycled containers to keep the project affordable. Replace the water in the spring and reuse the setup year after year. The stable heat helps create steady conditions that support strong plant growth.
10. Angle the Lid Toward the Sun
Angling the lid increases light exposure. Position the tallest side of the frame on the north and the shorter side on the south. This helps sunlight reach your plants all day.
More light equals warmer soil and faster growth. The angle also helps rain or snow slide off instead of pooling on the lid.
Gardeners in low-light regions benefit from this simple trick. It costs nothing to implement and gives you better results immediately.
11. Add Ventilation Holes
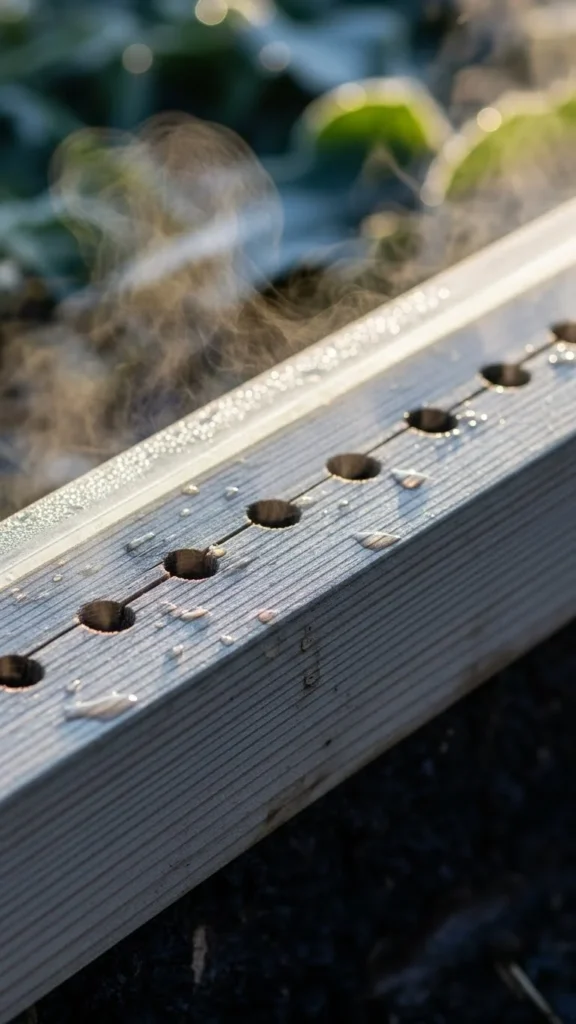
Even cold-weather crops get stressed in trapped heat. Small vents along the frame help regulate airflow. Drill a few holes near the top edge or use small adjustable vents.
This prevents excessive humidity inside, which can lead to mold or mildew. It also reduces condensation on the lid, giving your plants more consistent light.
Vents are easy to add and helpful for gardeners who can’t monitor their cold frames constantly. They quietly keep everything balanced even on unpredictable days.
12. Create a Double-Layer Lid
Two clear panels with a small air gap between them trap more warmth. You can use plexiglass, salvaged windows, or even double layers of plastic sheeting.
This design acts like a mini greenhouse. It keeps plants much warmer overnight, especially during late fall and early spring. The air pocket adds insulation without blocking sunlight.
Use simple wooden spacers or PVC pipes to maintain the gap. This upgrade is especially useful for gardeners who want a long season for crops like lettuce or kale.
13. Use Recycled Shower Doors
Recycled shower doors provide strong, clear lids that can withstand heavy snow. The solid glass keeps warmth inside and lasts for many seasons.
Pair the door with a sturdy wooden base. You can even add handles for easy lifting. Shower doors are ideal for larger cold frames because they’re built to be durable and weather-resistant.
If you can find one at a salvage yard or construction giveaway, it can become a long-lasting part of your gardening setup.
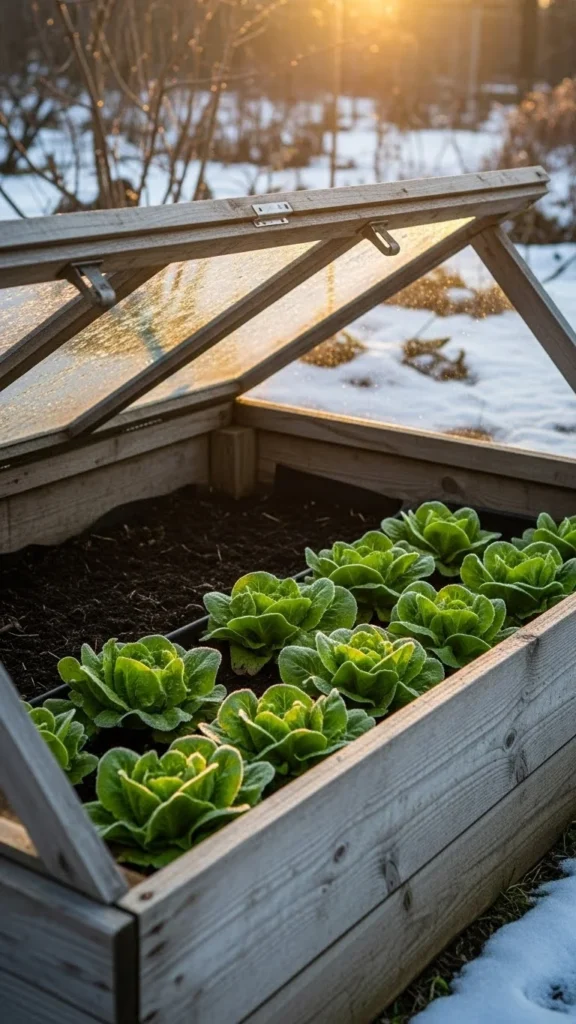
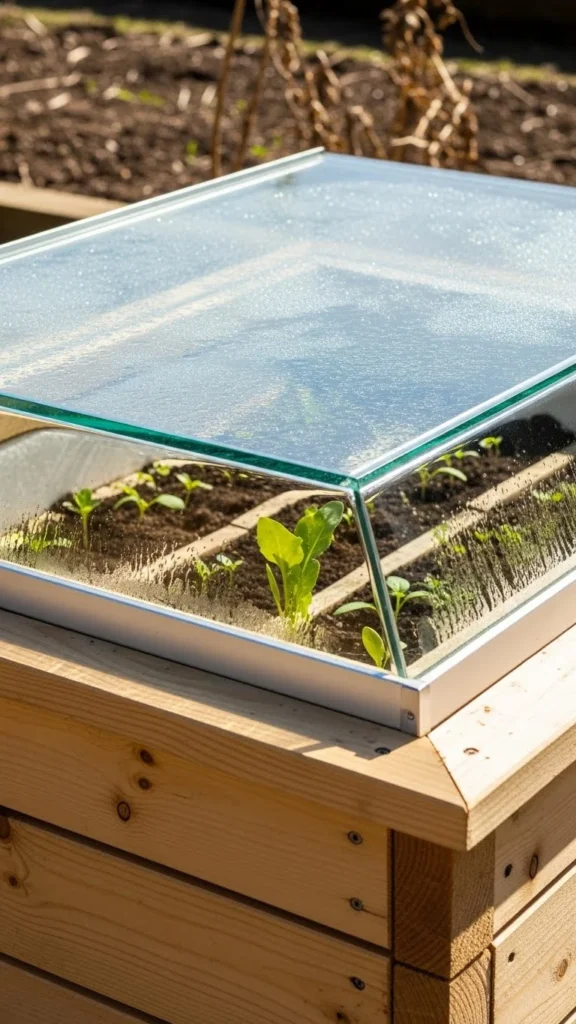
14. Build a Cold Frame Over an Existing Bed
If you already have a raised bed, place a cold frame directly on top. This transforms the bed into a warm mini greenhouse without extra construction.
The soil inside raised beds warms faster than ground soil. Combined with a clear lid, it creates a productive growing space even in colder months.
Grow hardy greens, small root vegetables, or early spring seedlings. This setup is efficient, simple, and easy to maintain.
15. Add Reflective Material Inside the Back Wall
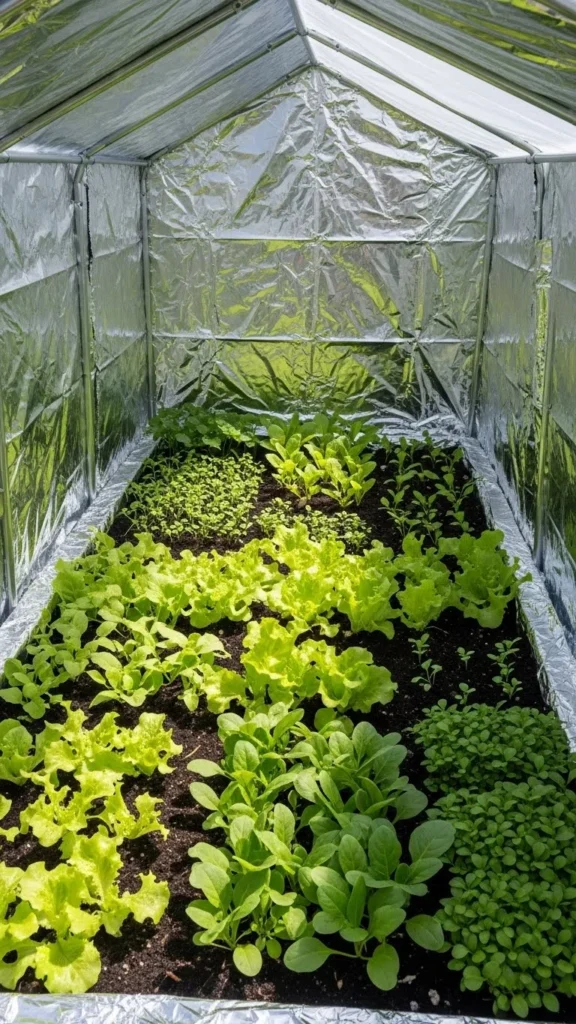
Reflective material helps direct more sunlight to your crops. Line the north-facing wall with aluminum foil or reflective insulation.
This technique encourages even light distribution. It’s useful for short winter days when every ray of sunlight matters. It also helps heat build up more quickly inside the frame.
This improvement costs very little and works well for slow-growing winter greens.
16. Create Dividers for Multiple Crops
Dividers help manage different crops inside one frame. Add thin wooden slats or plastic panels to separate varieties. This keeps faster growers from overwhelming slower ones.
Grow herbs on one side, leafy greens in the middle, and early seedlings on the other. The divided space makes harvesting and care easier.
It’s an efficient way to get the most from limited space while still giving each plant what it needs.
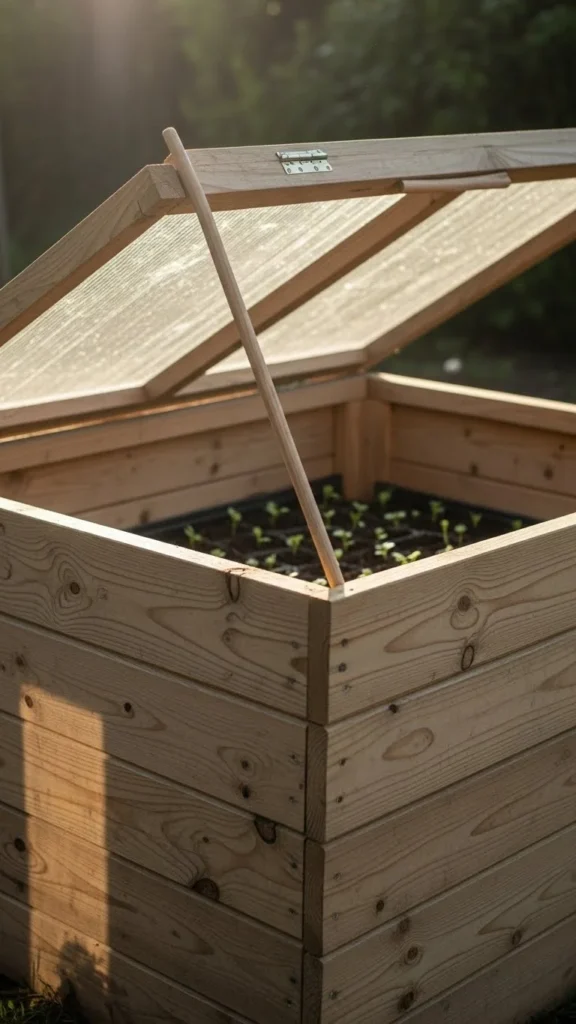
17. Add a Simple Prop Stick
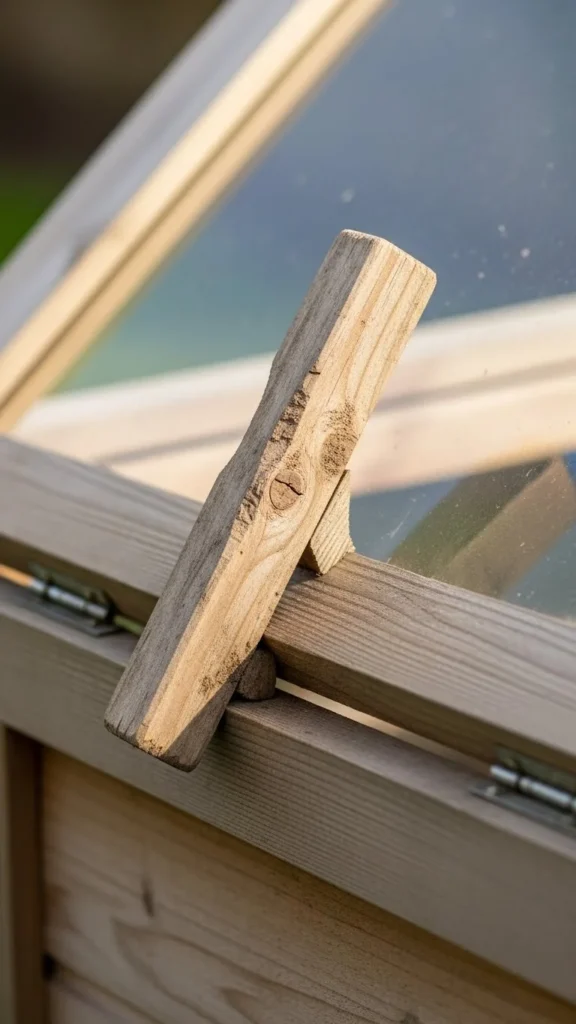
A prop stick lets you adjust the opening on warm days. Cut a small piece of scrap wood and sand the ends. Place it between the lid and the frame to release excess heat.
This small tool prevents plant stress and keeps humidity steady. It’s perfect for days when temperatures rise unexpectedly.
It’s a low-cost addition that improves control without adding mechanical parts.
18. Line the Bottom With Gravel
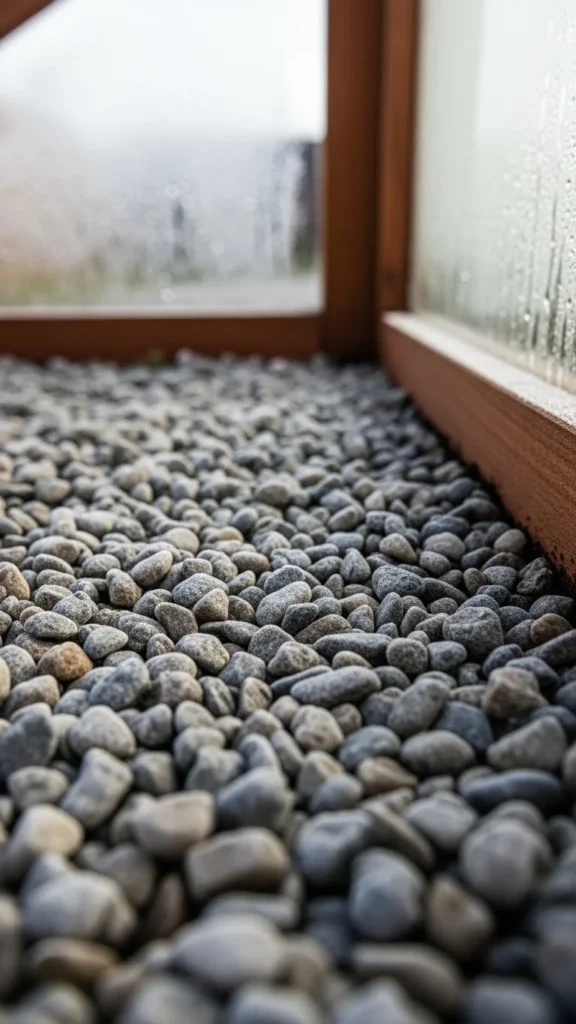
Good drainage keeps plants healthy. Add a layer of gravel or small stones under the soil. This prevents waterlogged roots and reduces mold concerns.
Gravel improves airflow under the soil and helps maintain a steady environment for root crops. It also warms more quickly than wet soil.
This tip is helpful for gardeners in rainy regions. It creates better growing conditions without much extra work.
19. Use Old Pallet Wood
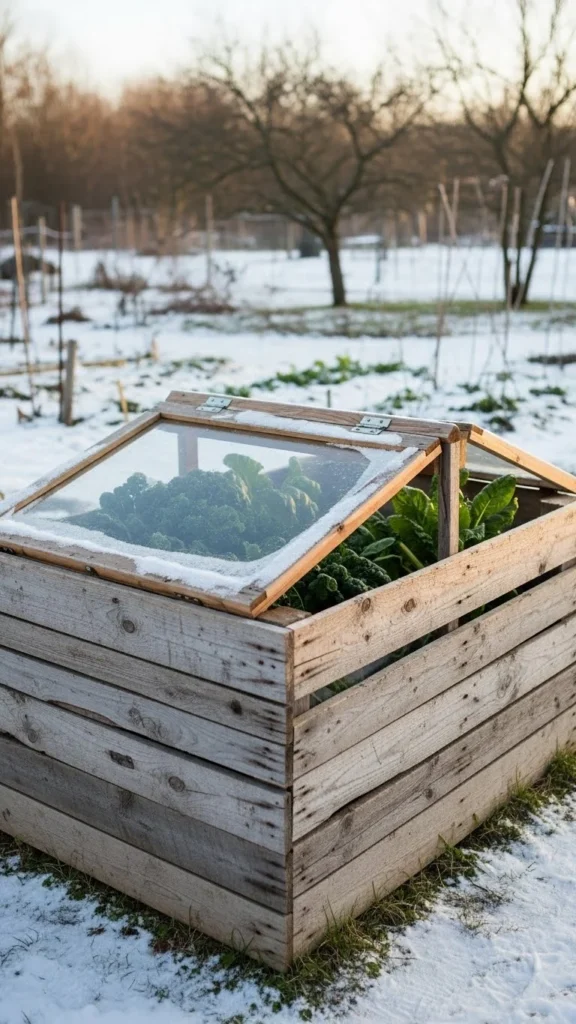
Pallet wood is easy to find and affordable. Break down a pallet and use the boards to build the sides of your cold frame. Sand the edges to avoid splinters.
This gives your frame a rustic look while keeping costs low. Pair it with a clear plastic lid or an old window. It’s a practical option for gardeners who enjoy DIY projects.
Reclaimed wood makes each frame unique and reduces material waste.
20. Add LED Grow Lights for Dark Winters
If your area has very short days, add small LED grow lights. They help maintain plant growth by providing extra light when natural sun is limited.
Use low-wattage bulbs to keep energy costs manageable. Place them a few inches above the plants. Turn them on during early mornings or late afternoons.
This helps keep leafy greens, herbs, and seedlings productive even in deep winter.
21. Create a Brick Heat Sink at the Back

Place a small stack of dark bricks inside the back wall. They absorb sunlight and slowly release warmth at night.
This simple heat sink improves nighttime temperatures and stabilizes the environment. It’s a practical way to support crops that grow slowly during cold months.
Use reclaimed bricks to keep the project budget-friendly.
22. Give the Lid Adjustable Height
Adjustable brackets let you raise the lid by small amounts. This improves airflow and prevents overheating on warmer days.
Height control also helps harden off seedlings. You can gradually increase ventilation as they strengthen. This method works well during spring transitions when temperatures shift often.
It’s a flexible option that improves overall plant health.
23. Add Weather Stripping for Heat Retention
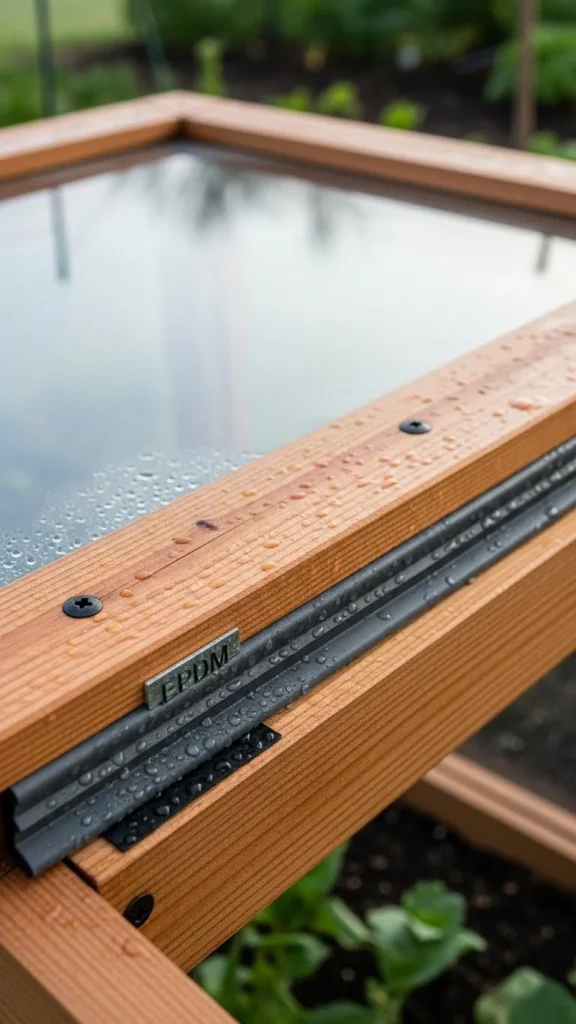
Weather stripping blocks drafts. Add it around the lid edges to keep warmth inside. This is especially effective for windy gardens.
A tight seal improves heat retention without blocking sunlight. It makes your cold frame more efficient, especially at night.
Install lightweight stripping so the lid still opens smoothly.
24. Use a Sloped Front Wall
A sloped front wall lets more sunlight into the frame. Build the front shorter and the back taller. This design captures more light during winter when the sun sits lower in the sky.
The improved exposure helps warm the soil earlier each morning. Greens grow stronger with better light access.
This shape is simple to build and suits most garden layouts.
25. Try a Clear Storage Bin as a Mini Frame
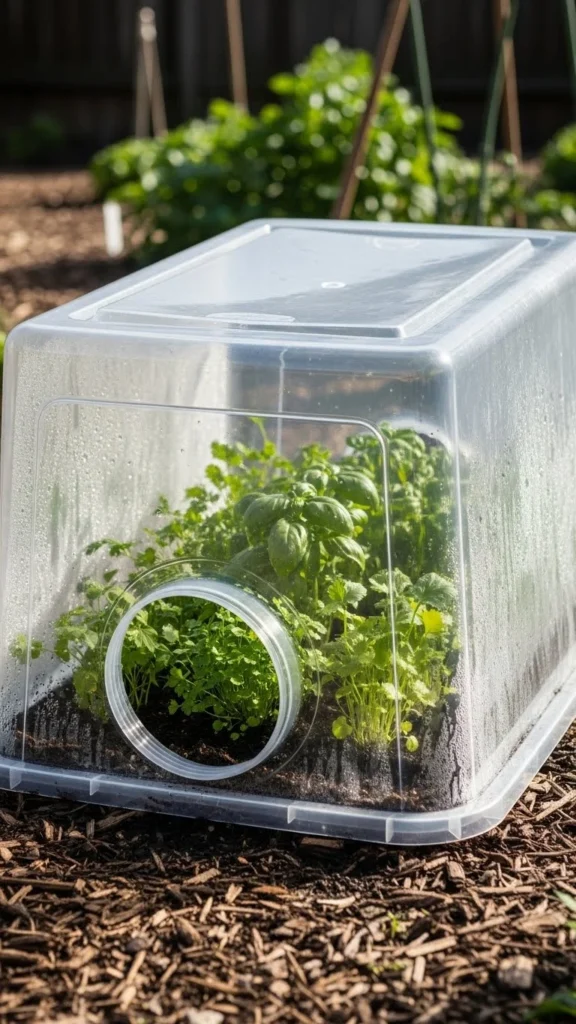
Clear storage bins make instant cold frames. Flip one upside down and place it over small crops. The built-in handles make it easy to lift.
This method protects young seedlings from frost and wind. It’s a great choice for small gardens or patios. You can stack multiple bins when not in use.
It’s simple, fast, and effective for quick season extension.
26. Add a Soil Heating Cable
A soil heating cable warms the root zone directly. Place it under a thin layer of soil or sand inside the frame. The steady heat encourages germination and early growth.
This tool is helpful for starting seeds when the soil outside is too cold. It’s also useful for growing herbs or greens during winter.
Use a low-watt cable with a built-in thermostat to avoid overheating. It gives your plants a comfortable root environment even on chilly nights.
Conclusion
Cold frames offer a simple way to stretch your harvest and keep your garden productive long after temperatures fall. With the ideas above, you can create warm, protected spaces that support greens, herbs, and early seedlings throughout the colder months. Start with one or two ideas, test what works best in your climate, and enjoy the extra weeks of homegrown produce.

Leave a Reply