
Want to turn your kitchen scraps into something magical for your garden? Making your own compost bin is one of the easiest, most rewarding DIY projects you can do at home. Not only does it cut down on household waste, but it also gives you rich, nutrient-packed compost that your plants will love.
Why Composting Is a Game-Changer
Composting transforms what would normally be thrown away—like vegetable peels, coffee grounds, and eggshells—into dark, crumbly soil that boosts plant health. It’s nature’s recycling system, and you can easily set it up with items you already have.
Here’s why you’ll love it:
- Reduces household waste by up to 30%.
- Enriches your soil with organic nutrients.
- Saves money on store-bought fertilizers.
- Helps the environment by cutting landfill waste and methane gas.
Step 1: Choose the Perfect Spot
Pick a spot that’s shady, flat, and easy to access. You’ll want to be able to toss in kitchen scraps without trekking too far from your door.
Avoid direct sunlight, as too much heat can dry out your compost. But also skip overly damp areas, since moisture buildup can slow decomposition.
Tip: If you live in a small space or an apartment, don’t worry—compact indoor compost bins or balcony versions work just as well.
Step 2: Build Your Compost Bin
You don’t need fancy materials! Your compost bin can be as simple or stylish as you want. Here are three easy options:
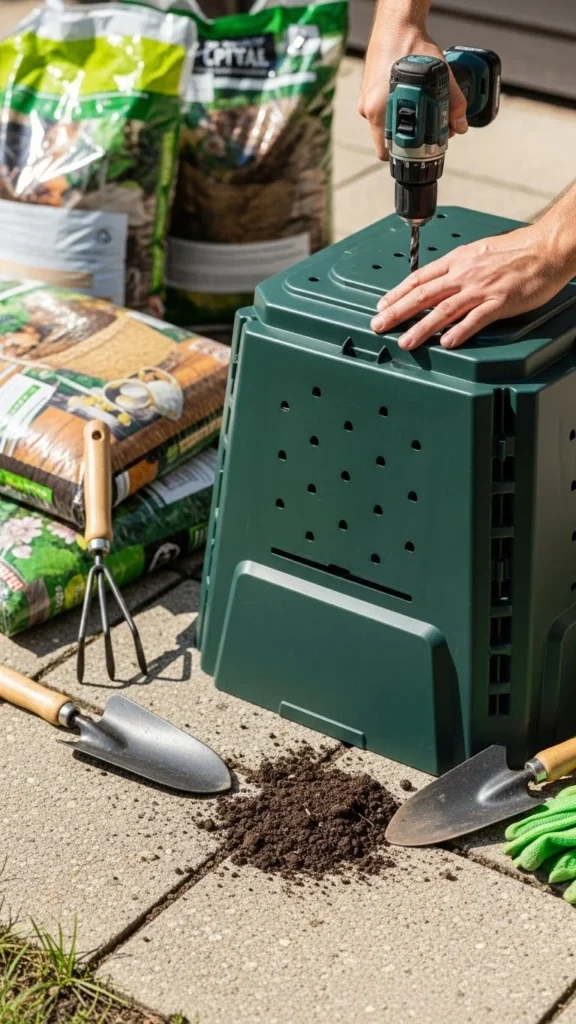
1. Plastic Bin Method
Use a large plastic storage container (at least 18 gallons). Drill 10–15 small holes around the sides and bottom for airflow and drainage. Set it on bricks to help with ventilation.
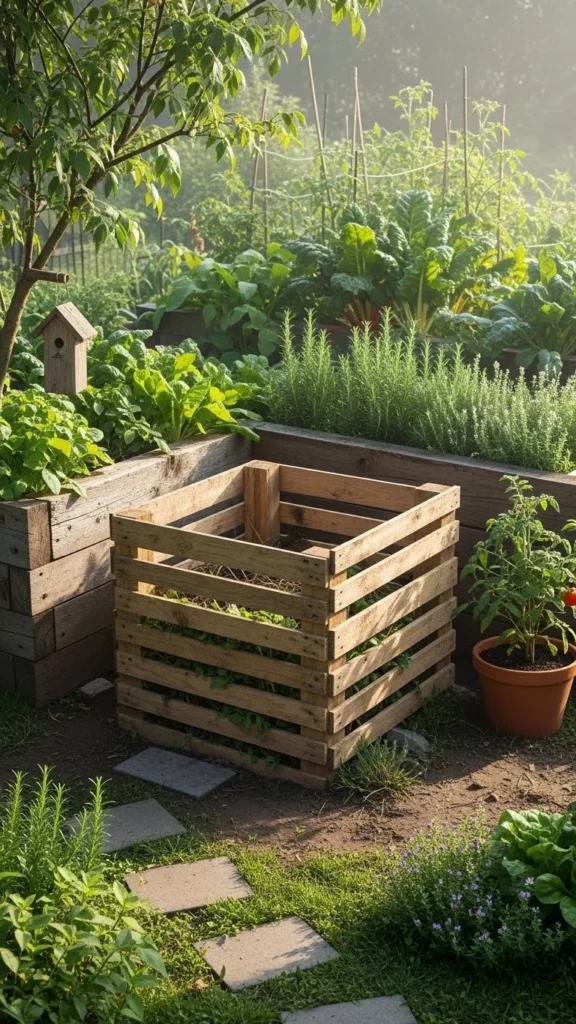
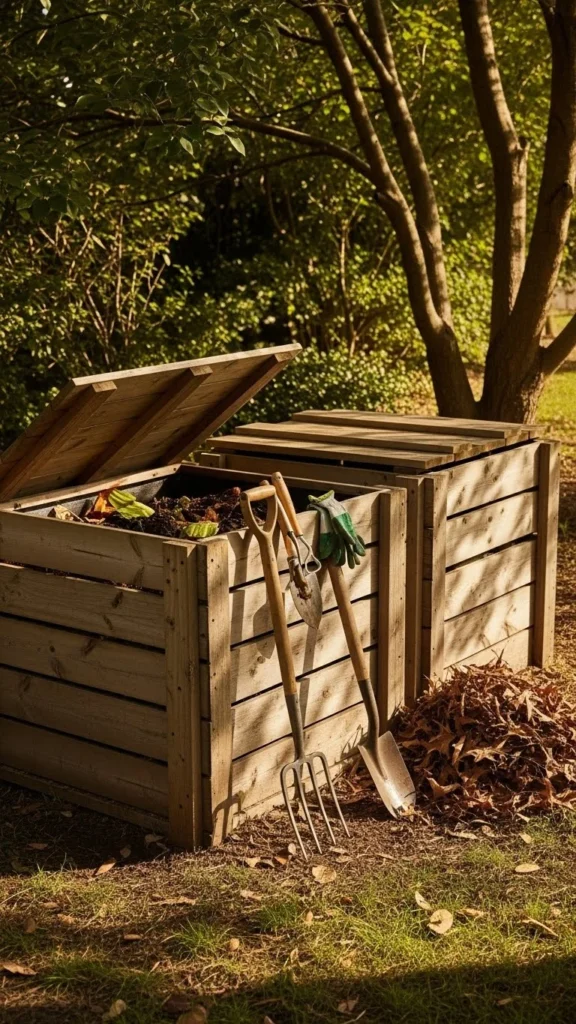
2. Wooden Pallet Bin
Repurpose old wooden pallets by securing three sides together with screws, leaving one side open for easy turning. This version is sturdy, eco-friendly, and perfect for larger gardens.
3. Wire Mesh Bin
Form a circle using galvanized wire fencing, about 3 feet in diameter and 3 feet tall. Fasten with zip ties—it’s lightweight and easy to move if needed.
Pro Tip: If you’re crafty, paint or decorate your compost bin to blend it into your outdoor space—it doesn’t have to look messy!
Step 3: Know What to Compost
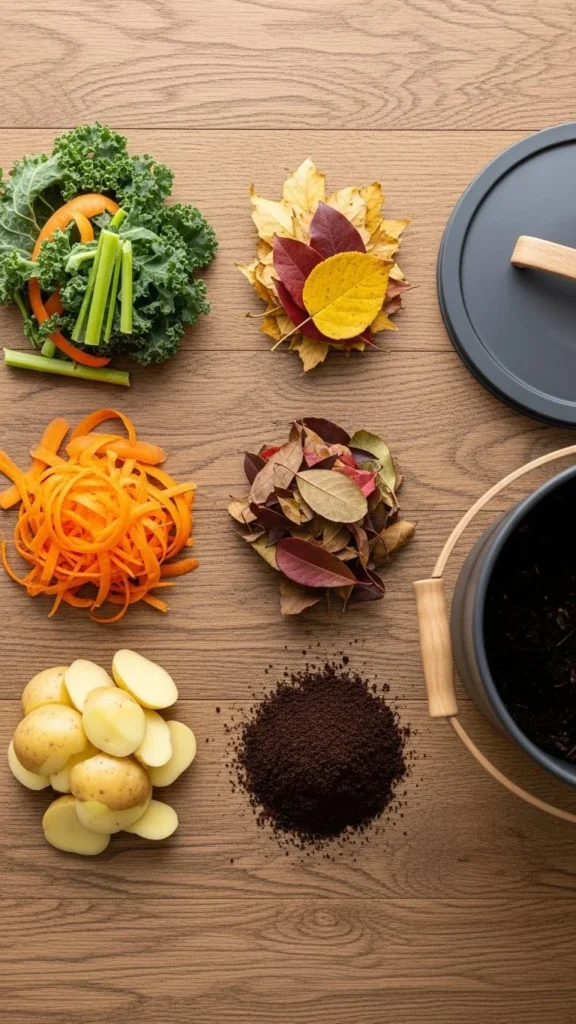
The key to successful composting is maintaining a balance between greens and browns.
- Greens (nitrogen-rich): fruit and veggie scraps, coffee grounds, grass clippings, tea bags.
- Browns (carbon-rich): dry leaves, cardboard, paper towels, twigs, sawdust.
What to Avoid:
- Meat, dairy, and oily foods (they attract pests).
- Diseased plants or weeds with seeds.
- Pet waste.
Tip: Cut or shred materials before composting. Smaller pieces break down faster!
Step 4: Layer and Maintain Your Compost
Start your bin with a layer of browns to absorb moisture. Then alternate between greens and browns like building a lasagna of organic matter. Sprinkle a bit of soil in between layers to introduce helpful microbes.
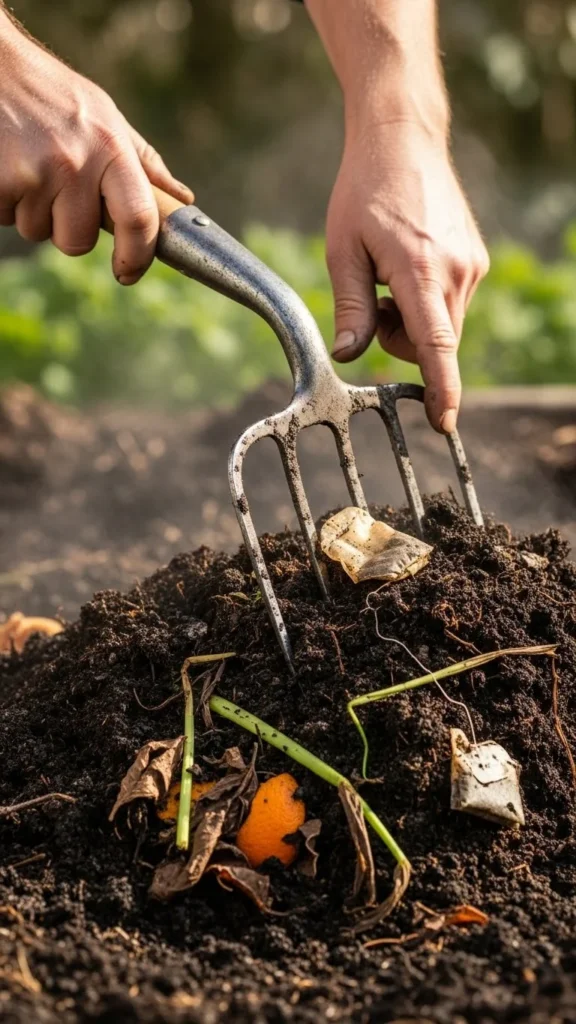
Keep it moist but not soggy—it should feel like a damp sponge. Turn the pile every 1–2 weeks using a garden fork or shovel to keep it aerated.
Quick Maintenance Tips:
- Add water if it’s too dry.
- Add dry leaves or cardboard if it smells bad (too many greens).
- Stir regularly to speed up the process.
In about 2–4 months, you’ll have usable compost. When it looks dark, crumbly, and earthy-smelling, it’s ready!
Step 5: Use Your Homemade Compost
Use your compost to:
- Enrich garden beds and vegetable patches.
- Mix into potting soil for potted plants.
- Spread as mulch around trees or shrubs.
- Boost soil health in raised beds.
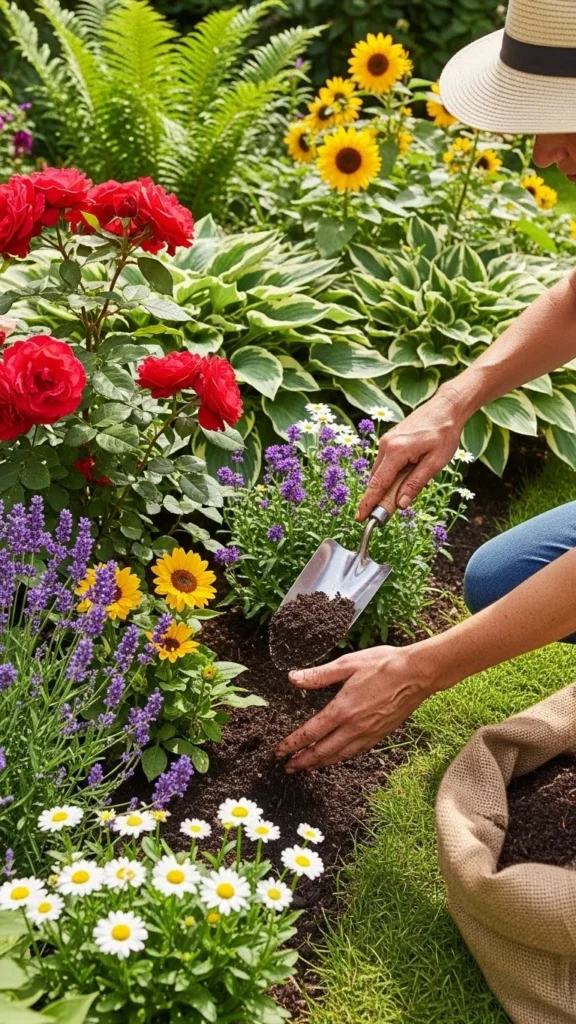
Your plants will reward you with better growth, stronger roots, and vibrant blooms!
Bonus: Troubleshooting Common Compost Problems
Even experienced composters hit a few bumps—here’s how to fix them fast:
- Bad smell? Add more browns and turn the pile.
- Too dry? Add water or more greens.
- Not decomposing? Mix in garden soil or finished compost to introduce microbes.
Think of composting as a living process. It takes time, but once you get into the rhythm, it’s practically effortless.
Final Takeaway
Building your own compost bin is more than a DIY project—it’s a small, sustainable step toward a greener lifestyle. With a few simple tools and consistent care, you’ll turn waste into something truly valuable for your home garden.
Save this guide for later, and start composting today—your plants (and the planet) will thank you!

Leave a Reply