
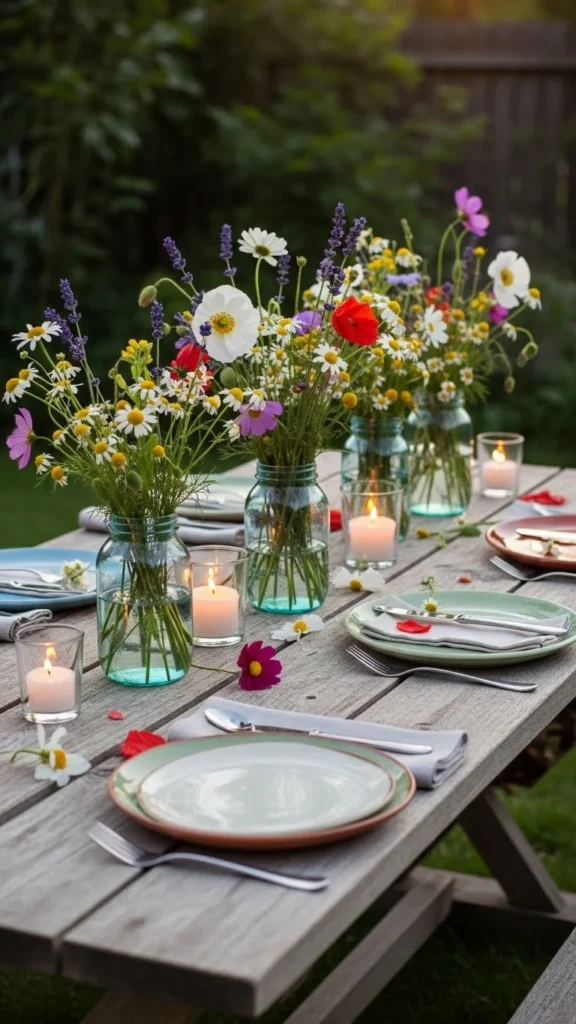
Creating your own garden centerpieces doesn’t have to be expensive or complicated. With a few natural elements and everyday materials, you can design something beautiful that instantly elevates your outdoor table, patio, or porch. Whether you’re hosting a dinner or simply want to bring more charm to your space, DIY centerpieces add a personal touch that store-bought ones can’t match.
Gather Your Materials
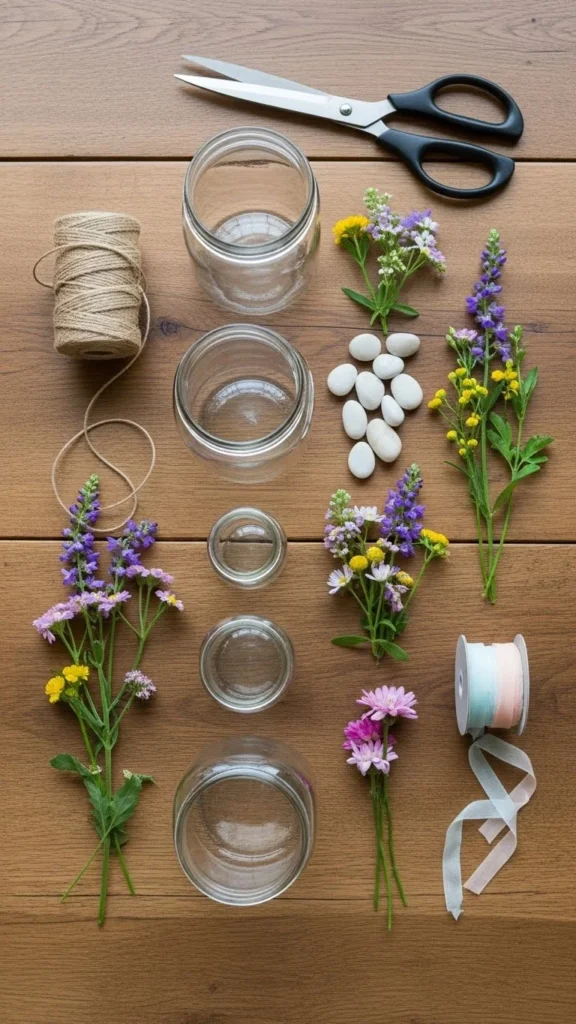
You don’t need a florist’s toolkit or fancy supplies—just a few simple materials you likely already have at home or can find in your garden.
Basic materials:
- Mason jars, glass vases, or tin cans
- Twine, jute rope, or ribbon
- Fresh flowers, herbs, or branches
- Small stones, pebbles, or sand for base filling
- Scissors and glue gun (optional)
You can even repurpose old jars, teacups, or bottles for a creative twist. The idea is to keep things sustainable and personal.
Step 1: Choose a Theme or Color Palette
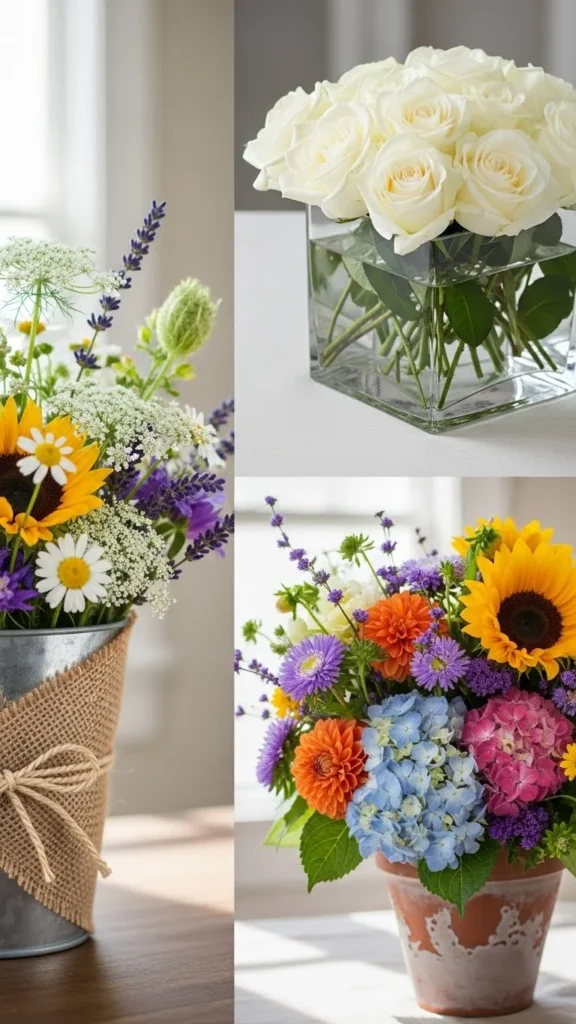
Before you start arranging, think about the mood or theme you want your centerpiece to express:
- For a rustic look, use burlap, wildflowers, and wooden trays.
- For elegance, go with monochrome flowers like white lilies or hydrangeas in clear glass.
- For a vibrant garden vibe, mix seasonal blooms—daisies, lavender, and marigolds work beautifully.
A cohesive color palette helps everything look more intentional and balanced.
Step 2: Create a Natural Base
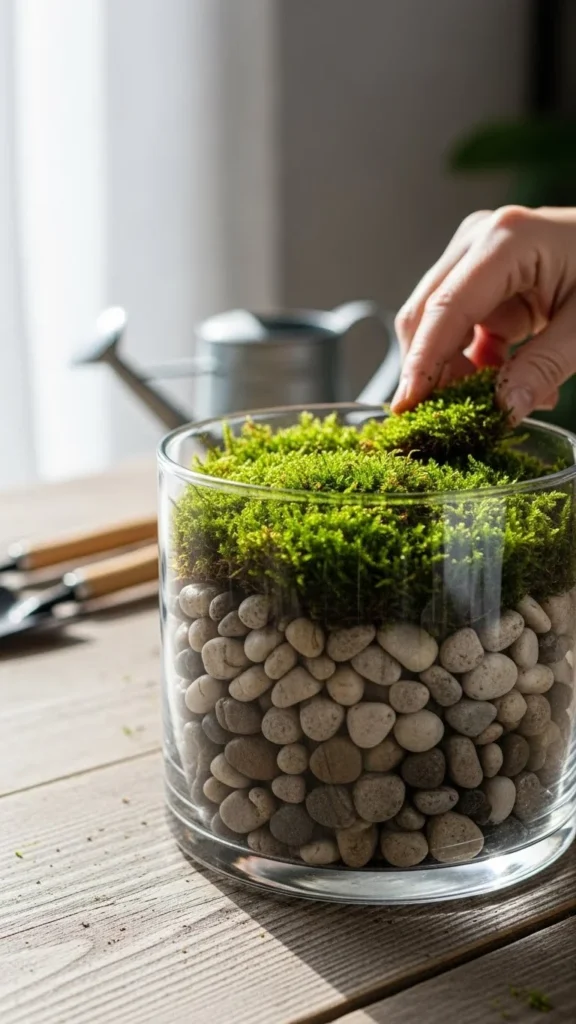
Start by creating a solid base inside your jar or vase:
- Add pebbles, river stones, or colored sand to anchor your stems.
- For extra texture, layer small leaves, moss, or bark chips.
- This not only keeps stems stable but also adds a natural earthy layer that looks beautiful through clear glass.
Tip: Use a small amount of water mixed with a drop of lemon juice to keep your flowers fresh longer.
Step 3: Arrange the Focal Flowers
Now comes the fun part — arranging your main blooms!
Start with 2–3 focal flowers that grab attention. These could be:
- Roses, sunflowers, or peonies for bold statements
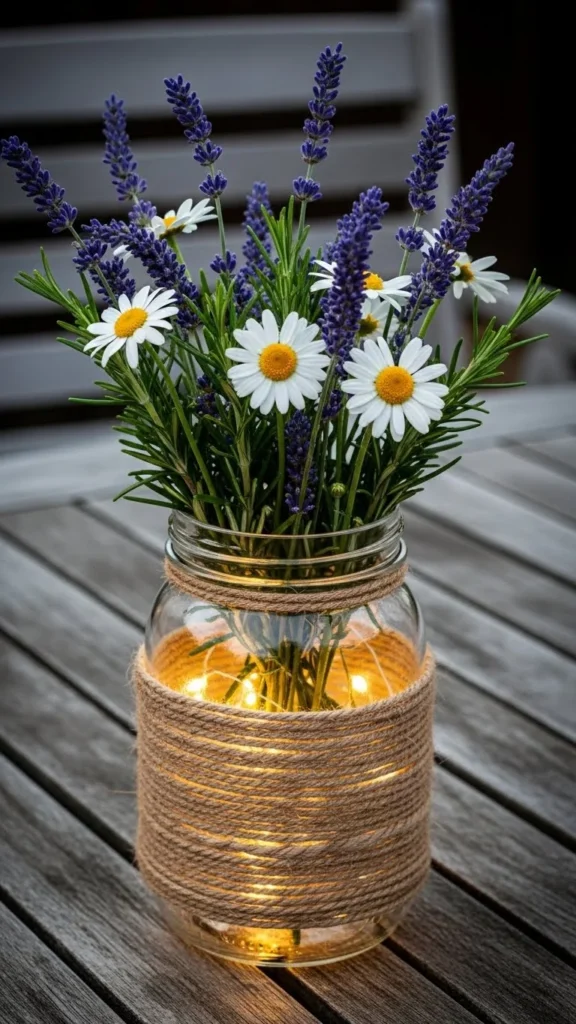
- Lavender, daisies, or hydrangeas for a softer, airy look
Place the tallest stems first, then fill in with smaller flowers and greenery around them. Keep varying the height slightly for a natural, effortless appearance.
Pro Tip: Rotate your vase while arranging to make sure it looks good from all angles.
Step 4: Add Accent Details
Small touches can transform your centerpiece from simple to stunning. Try:
- Wrapping twine or ribbon around the jar’s neck
- Adding tiny LED fairy lights for evening glow
- Mixing in herbs like rosemary or mint for a fresh scent
- Sprinkling dried petals or pinecones at the base of your display
These finishing details give personality and charm to your creation.
Step 5: Experiment with Height and Grouping
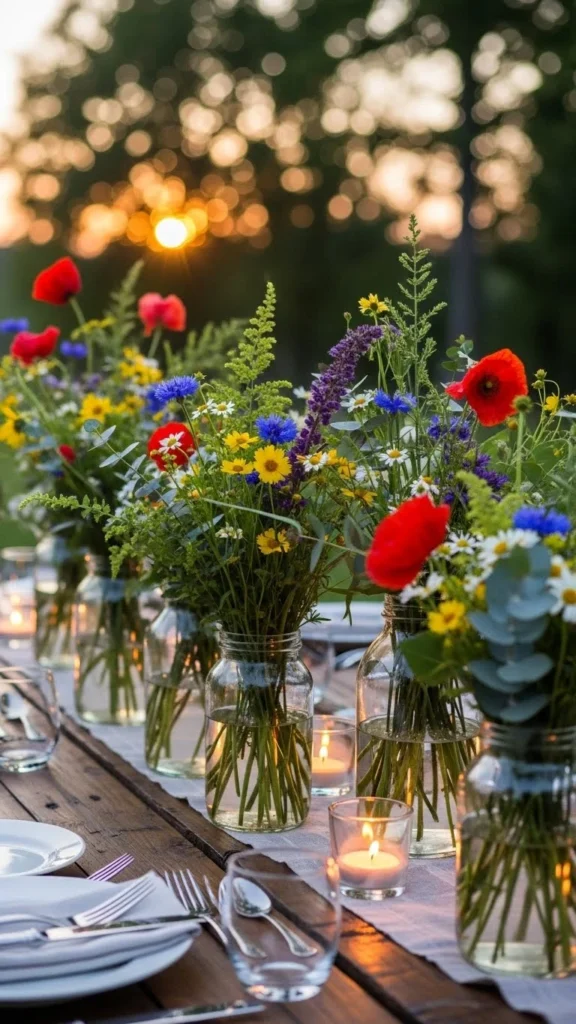
Instead of one big centerpiece, try grouping 3–5 smaller jars or bottles together. Vary the heights and flower types for a more dynamic and layered look.
You can place:
- One taller arrangement in the middle
- Two medium jars beside it
- Small jars or tea light candles scattered around
This style works perfectly for garden dinners, picnics, or cozy tea setups.
Bonus Ideas for Seasonal Centerpieces
Each season offers unique natural materials to inspire new centerpiece designs:
- Spring: Tulips, daffodils, and budding branches.
- Summer: Zinnias, lavender, and sunflowers.
- Fall: Dried leaves, berries, and ornamental grasses.
- Winter: Evergreen branches, pinecones, and white flowers for a frosty look.
By swapping out seasonal elements, you can keep your garden decor feeling fresh all year.
Final Touches: Display and Care
Once your centerpiece is ready:
- Place it in shaded or semi-sunny areas to avoid wilting.
- Replace the water every two days to keep it clean.
- Trim stems slightly each week for longer life.
These little maintenance habits keep your arrangements beautiful and lasting longer than expected.
Conclusion: Bring Nature to Your Table
Making stunning garden centerpieces is about creativity, not cost. With a few natural materials and your personal touch, you can transform any table into a serene, stylish setting that reflects your love for the outdoors.
Try it this weekend — your guests (and your garden) will thank you!
Save this DIY idea for later and create your own natural masterpiece!

Leave a Reply