
A beautifully edged garden can completely transform your outdoor space. It’s the subtle detail that makes flower beds pop, lawns look manicured, and pathways feel intentional. Whether you have a sprawling backyard or a cozy corner garden, learning how to edge properly will give your landscape that professional, “magazine-cover” finish.
Why Garden Edging Matters
Garden edging isn’t just about looks—it’s about structure. It helps define spaces, prevent grass from creeping into flower beds, and makes maintenance much easier.
Here’s what proper edging does for your garden:
- Prevents overgrowth – Stops grass and weeds from invading flower beds.
- Adds visual appeal – Creates clean lines that make your garden look organized.
- Improves maintenance – Makes mowing and trimming more efficient.
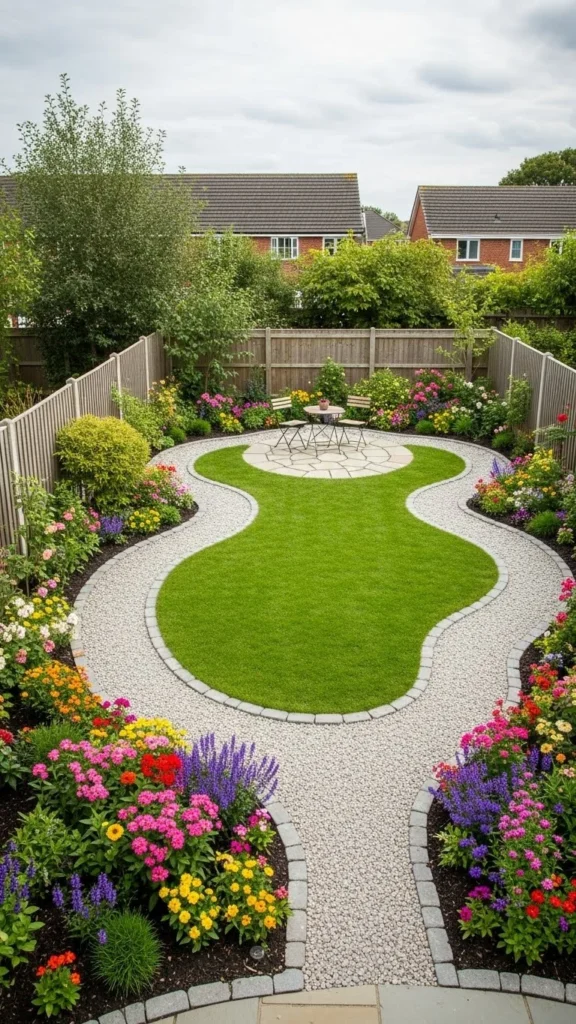
- Defines design flow – Helps separate zones like flower beds, walkways, and lawns.
Step 1: Choose Your Edging Style
There are many edging styles to match your garden’s personality—formal, rustic, modern, or natural. Here are a few popular ones:
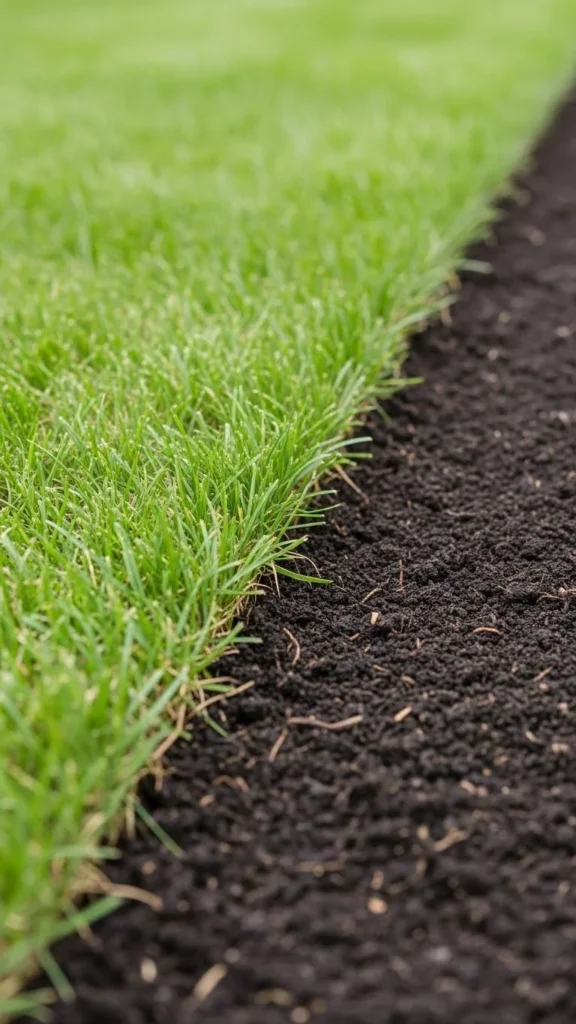
1. Natural Edge
Ideal for casual or cottage gardens. This is a simple trench cut into the soil to create a crisp divide between grass and flower beds.
2. Plastic or Metal Strips
Durable and flexible, perfect for curved or modern garden designs. Metal gives a sleek look, while plastic is budget-friendly.
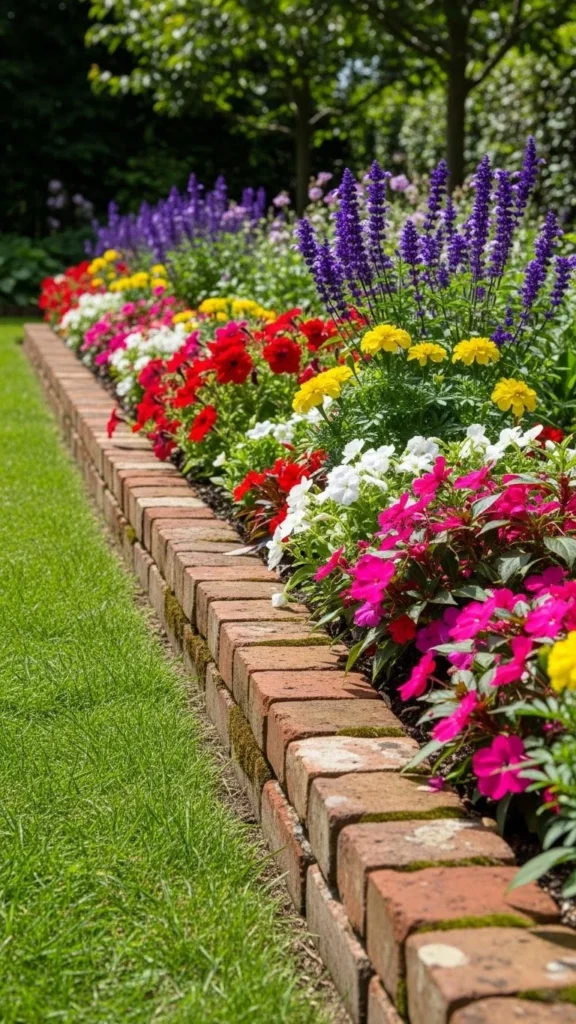
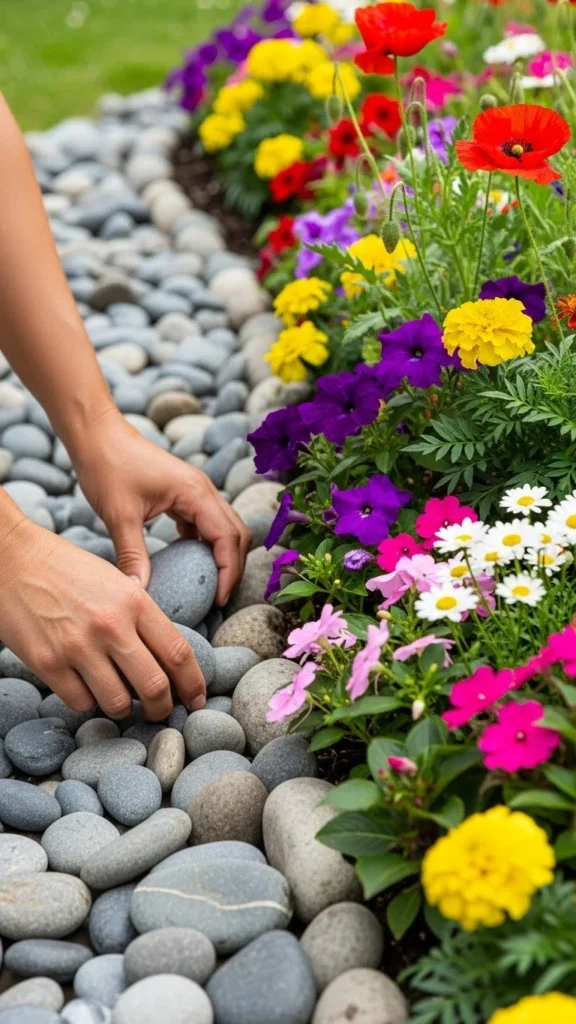
3. Brick or Stone Edging
Classic and timeless—great for adding structure to traditional gardens. Use reclaimed bricks for a rustic touch or uniform pavers for a cleaner finish.
4. Wood Edging
Perfect for vegetable gardens or rustic landscapes. Choose treated wood or natural logs for charm and longevity.
Step 2: Plan and Mark Your Borders
Before you start digging, visualize your edging layout. Use a garden hose or rope to outline curves and shapes. For straight lines, a string and stakes work best.
Pro tip: Take a step back and view your garden from different angles before committing to the shape. Curved edges tend to look more natural and are easier to maintain than sharp corners.
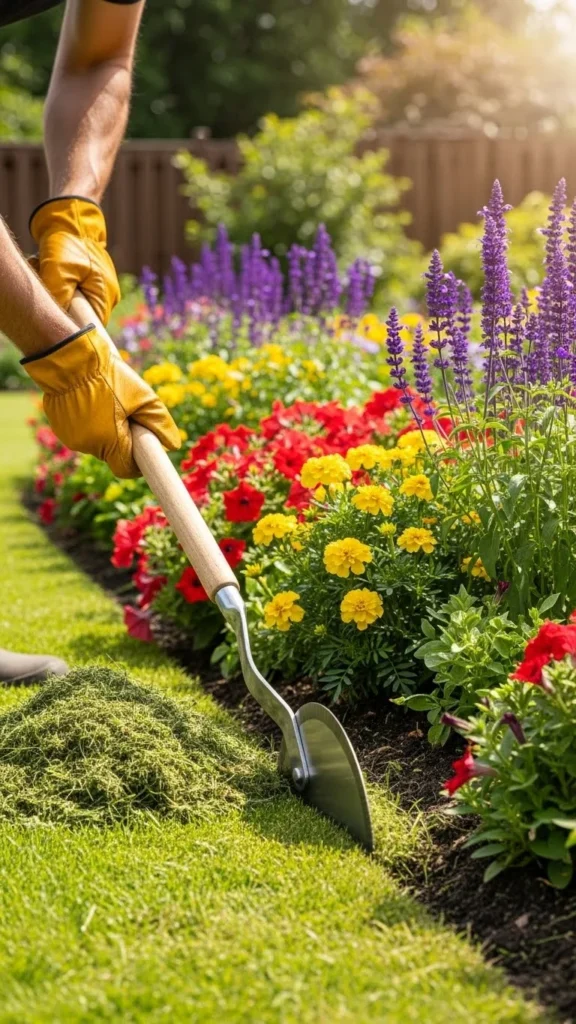
Step 3: Dig the Edge
Once you’re happy with your design:
- Use a half-moon edger or a sharp spade to cut along your marked line.
- Remove a strip of sod or soil about 4–6 inches deep.
- Angle the cut slightly toward the bed to create a sloped, professional edge.
This trench will serve as your guide—clean, defined, and ready for materials if you’re adding a border.
Step 4: Install Your Chosen Edging Material
For Natural Edging:
Simply smooth and pack the soil wall to keep it crisp. You’ll need to re-cut it a few times each season.
For Brick or Stone:
- Lay a shallow base of sand for stability.
- Place bricks or stones snugly along your edge.
- Tap lightly with a rubber mallet for evenness.
For Metal or Plastic:
- Insert the strips into the trench.
- Secure with stakes every few feet.
- Backfill with soil on both sides for a clean, seamless finish.
For Wood:
- Align your boards or logs along the trench.
- Use garden stakes or rebar to secure them firmly in place.
Step 5: Maintain Your Garden Edges
Once your edges are perfect, keep them looking that way! Regular maintenance is key:
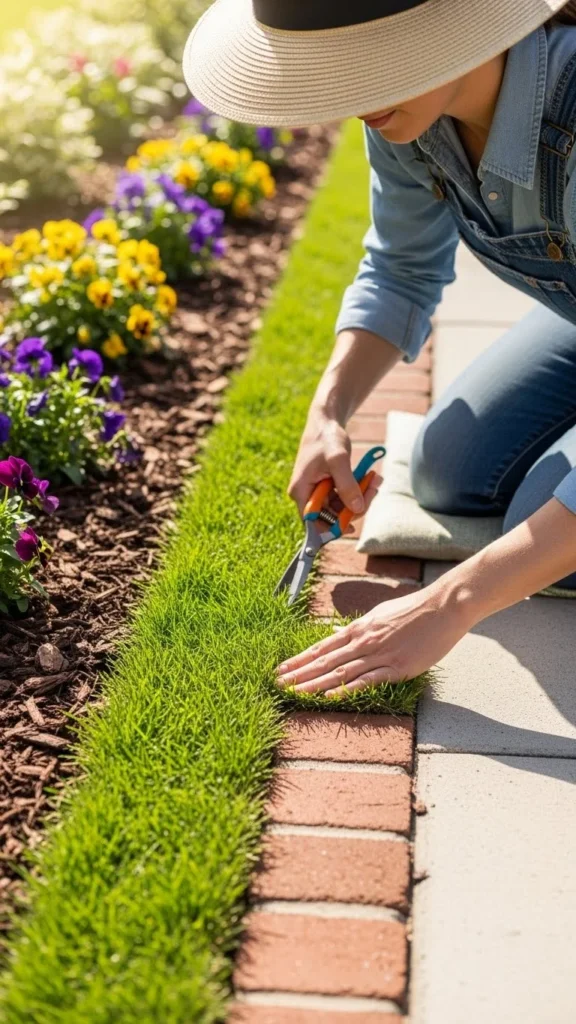
- Re-cut natural edges a few times each season.
- Trim grass that grows over borders.
- Check for shifting or settling in stone or brick edges.
- Add mulch along edges to suppress weeds and highlight the border.
Extra Tips for a Professional Finish
- Contrast is everything: Use dark mulch or gravel next to bright green lawns for visual impact.
- Add lighting: Low-voltage path lights along the edges can make your garden look magical at dusk.
- Blend textures: Mix hard materials like stone with soft plants such as hostas or ornamental grasses for depth.
A Garden That Looks Effortlessly Polished
Edging your garden might seem like a small task, but it makes a world of difference. It adds instant definition, structure, and charm—making your outdoor space look cared for and thoughtfully designed. Once you start, you’ll wonder how you ever lived without it.
So grab your tools, plan your lines, and give your garden the sharp, finished look it deserves.
Save this guide for your next weekend project and enjoy a more beautiful, defined garden!

Leave a Reply