
Winter doesn’t have to mean a pause on fresh, homegrown produce. With heated garden beds, you can keep soil warm, roots happy, and harvests coming—even when frost covers the ground. Whether you’re growing leafy greens, herbs, or cold-tolerant vegetables, this setup can completely change how you garden in the colder months.
Below is a simple, beginner-friendly guide to building heated garden beds that work efficiently and safely all winter long.
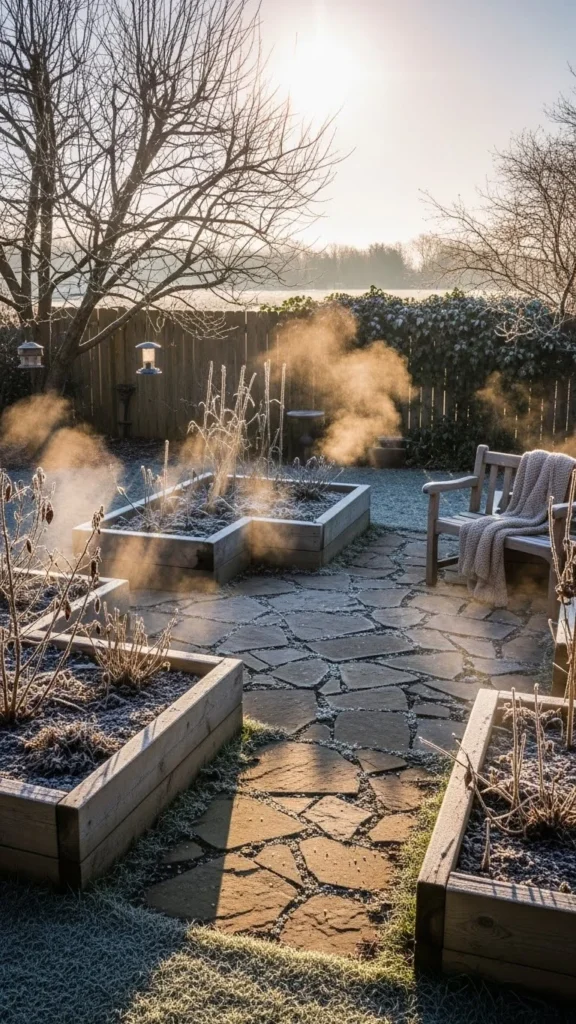
Why Heated Garden Beds Are a Winter Game-Changer
Heated garden beds warm the soil from below, which is key during winter. Even when air temperatures dip, plant roots stay protected and active.
Benefits include:
- Extended growing season by several months
- Healthier root systems
- Faster seed germination
- Less risk of soil freezing solid
If you love winter gardening but struggle with cold soil, this is one of the most effective upgrades you can make.
Choose the Right Location First
Before building anything, placement matters more than you think.
Look for a spot that offers:
- Full sun exposure (at least 5–6 hours daily)
- Good drainage (no pooling water)
- Easy access to a power source if using electric heat
South-facing areas work best because they receive the most winter sunlight.
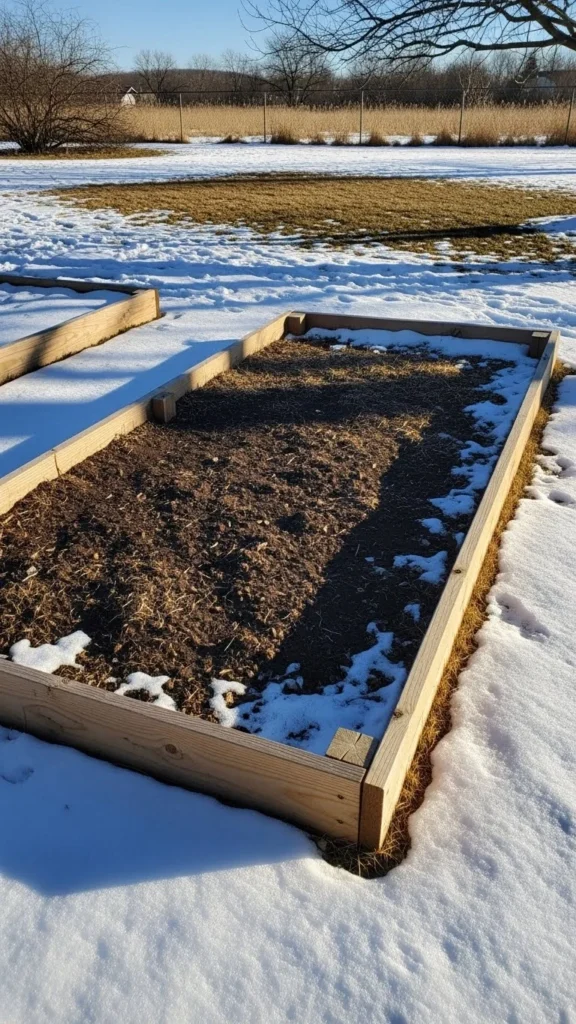
Build or Prepare Your Raised Bed Frame
Heated systems work best in raised beds because they’re easier to insulate and control.
Recommended materials:
- Untreated wood (cedar is ideal)
- Stone or brick
- Metal raised bed kits with insulation
Aim for a bed height of 12–18 inches. This allows enough room for heating layers, insulation, and healthy root growth.
Quick tip: Line the inside walls with rigid foam insulation to reduce heat loss.
Add the Heating Layer (The Heart of the System)
This is where the warmth comes from. There are two common and effective options.
Option 1: Soil Heating Cables
- Designed specifically for garden use
- Energy-efficient and reliable
- Easy to install in raised beds
Lay the cables in a looping pattern across the base of the bed, spacing them evenly. Avoid overlapping.
Option 2: Compost Heat (Natural Method)
- Uses decomposing organic matter to generate warmth
- Requires more maintenance
- Best for gardeners who prefer a power-free solution
Layer straw, leaves, and manure beneath the soil. As it breaks down, it releases gentle heat.
[Image Prompt] Close-up of soil heating cables being laid evenly across the bottom of a raised garden bed.
Layer Soil the Smart Way
Once your heating system is in place, it’s time to rebuild the soil layers.
Best layering approach:
- Bottom layer: Gravel or coarse material for drainage
- Middle layer: Compost or organic matter
- Top layer: High-quality garden soil
This combination helps hold warmth while still allowing airflow and moisture balance.
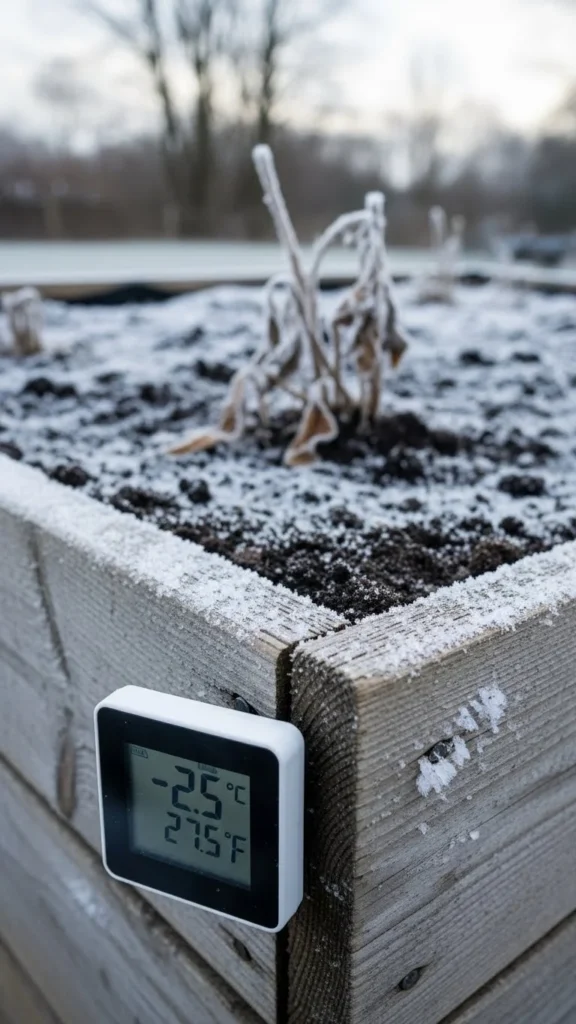
Install a Thermostat for Safety and Control
A thermostat keeps soil temperatures stable and prevents overheating.
Ideal soil temperature range:
- 45–65°F (7–18°C) for winter crops
Many heating cables come with thermostats included. If not, adding one is highly recommended for peace of mind and efficiency.
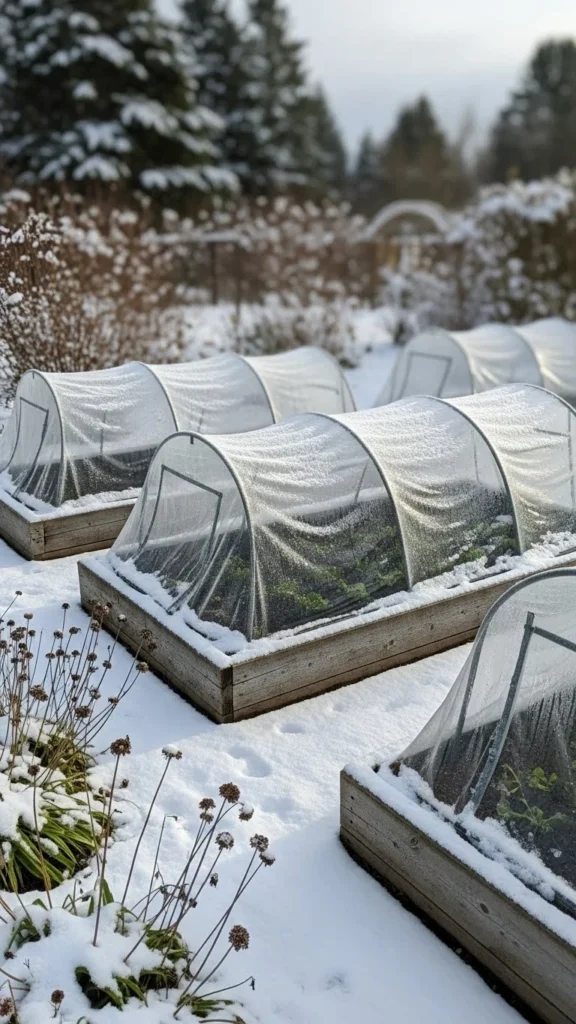
Cover the Bed for Extra Heat Retention
Even heated beds benefit from added protection above ground.
Popular winter covers:
- Low tunnels with clear plastic
- Cold frames
- Frost blankets or garden fabric
These covers trap warmth, block wind, and protect plants during overnight temperature drops.
Best Crops for Heated Winter Beds
Not all plants love winter—but many thrive with warm soil.
Great choices include:
- Spinach
- Kale
- Lettuce varieties
- Green onions
- Swiss chard
- Herbs like parsley and cilantro
Start with fast-growing greens to get the most value from your setup.
Simple Maintenance Tips for Success
Heated beds are low-effort once installed, but a few habits help them perform better.
- Check soil moisture weekly (warm soil dries faster)
- Monitor thermostat settings during cold snaps
- Remove snow from covers to allow sunlight through
- Vent covers on sunny days to prevent overheating
Consistency is key to steady winter harvests.
Final Takeaway
Building heated garden beds opens the door to fresh food all winter long—no greenhouse required. With the right layers, gentle heat, and a little protection, your garden can stay productive even when temperatures fall.
If you’ve been dreaming of winter harvesting, this is your sign to try it.
Save this guide for later and start planning your warm winter garden today!

Leave a Reply