
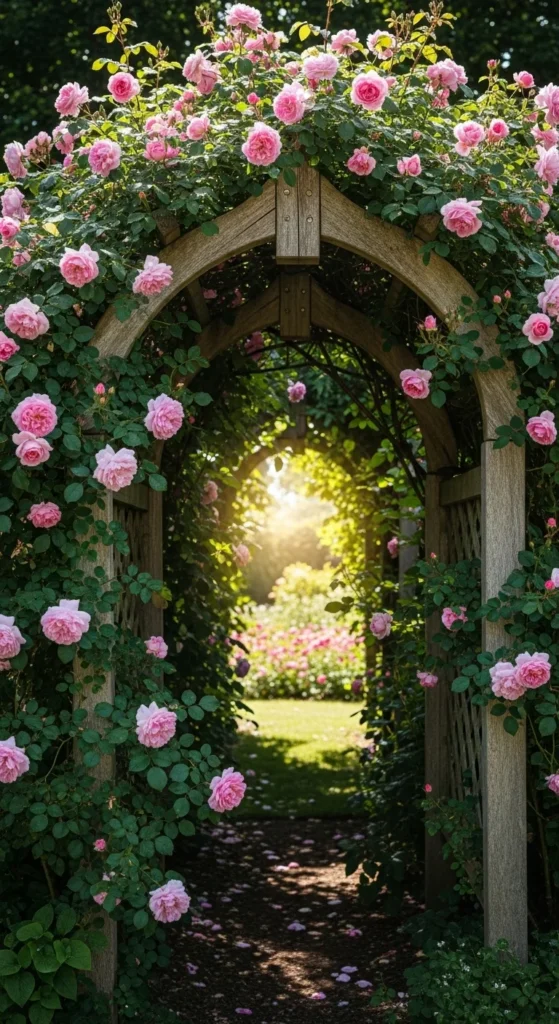
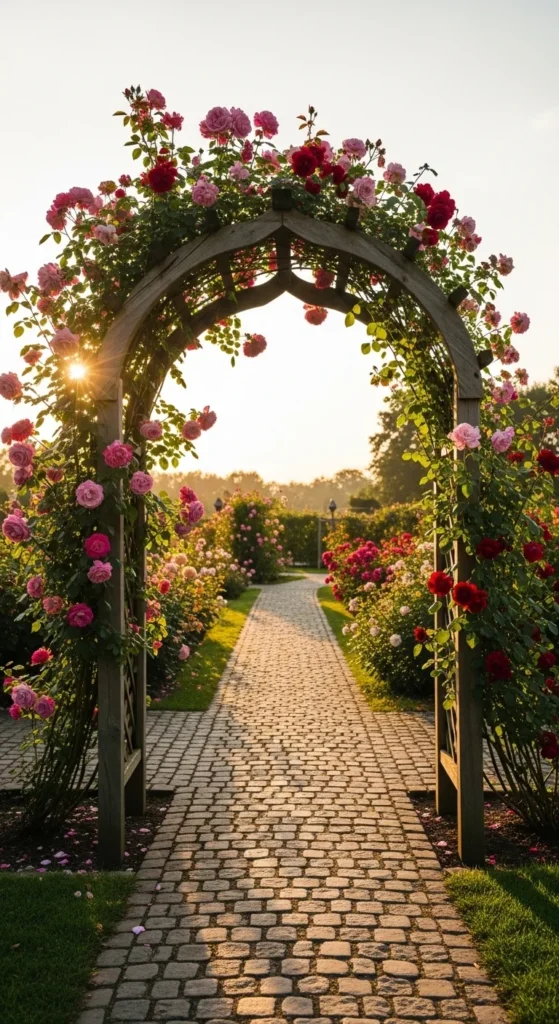
A garden arch is more than just a structure—it’s a statement. It can transform a simple backyard into a magical walkway, frame a cozy seating area, or create a stunning entrance for your garden. Whether you’re dreaming of climbing roses, twinkling fairy lights, or a rustic wooden vibe, building your own garden arch is surprisingly achievable. With a few materials, some patience, and a touch of creativity, you can craft an arch that’s uniquely yours.
Why Build a DIY Garden Arch?
DIY garden arches aren’t just beautiful—they’re practical too! Here’s why you might want to build one:
- Cost-effective: Ready-made arches can be expensive, but DIY versions can fit any budget.
- Customizable: Pick your materials, size, and style to suit your garden perfectly.
- Creative satisfaction: There’s something magical about designing and creating a structure with your own hands.
- Plant support: Perfect for climbing plants like roses, jasmine, or ivy.
With these benefits, it’s no wonder that garden arches are becoming a favorite DIY project for homeowners and gardening enthusiasts alike.
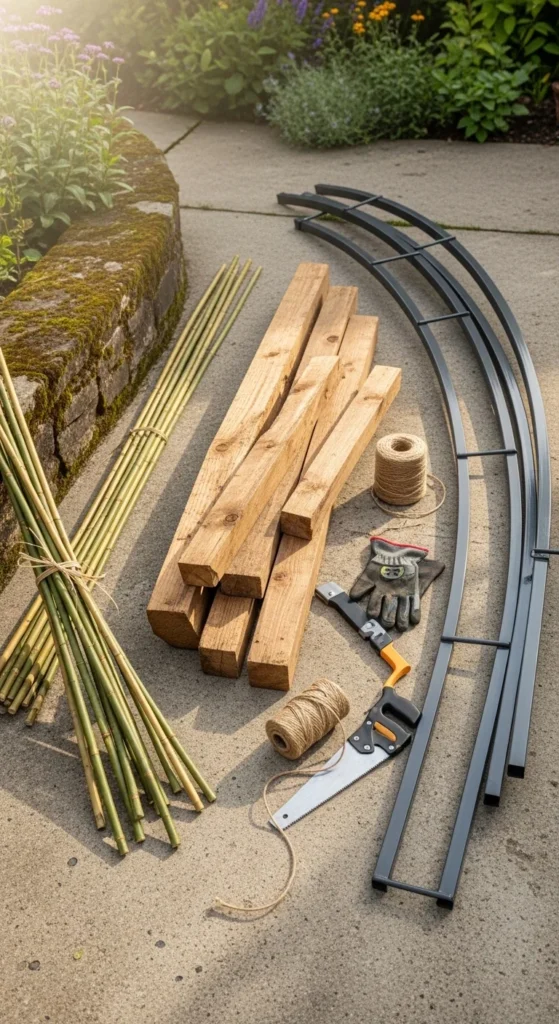
Step 1: Choose Your Materials
Your arch can be made from a variety of materials, each offering a different look and feel:
- Wood: Classic, rustic, and easy to customize. Cedar or treated pine works best for outdoor durability.
- Metal: Sturdy and elegant, often used for more ornate designs.
- PVC or Bamboo: Lightweight and budget-friendly, ideal for small gardens or temporary setups.
Tips:
- Make sure the material is weather-resistant.
- Consider the plants you want to grow—heavier climbers need stronger structures.
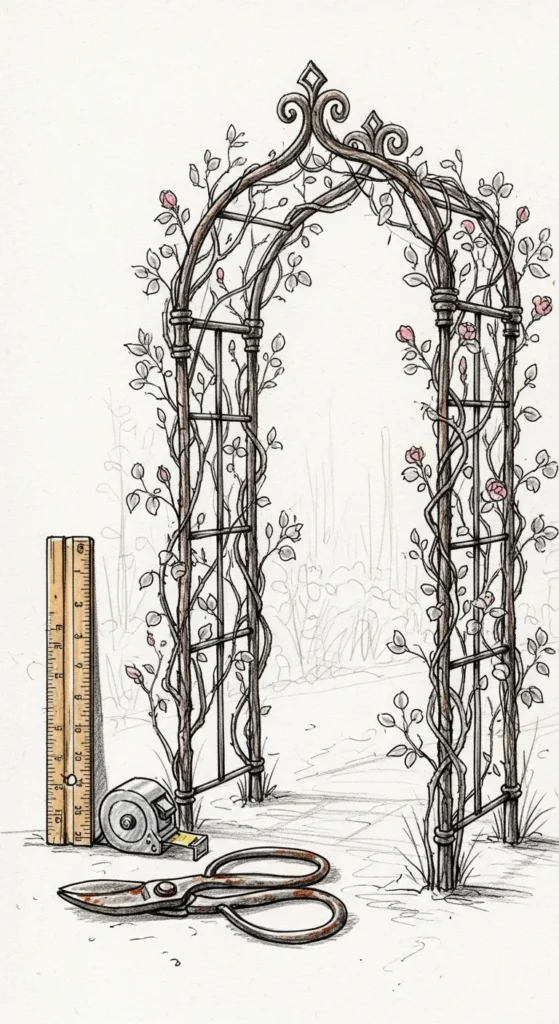
Step 2: Plan the Design and Size
Before you start building, measure your space carefully. Here’s what to consider:
- Height: Most garden arches range from 6 to 8 feet tall. Ensure it’s tall enough for people to walk under comfortably.
- Width: 3 to 5 feet is common for standard pathways. Wider arches suit garden entrances or double paths.
- Shape: Arches can be rounded, pointed, or even a gothic style.
Sketch your arch on paper to visualize proportions. This will help when cutting materials and assembling your structure.
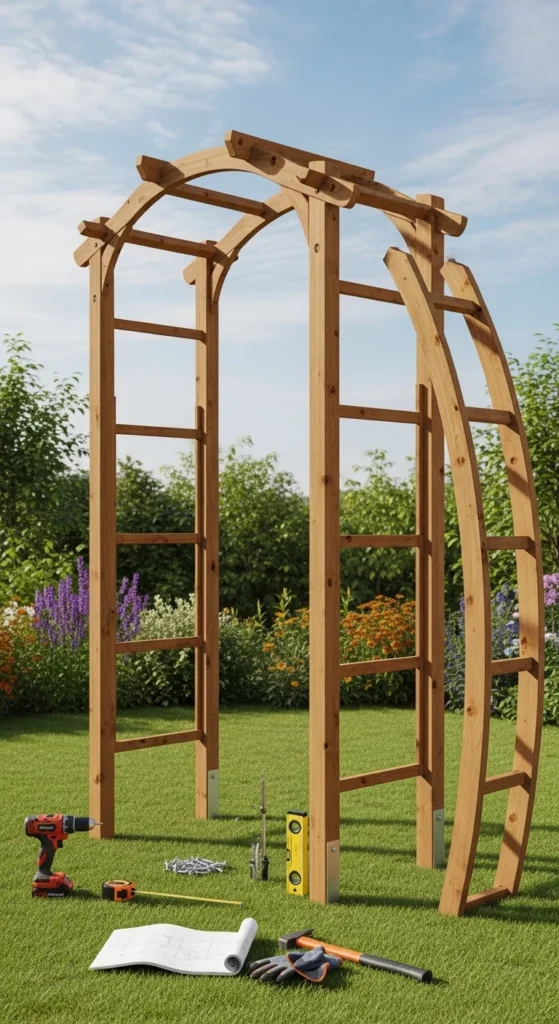
Step 3: Build the Frame
Now comes the fun part—construction!
For a wooden arch:
- Cut the wood: Two tall posts for the sides, plus curved pieces for the top arch.
- Attach crossbars: Connect the posts with horizontal bars for stability.
- Shape the curve: Use bent plywood or pre-cut curved beams for the arch.
- Secure: Use screws or brackets, ensuring everything is sturdy.
For a metal arch:
- Bend metal rods into the desired arch shape.
- Weld or bolt joints carefully.
- Ensure it’s anchored firmly in the ground.
Tip: For all types, dig small holes for posts and set them in concrete for extra stability.
Step 4: Add Plants and Decoration
Once your arch is standing tall, it’s time to make it magical:
- Climbing plants: Roses, clematis, wisteria, and ivy are classic choices.
- Twinkle lights: Wrap solar or fairy lights for an enchanting evening look.
- Hanging decorations: Small lanterns or wind chimes add personality.
Planting tip: Plant your climbers close to the base of the posts and gently tie new shoots to guide them upward.

Step 5: Maintenance Tips
To keep your arch looking its best:
- Inspect annually for loose screws, rust, or wood rot.
- Prune plants to prevent overgrowth and maintain shape.
- Apply weatherproof sealant to wooden structures every couple of years.
With proper care, your garden arch will remain a stunning focal point for seasons to come.
Final Thoughts
Creating a DIY garden arch is more than just a project—it’s an opportunity to add charm, personality, and elegance to your outdoor space. With the right materials, a little patience, and some creativity, you can craft an arch that’s perfect for your garden and your style.
So grab your tools, gather your materials, and start building that dreamy arch today! Your garden—and your Instagram feed—will thank you.

Leave a Reply