
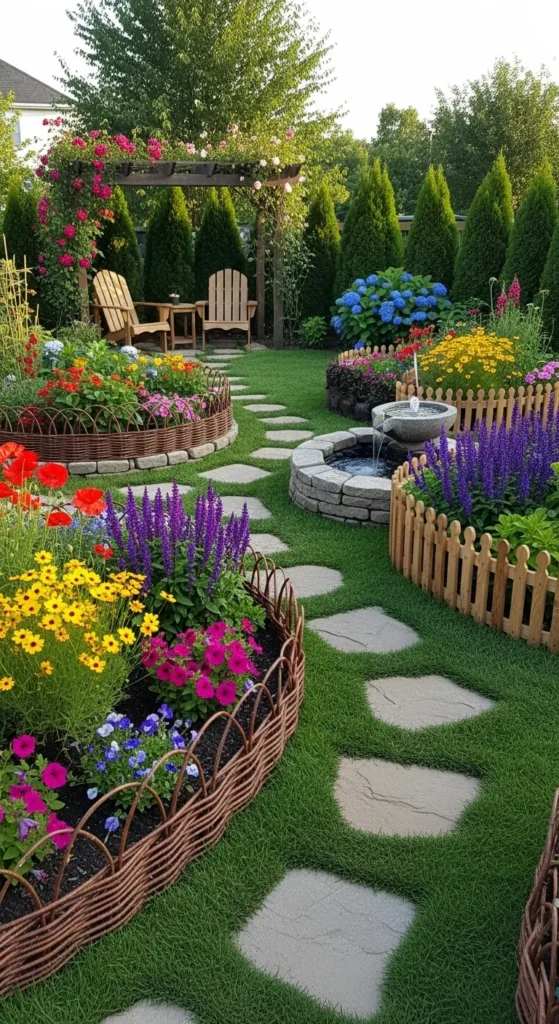
Are you ready to give your garden a polished, professional look without spending a fortune? Garden borders are the secret ingredient to transforming a simple patch of greenery into a charming, organized oasis. From keeping your flower beds neat to creating defined pathways, DIY garden borders are functional and stylish. Best of all, you don’t need to be a master gardener or carpenter to make them yourself!
Let’s dive into some creative, easy-to-make garden border ideas that will elevate your outdoor space instantly.
Choose the Right Material for Your Garden Borders
Before you start digging, you need to decide what kind of border fits your garden style. Here are some popular options:
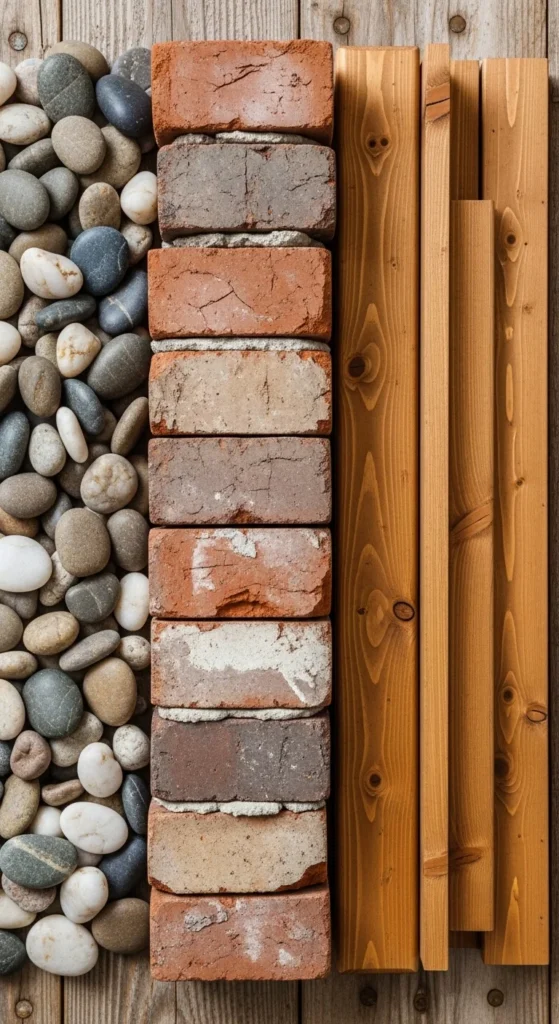
- Wooden Borders: Perfect for a rustic or cottage-style garden. Use logs, planks, or even recycled pallets.
- Stone or Pebble Borders: These give a natural, elegant feel and are very durable.
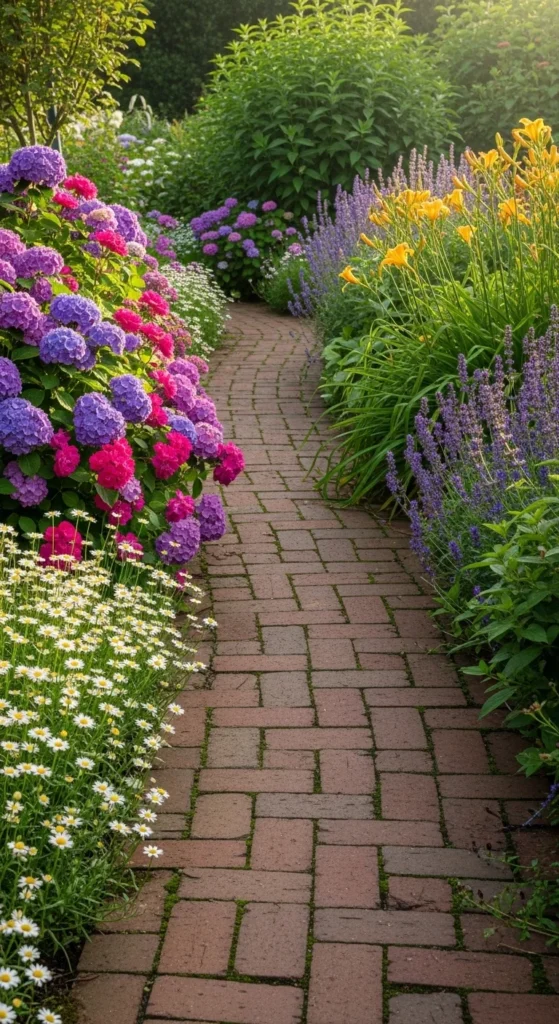
- Brick or Paver Borders: Great for a structured, formal look. Bricks can be arranged in straight lines or curves for more flair.
- Metal or Plastic Edging: Flexible and easy to shape, ideal for creating modern or whimsical designs.
Tip: Think about your garden’s overall aesthetic. Natural materials like wood and stone blend seamlessly with greenery, while bricks and metal make a bold statement.
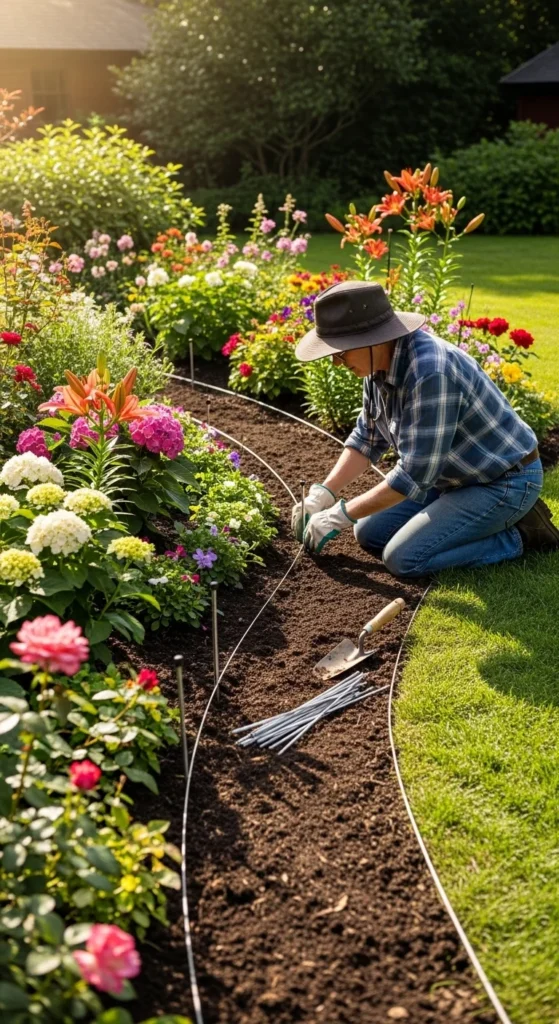
Plan Your Border Layout
A well-planned layout ensures your borders look intentional and harmonious.
- Map Your Garden: Use chalk, string, or a garden hose to outline where you want your borders.
- Consider Curves vs. Straight Lines: Curves add a flowing, organic feel, while straight lines look crisp and formal.
- Measure Your Space: This prevents running out of materials halfway through and keeps your edges even.
- Visualize Heights: Some borders are flush with the ground, while others are raised slightly to create dimension.
Pro Tip: Step back frequently while planning to see the overall effect. Sometimes a slight adjustment can make a big difference!
DIY Garden Border Ideas and Steps
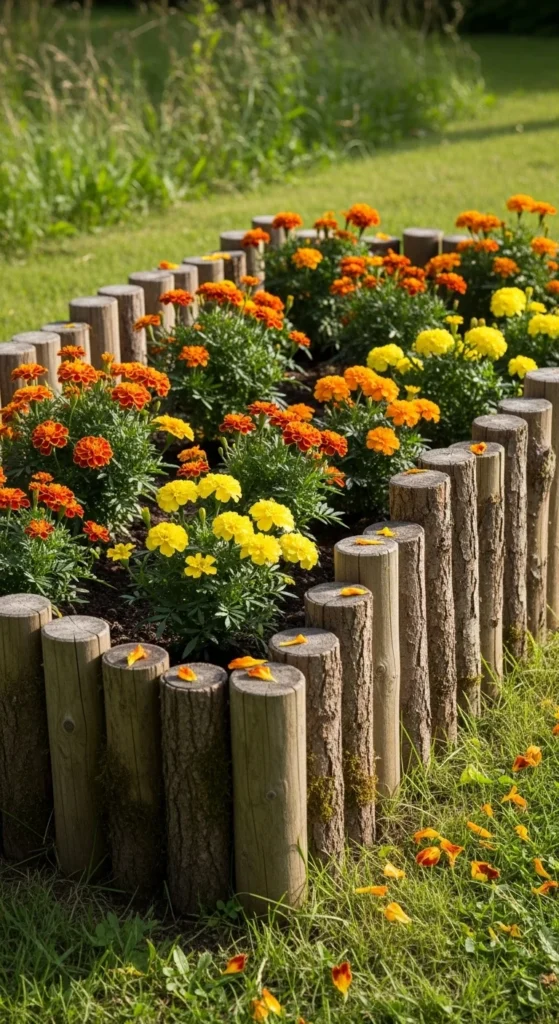
1. Wooden Log Borders
- Materials Needed: Small logs, saw, hammer, nails or wood glue, sandpaper.
- Steps:
- Cut logs to uniform lengths.
- Sand rough edges to prevent splinters.
- Arrange logs vertically along your outlined border.
- Hammer them gently into the soil or secure with stakes.
Bonus Tip: Treat wood with a weatherproof sealant to extend its life.
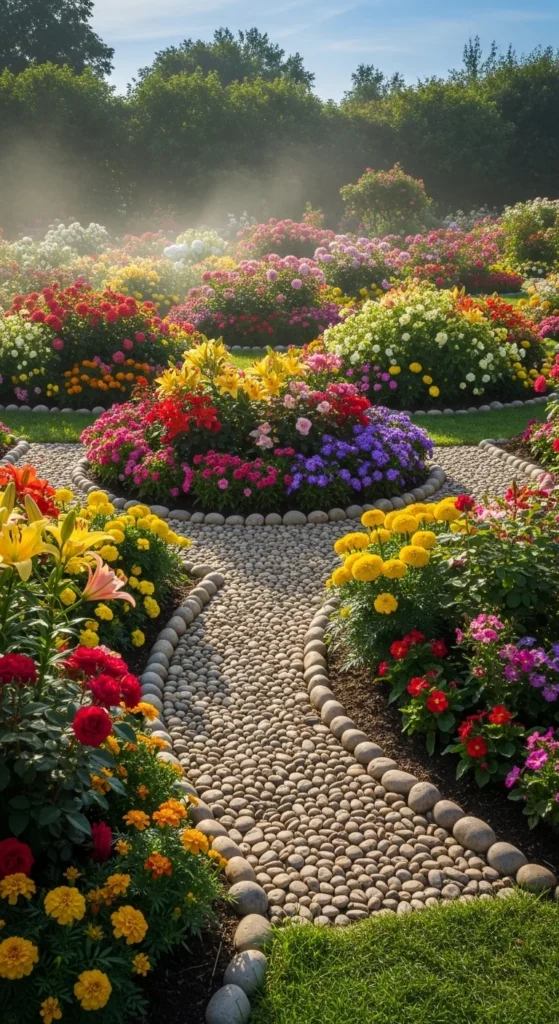
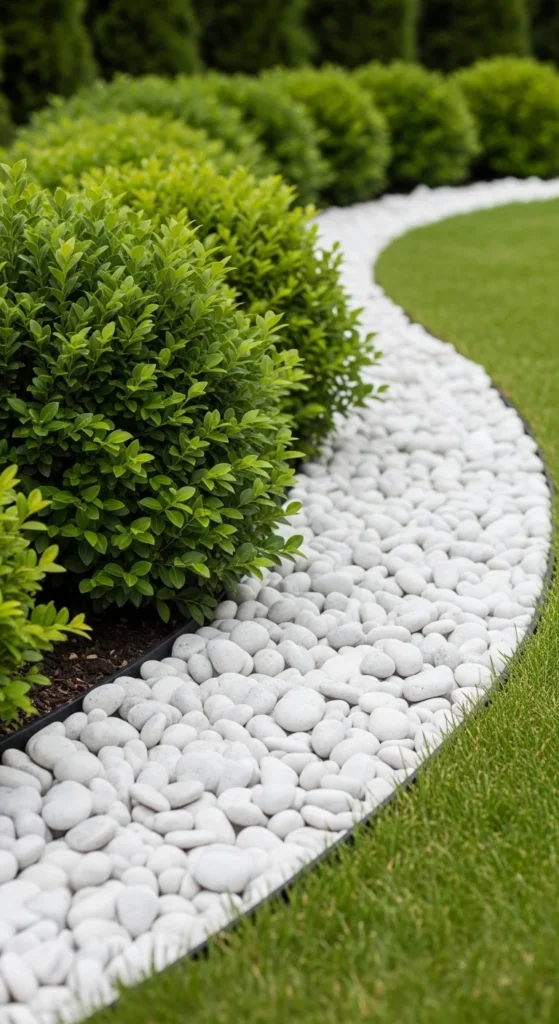
2. Stone or Pebble Borders
- Materials Needed: Smooth stones or pebbles, sand, garden spade.
- Steps:
- Dig a shallow trench along your planned border.
- Lay a thin layer of sand for stability.
- Place stones closely together, adjusting as needed.
- Fill gaps with sand or small pebbles to lock them in place.
Pro Tip: Use contrasting stones for a striking visual effect, like white pebbles against dark soil.
3. Brick or Paver Borders
- Materials Needed: Bricks or pavers, sand, rubber mallet, level.
- Steps:
- Dig a trench and fill with a 2-inch sand base.
- Lay bricks side by side or in a creative pattern.
- Tap gently with a mallet to level them.
- Fill gaps with sand to secure the structure.
Pro Tip: Bricks can be angled slightly for a decorative wave effect, adding personality to your borders.
Maintaining Your DIY Garden Borders
A beautiful border requires some TLC to keep it looking fresh:
- Remove weeds growing along the edges regularly.
- Reposition any stones or bricks that shift over time.
- For wooden borders, reapply sealant every couple of years to prevent rotting.
- Trim grass and plants to prevent overgrowth.
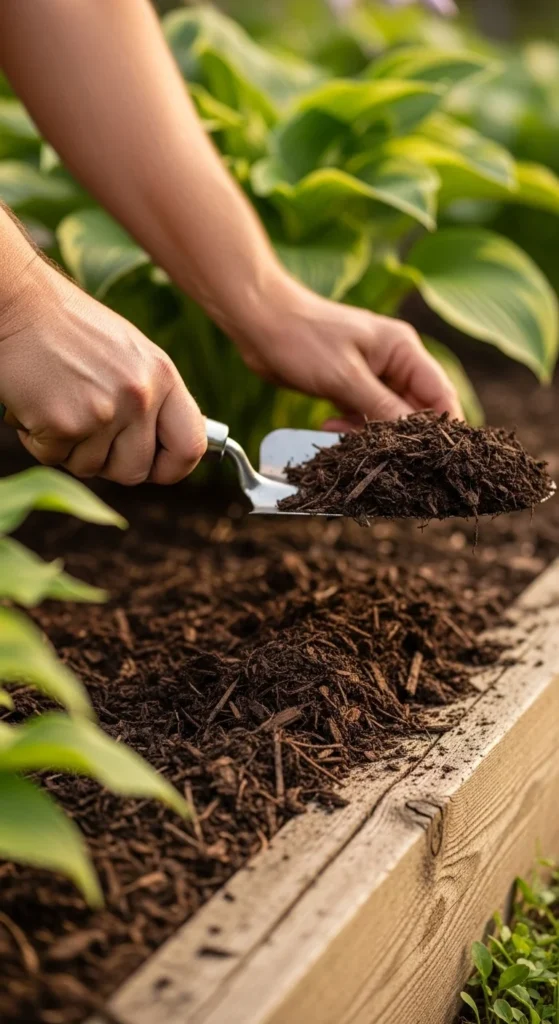
Quick Tip: Mulching along borders helps suppress weeds and keeps the soil moist, enhancing the border’s appearance.
Final Thoughts
DIY garden borders are a simple yet transformative way to enhance your outdoor space. Whether you choose rustic logs, elegant stones, or classic bricks, creating your own borders allows for complete customization to suit your style. Plus, it’s a fun and rewarding weekend project that adds lasting value to your garden.
Save these ideas and get started this weekend—your garden will thank you!

Leave a Reply