
Creating your own garden lanterns is an easy and fun way to add a cozy, magical touch to your outdoor space. Whether you’re hosting an evening gathering or just want to enjoy a quiet night in the garden, these lanterns can bring warmth and charm. With just a few simple supplies, you can make stunning DIY lanterns that will illuminate your garden beautifully. Let’s dive into how to make these charming lanterns for your garden!
Materials You’ll Need
Before getting started, make sure you have all the necessary materials. Here’s a list of what you’ll need to create your garden lanterns:
- Glass jars or bottles (recycled ones work great)
- LED fairy lights or tealight candles
- Twine, jute, or wire for hanging
- Paint (optional, for decorating)
- Hot glue gun
- Decorative elements like beads, pebbles, or ribbons (optional)
Make sure your glass jars are clean and dry before you begin. The variety of bottles and jars you choose can significantly affect the look of your lanterns, so feel free to experiment with different shapes and sizes.
Step 1: Prepare the Jar
Start by cleaning your jars thoroughly, removing any labels. You can soak them in warm, soapy water for a few minutes to easily peel off the labels. Once clean and dry, decide if you’d like to decorate them. For a simple look, skip this step and move on to the next.
Optional Decoration Ideas:
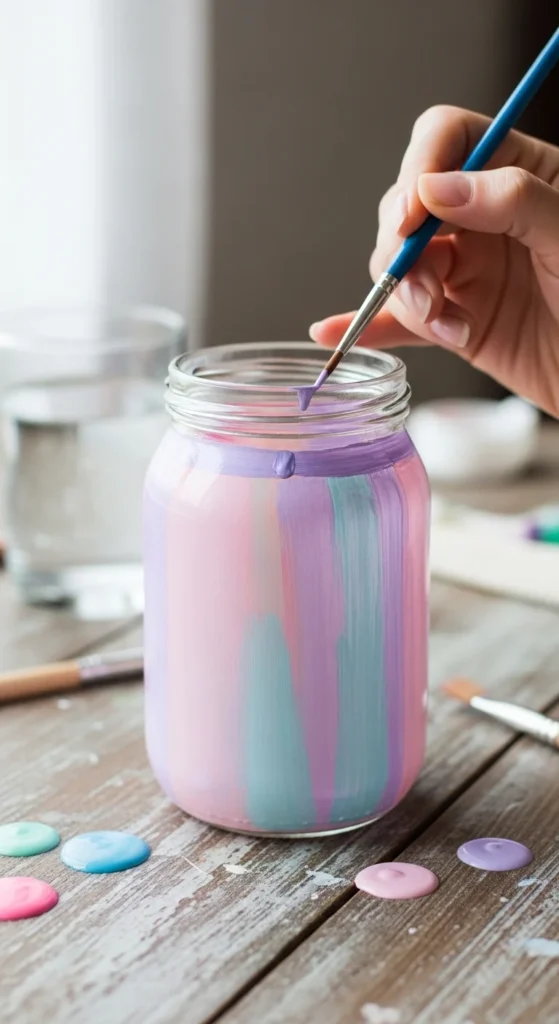
- Paint: You can use acrylic paints to create beautiful designs on the jars. Consider painting them in soft pastel colors for a calm vibe or bold hues for a vibrant touch.
- Beads and Ribbons: If you want a more rustic or boho look, add beads, twine, or ribbons to the jars’ necks. Simply tie them around the opening for a more personalized lantern.
Step 2: Add the Lighting
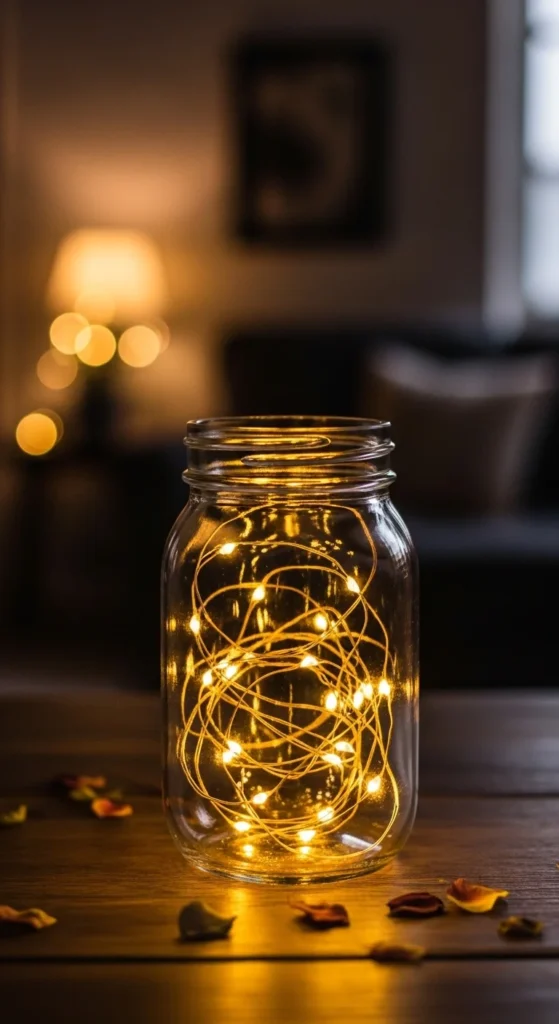
Next, you need to choose the light source for your lanterns. LED fairy lights work wonderfully as they are low heat, safe, and offer a soft, warm glow. Simply place the LED lights inside the jar and adjust the strands so they are evenly spread out.
Alternatively, you can use tealight candles for a more classic lantern look. Place the candle inside the jar and ensure it’s stable and centered. For safety, it’s best to use battery-operated tealights if you plan to hang the lanterns.
Step 3: Make the Handle
To hang your lanterns, you’ll need to create a handle. You can do this using twine, jute, or wire. Here’s how:
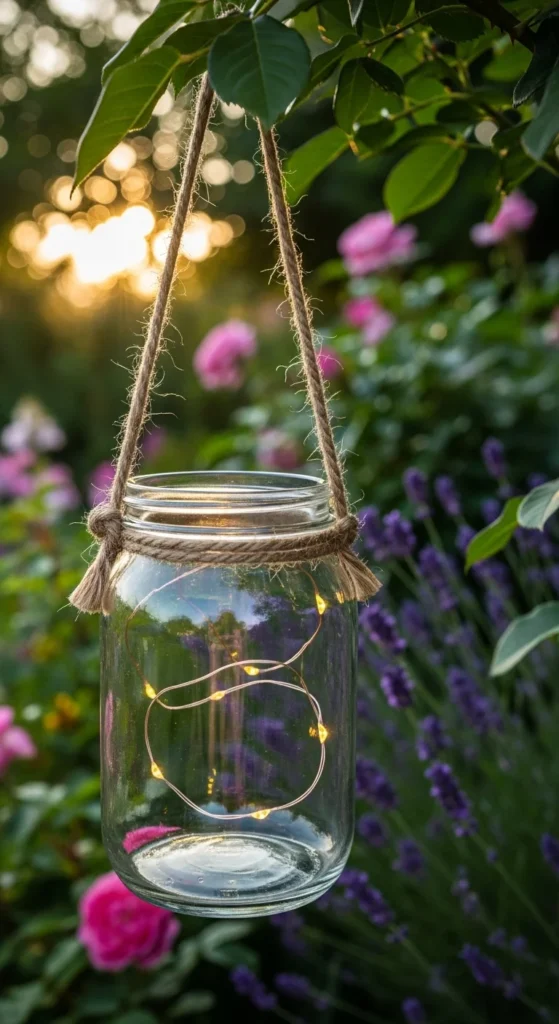
- Twine: Cut a piece of twine about 12 inches long, and tie it securely around the top of the jar. You can create a simple knot or tie a bow for extra charm.
- Wire: For a more sturdy and industrial look, you can bend a piece of wire into a handle shape and attach it to the jar by wrapping the ends tightly around the neck.
Make sure the handle is sturdy enough to support the weight of the jar and the light inside.
Step 4: Add Finishing Touches
Once the handle is in place, you can add some final touches. Consider adding decorative elements like:
- Small pebbles or sand at the bottom of the jar for texture
- A few sprigs of greenery or faux flowers to the outside for a fresh, garden-inspired look
- Glitter or metallic paints for a shimmering effect at night
These small details will give your DIY garden lanterns an extra personal touch and make them stand out in your garden.
Step 5: Place Your Lanterns
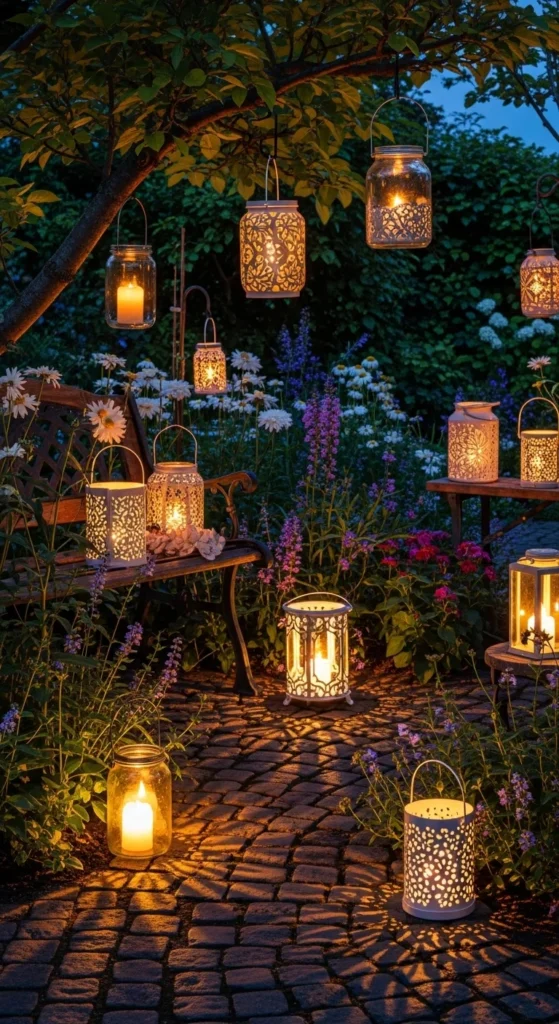
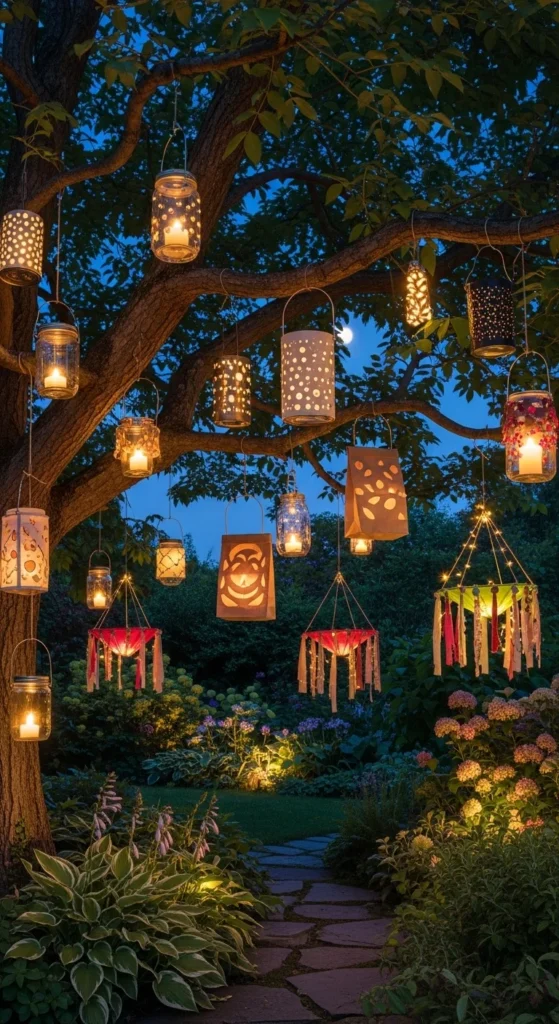
Now that your lanterns are ready, it’s time to place them in your garden! You can hang them from tree branches, place them along garden paths, or group them in a corner to create a cozy nook. The soft glow will create a peaceful atmosphere that’s perfect for relaxing or entertaining.
Conclusion
Making DIY garden lanterns is a simple, creative project that brings beauty and charm to your outdoor space. With just a few materials and a little imagination, you can create lanterns that reflect your style and brighten up your garden. Whether you’re using them for an outdoor dinner party or simply to enjoy the evening light, these lanterns will be the perfect addition to your garden.
So, grab your materials and start crafting these delightful lanterns today! Don’t forget to share your finished lanterns with us.
Save this guide for later and let your garden glow with creativity!

Leave a Reply