
Gardening doesn’t have to be expensive—or boring! One of the easiest ways to add charm to your outdoor space is by creating your own DIY garden planters. Whether you’re working with a tiny balcony, a spacious backyard, or even just a windowsill, these planters let your personality shine through while giving your plants a cozy home.
DIY planters are perfect for beginners and seasoned gardeners alike. From rustic wood boxes to chic upcycled containers, the possibilities are endless. Let’s dive into some creative and practical ways to make your own planters!
H2: Choose Your Materials
The first step in making a DIY garden planter is deciding what materials you want to use. You don’t need to buy fancy supplies—many everyday items can be transformed into charming plant homes.
Popular options include:
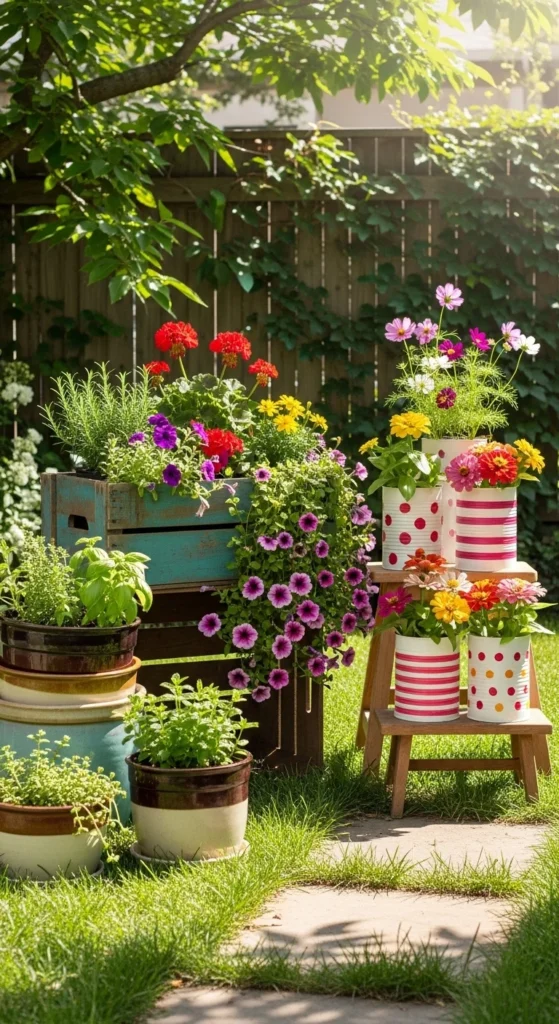
- Wooden crates or pallets: Great for a rustic vibe.
- Old buckets or tins: Perfect for a shabby-chic look.
- Concrete or cement molds: Ideal for modern, sturdy planters.
- Plastic containers: Lightweight and easy to move.
Tip: Whatever you choose, make sure it has or can have drainage holes to keep your plants healthy.
H2: Prep Your Container
Once you’ve selected your material, it’s time to prep it for planting. Proper preparation ensures your planter lasts longer and your plants thrive.
Steps:
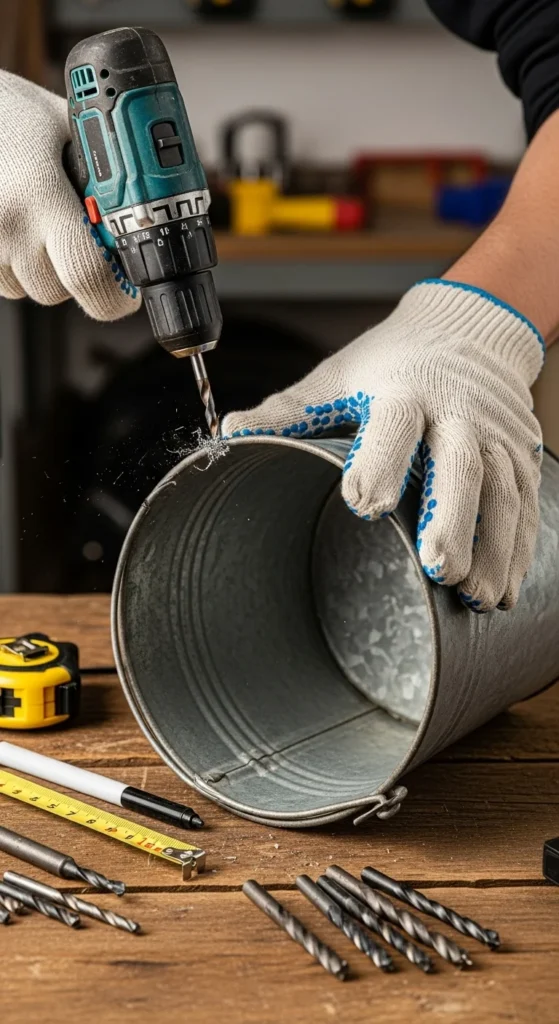
- Clean your container – Remove any dirt, rust, or residue.
- Add drainage – Drill holes or layer the bottom with small rocks.
- Seal wooden planters – Use a non-toxic sealant to prevent water damage.
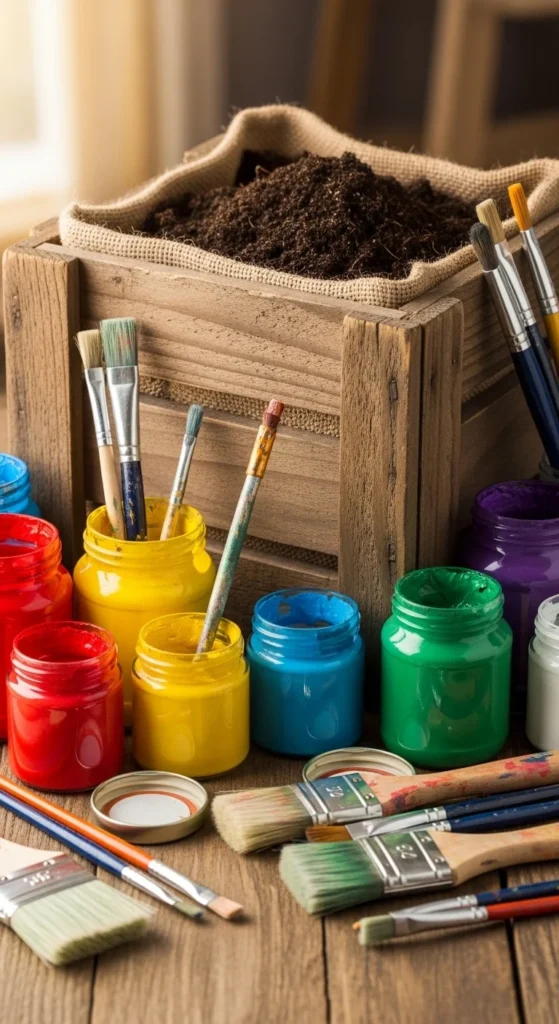
- Optional decoration – Paint, stencil, or wrap your planter to match your garden style.
Tip: Consider lining containers that may leak with landscape fabric. This keeps soil in while still allowing water to drain.
H2: Fill and Plant
Now comes the fun part: adding soil and plants. The right soil and planting technique make a huge difference in how your DIY planters perform.
Step-by-step:
- Start with a layer of gravel or broken pottery for extra drainage.
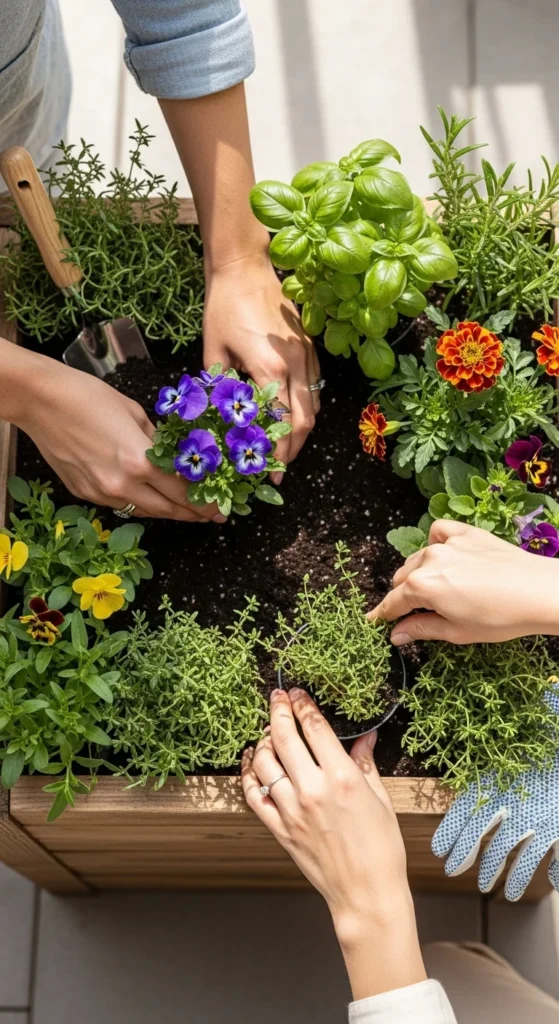
- Fill your container with nutrient-rich potting soil.
- Arrange your plants thoughtfully—taller plants in the back, trailing varieties near edges.
- Gently firm the soil around roots and water thoroughly.
Tip: Mix in some slow-release fertilizer to keep plants happy for weeks.
H2: Creative DIY Ideas
If you want to get really inventive, these DIY planter ideas will elevate your garden:
- Hanging planters: Use macramé or rope to suspend pots for a vertical garden.
- Teacup planters: Tiny plants look adorable in vintage teacups or mugs.
- Painted themes: Use stencils or geometric designs to add personality.
- Stacked planters: Stack different-sized containers for a tiered effect.
Tip: Always consider the weight and drainage when stacking or hanging planters.

H2: Maintenance Tips
A beautiful DIY planter isn’t just about looks—it needs care to stay thriving.
- Water consistently but avoid overwatering.
- Rotate planters occasionally to ensure even sunlight exposure.
- Trim dead leaves and spent blooms regularly.
- Replenish soil nutrients every few months for healthy growth.
Pro Tip: Grouping planters with similar water and sunlight needs makes maintenance much easier.
Conclusion
DIY garden planters are a simple, affordable way to transform any outdoor or indoor space. With a little creativity and basic tools, you can make functional, beautiful planters that reflect your style—and give your plants a happy home.
Start small with a single container or go all out with a multi-planter display. Either way, your garden will thank you!
Takeaway:
Save this guide for your next weekend project and start crafting your own charming garden planters today!


Leave a Reply