
Creating your own garden signs can add a personal touch to your outdoor space. Whether you want to label plants, create whimsical markers, or just add some charm, DIY garden signs are a fun and easy project that anyone can do. Plus, they make for wonderful gifts! In this guide, we’ll walk you through the steps of making your own garden signs that will make your garden stand out.
Materials You’ll Need
Before you start, gather the materials you’ll need to create your DIY garden signs. Here’s a quick list:
- Wooden planks, small boards, or smooth stones
- Acrylic paints or markers
- Paintbrushes (variety of sizes)
- Stencils (optional for neat lettering)
- Sandpaper (for smoothing rough edges)
- Garden stake or small wooden dowels (for mounting)
- Clear waterproof sealant
Make sure to choose outdoor-friendly materials to ensure your signs can withstand the elements!
Step 1: Choose Your Sign Design
Start by deciding the style of your garden sign. Do you want something simple and classic, or something whimsical and fun? Here are some design ideas to spark your creativity:
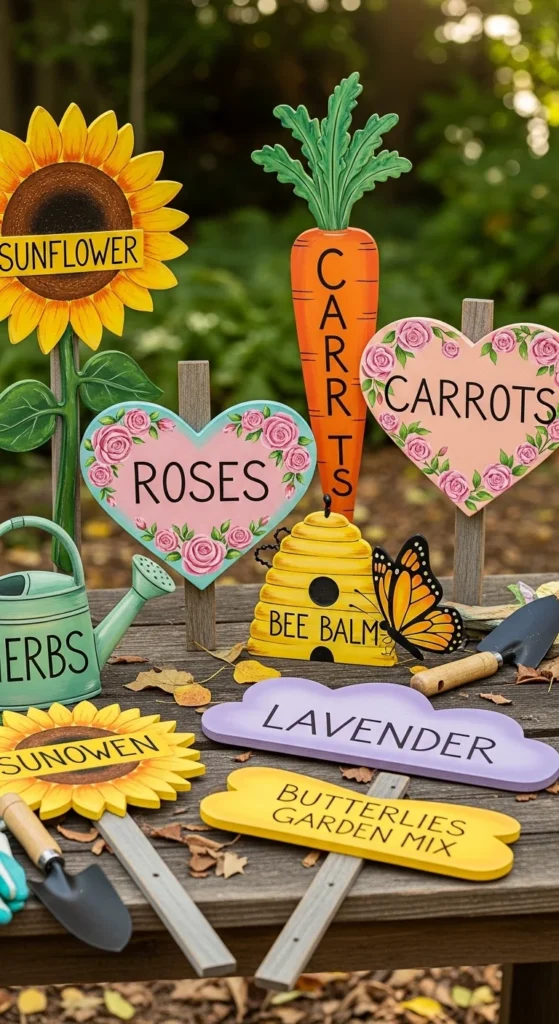
- Plant markers: Label different herbs, flowers, or vegetables.
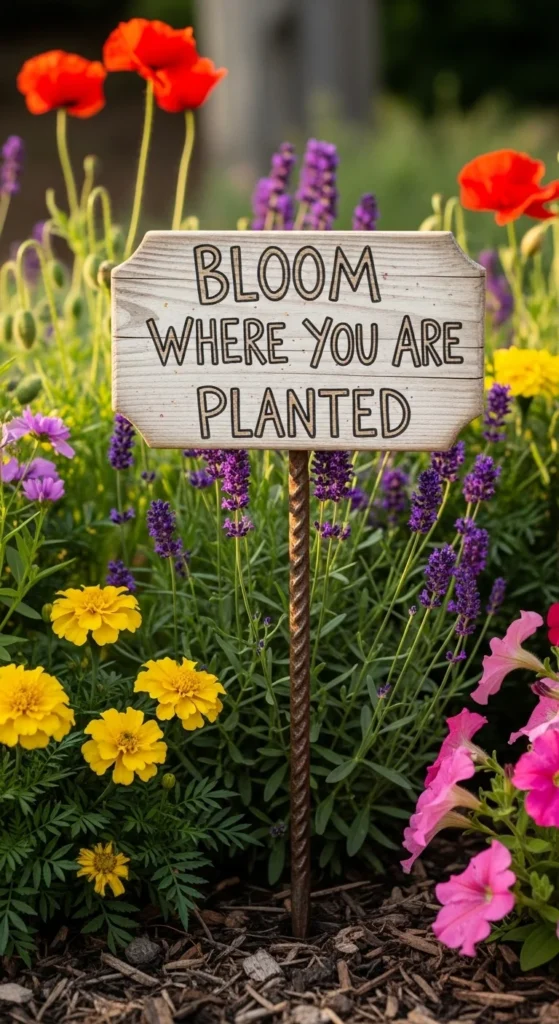
- Whimsical quotes: “Live, Love, Bloom” or “Grow with Love”.
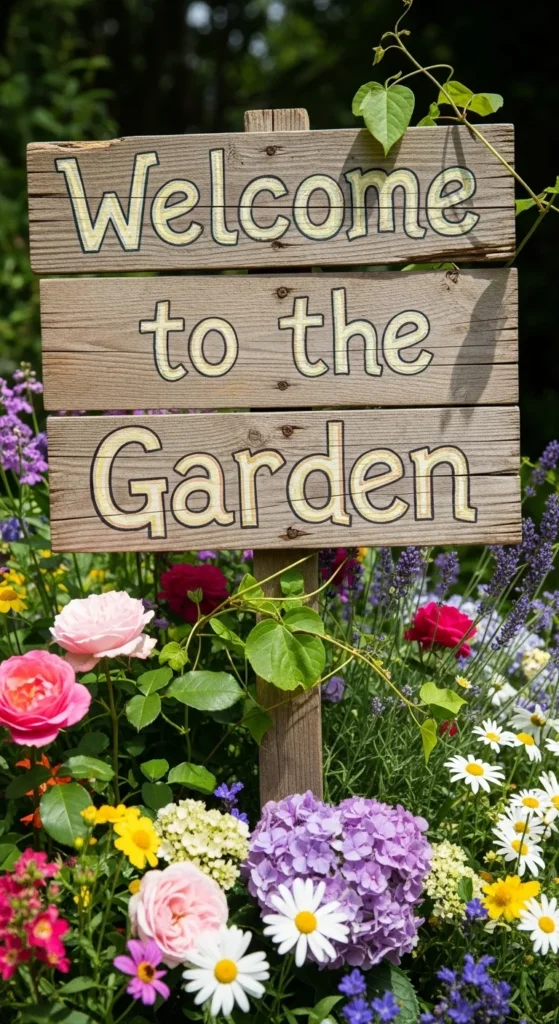
- Themed signs: For example, a “Fairy Garden” sign or “Herb Garden.”
- Directional signs: Direct visitors to various parts of your garden, like “Rose Garden” or “Secret Path.”
Step 2: Prepare Your Materials
Once you have your design in mind, it’s time to prepare your materials.
- If you’re using wooden planks, sand them to ensure a smooth surface for painting. If you prefer a rustic look, leave the wood untreated for a more natural appearance.
- You can also use stones for a more sturdy and durable option, just ensure they have a flat surface to work with.
Tip: For a vintage look, use a wire brush on the wood before sanding to create a distressed texture.
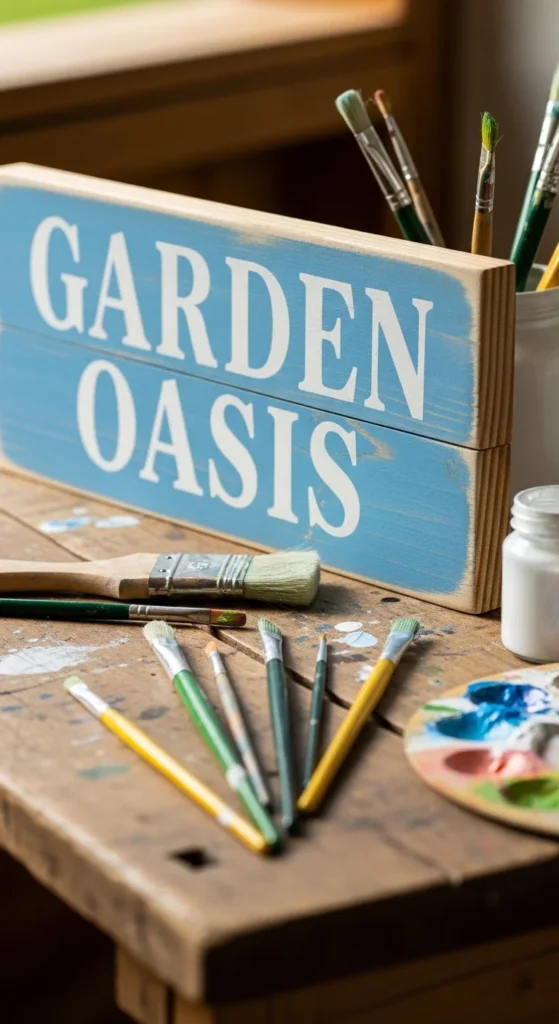
Step 3: Paint Your Sign
Now comes the fun part – painting!
- Start by painting the background of the sign with a base color. You can go for any shade that complements your garden, such as earthy browns, soft blues, or vibrant yellows.
- Once the base color is dry, use a stencil or freehand to paint the letters. You can paint the plant names, fun sayings, or any designs that inspire you.
If you’re nervous about your freehand skills, stencils are a great way to get neat, uniform letters. You can find pre-made stencils at most craft stores or use online templates for free.
Pro Tip: If you’re unsure about your lettering, practice on a scrap piece of wood or paper first. It’ll help you feel more confident when it’s time to paint the final version.
Step 4: Seal Your Sign
To make sure your sign lasts through the seasons, you’ll want to apply a waterproof clear sealant. This will protect the paint from rain, sun, and the elements.
- Use a spray-on clear coat for a smooth finish, or brush it on if you want a thicker coat.
- Let the sealant dry completely before moving on to the next step.
Tip: For a glossy finish, choose a high-gloss sealant. For a more natural, matte look, go for a satin finish.
Step 5: Add a Stand or Stake
Now it’s time to attach your garden sign to a stand or stake so it can be displayed proudly in your garden.
- You can mount the sign on a wooden dowel or metal stake. Simply drill a hole in the bottom of the sign and attach it to the stake.
- If you’re using a stone, use strong adhesive to attach a small piece of dowel or a small stake to the bottom.
Tip: Make sure the stake is long enough to keep the sign stable in the ground. If you’re in an area with strong winds, you might want to make the stake a bit longer for added security.
Step 6: Place Your Sign in the Garden
Once your sign is dry and the stake is attached, it’s time to display it!
- Find a spot in your garden where it will be visible and add a little personality.
- Whether it’s next to a flower bed, beside a vegetable garden, or along a garden path, your sign will bring charm and a personal touch to any area.

Conclusion
Making DIY garden signs is a rewarding and creative project that can truly elevate your garden. Not only do they help organize your plants, but they also bring a personal touch to your outdoor space. Whether you’re labeling plants, sharing motivational quotes, or adding a touch of whimsy, your garden signs will definitely stand out.
Ready to make your own garden signs? Start by gathering your materials and designing a unique sign for your garden today!

Leave a Reply