
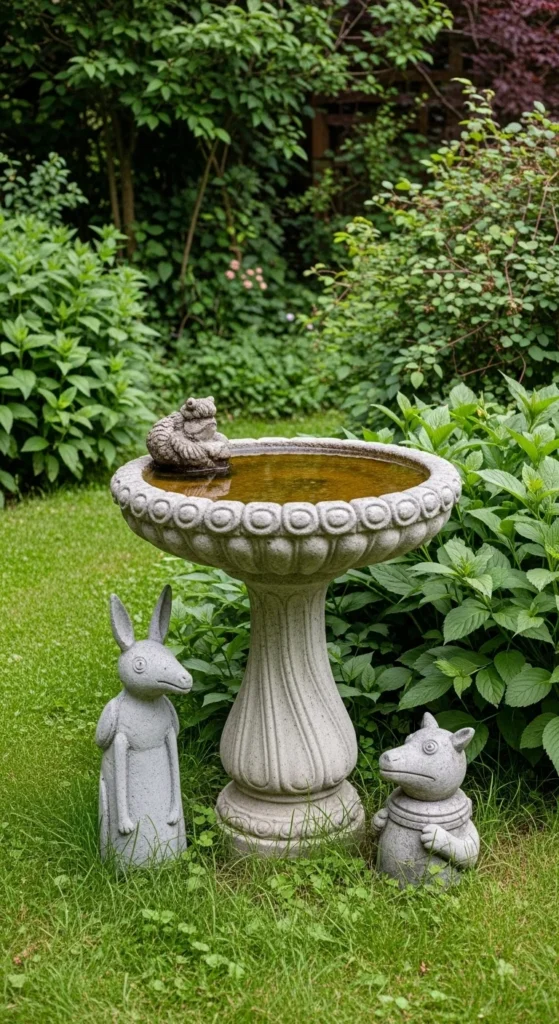
Transform your garden into a whimsical paradise with DIY garden statues. Whether you’re looking to add a personal touch to your outdoor space or just want to bring some creativity into your landscaping, making your own garden statues is a fun and rewarding project. Plus, it’s an excellent way to express your style and create unique pieces that reflect your personality.
Materials You’ll Need
Before diving into the process of making your own garden statues, gather your materials. Depending on the design you choose, the materials can vary, but here’s a basic list to get started:
- Concrete or Plaster: These are the most common materials used for DIY garden statues. They are durable and weather-resistant, making them perfect for outdoor use.
- Mold (optional): You can either purchase a pre-made mold or create your own.
- Wire and Mesh: For structure, especially in larger statues, you’ll need wire to reinforce the shape.
- Paint (optional): Once your statue is dried, you can add color with outdoor paint.
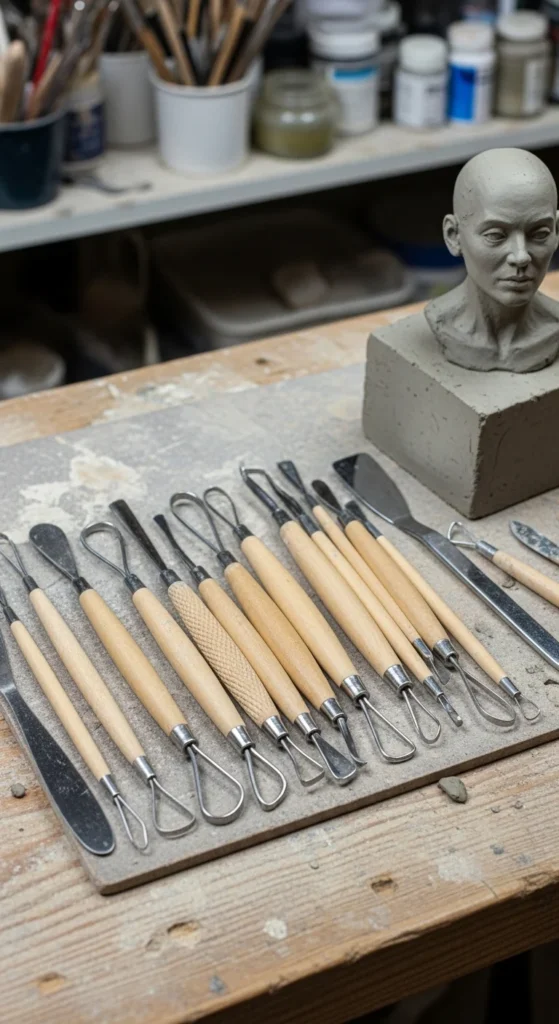
- Tools: Depending on your design, you may need tools like a trowel, sculpting tools, or a carving knife.
Step 1: Plan Your Design
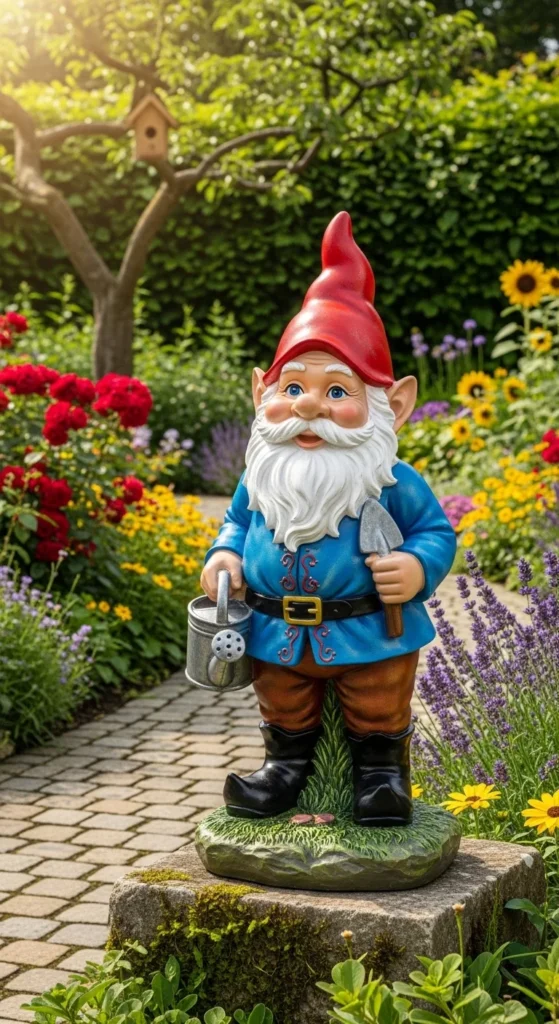
The first step in creating your DIY garden statue is to decide on your design. Do you want a whimsical gnome, a majestic animal, or an abstract figure? Sketch your design on paper, keeping in mind the scale and placement in your garden. If you plan to use a mold, ensure that it’s the right size for your chosen design.
Tips for Planning:
- Start Simple: If you’re new to sculpting, begin with something small and uncomplicated like a bird or a small abstract shape.
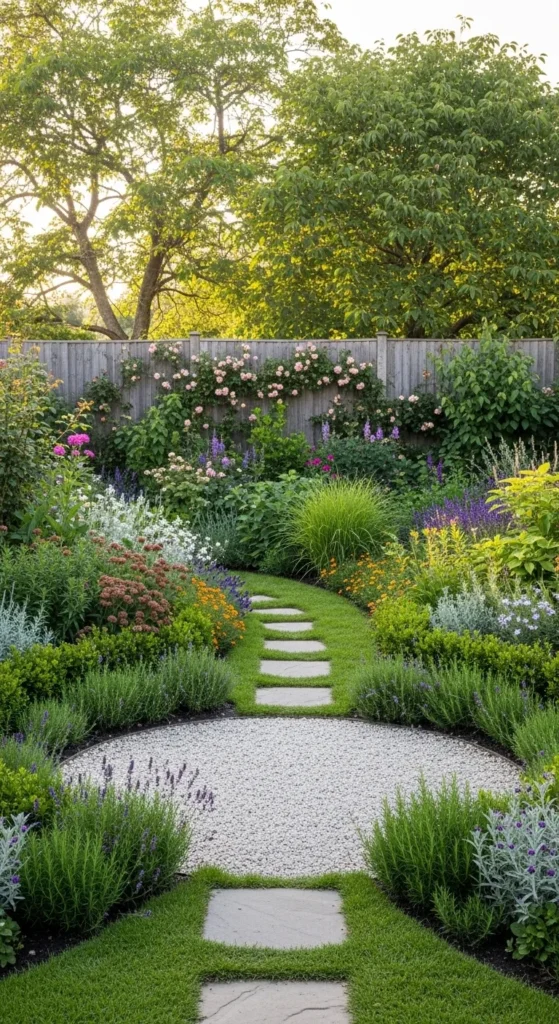
- Consider Your Garden: Choose a statue that complements your garden’s overall look, whether it’s rustic, modern, or whimsical.
- Durability: Think about how the statue will withstand weather changes, especially if it’s in a spot with full exposure to the sun and rain.
Step 2: Create the Base Structure
Once you’ve chosen your design and gathered the materials, it’s time to create the base structure. If you’re making a larger statue, you’ll need to build a frame with wire and mesh to give it stability. You can also mold it into a solid form using concrete or plaster.
- Wire Frame (for larger statues):
- Shape the wire into the rough outline of your statue, whether it’s a figure or a simple shape like a ball or animal.
- Wrap the wire mesh around the frame for added support.
- Solid Molding (for smaller designs):
- Mix your concrete or plaster according to the package instructions.
- Pour the mixture into a mold and let it set for a few hours until it’s firm enough to work with.
- If you’re using plaster or concrete directly, sculpt it into the desired shape using your hands or sculpting tools.
Pro Tip:
- Smooth the Surface: As your structure begins to take form, use a wet sponge to smooth out rough edges or fingerprints.
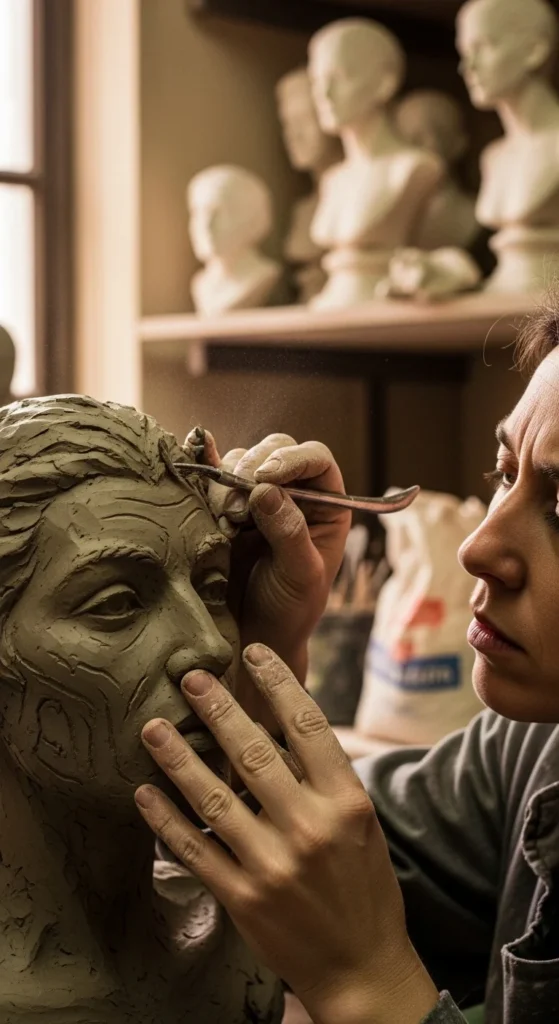
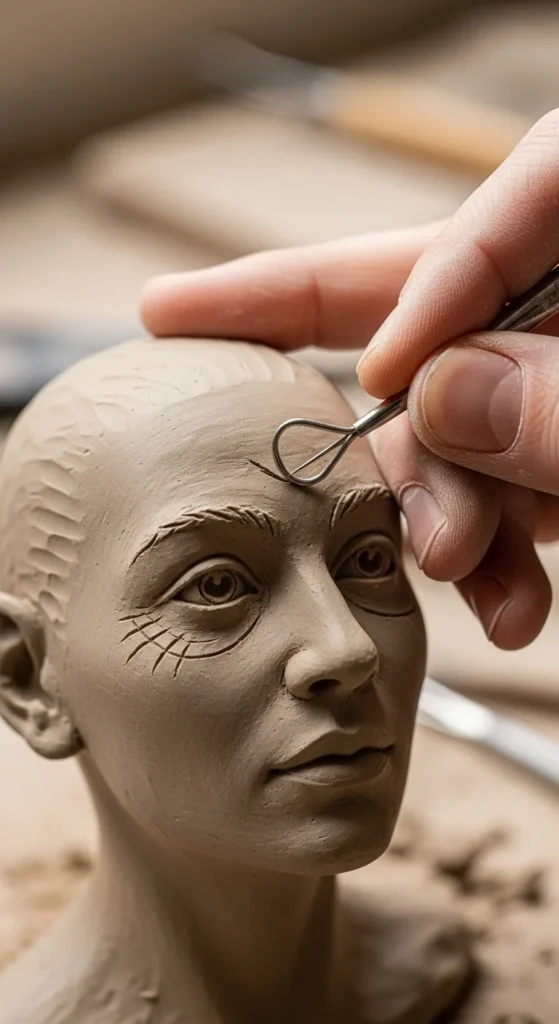
Step 3: Sculpt the Details
Now comes the fun part—adding the intricate details to your statue. Use your sculpting tools to carve or mold the finer features, whether it’s facial expressions, patterns, or textures. Take your time here; the details are what make your garden statue stand out.
Ideas for Sculpting:
- Textures: You can create texture by pressing fabric or leaves into the wet concrete or plaster to give it a natural feel.
- Facial Features: If you’re making an animal or human figure, add eyes, ears, and other small details that bring it to life.
- Flowing Lines: If you’re crafting an abstract design, focus on smooth, flowing lines that add elegance and movement to the piece.
Step 4: Let It Dry and Set
After sculpting, your garden statue will need time to dry. This is a crucial step because it ensures that the statue will hold its shape and be durable for outdoor use.
- Drying Time: Allow the statue to dry for at least 24-48 hours, depending on the size and thickness.
- Check for Cracks: If you notice any cracks, fill them with more plaster or concrete and smooth it out before allowing it to dry completely.
Pro Tip:
- Place the statue in a cool, dry area where it’s not exposed to extreme temperatures during the drying process.
Step 5: Paint and Finish
Once your statue is dry, it’s time to add the final touches with paint. Using outdoor-safe paint, you can color your statue to match your garden or personal aesthetic.
- Base Coat: Apply a primer coat first to ensure the paint adheres well to the surface.
- Detailing: Add layers of paint for shading, texture, or patterns to bring out the features of your sculpture.
- Protective Finish: Once the paint is dry, apply a clear outdoor sealant to protect the statue from the elements.
Conclusion
Making your own DIY garden statues is not only a fun and creative way to enhance your garden, but it also allows you to create truly personalized pieces that reflect your style. From planning your design to adding those intricate details, each step is an opportunity to express your artistic side.
So, grab your sculpting tools, get inspired, and start your own DIY garden statue project today. Your garden will thank you!
Save this article for later, and be sure to share your own creations with us!

Leave a Reply