
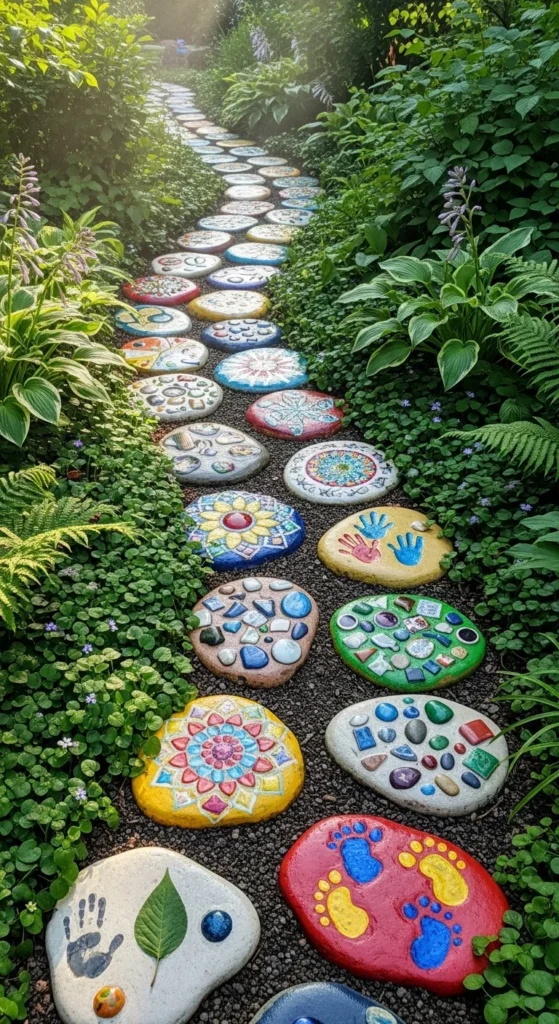
Stepping stones are not just a functional addition to your garden – they add charm, creativity, and personality to your outdoor space. Making your own DIY garden stepping stones is a fun and easy project that allows you to customize your stones to fit your unique style. Whether you’re an experienced crafter or a beginner, this guide will walk you through every step to create beautiful stepping stones for your garden.
What You’ll Need
Before you get started, gather the following materials. You don’t need a ton of expensive supplies to make your own stepping stones!
- Concrete mix: Choose a ready-made concrete mix or make your own with sand, gravel, and cement.
- Molds: You can use silicone molds, plastic food containers, or even a plastic sheet to shape your stones.
- Water: For mixing your concrete.
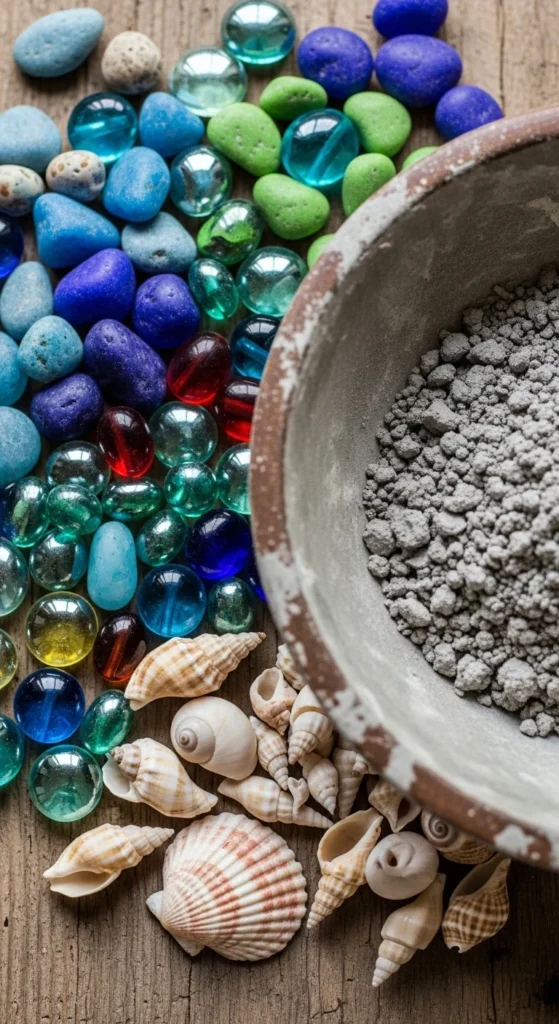
- Decorative items: This could be anything from small pebbles, marbles, shells, or even glass beads. Get creative with what you have on hand!
- Protective gloves and tools: You’ll need gloves to handle the wet concrete, as well as a trowel or mixing stick to stir the mix.
Step-by-Step Instructions
Step 1: Prepare the Mold
Start by selecting your mold. If you’re using plastic containers, cut them to your desired size. For a more sophisticated look, you can use a special stepping stone mold, available at craft stores. The size of the mold will determine how big or small your stepping stone will be.
- Tip: To make removal easier later, coat your mold with cooking spray or petroleum jelly. This prevents the concrete from sticking to the mold.
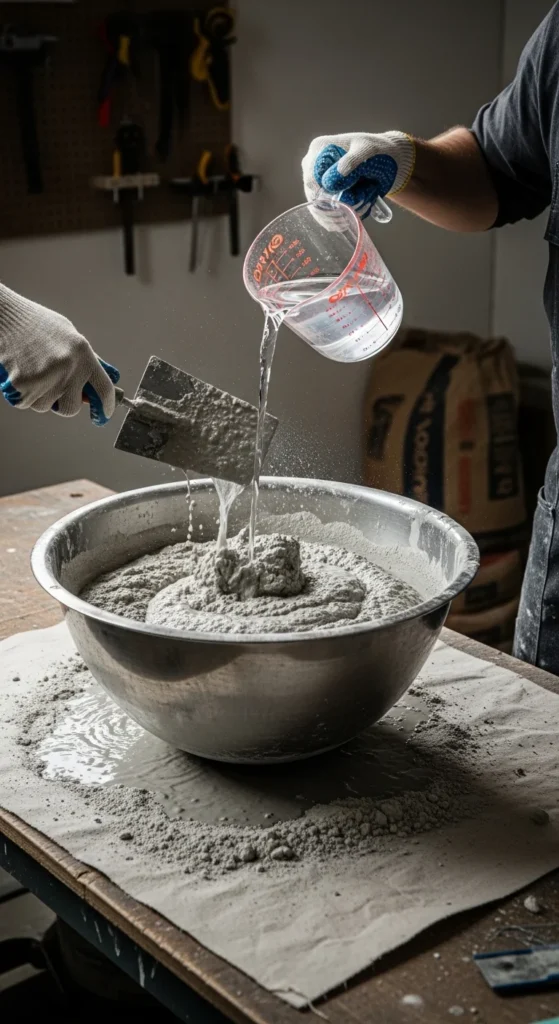
Step 2: Mix the Concrete
Follow the instructions on the concrete mix bag to get the right consistency. It should be thick but pourable. Add water slowly and mix until the concrete is smooth and free of lumps.
- Tip: If you want to add color to your stepping stones, you can mix in concrete dye at this point. Choose a color that complements your garden’s theme!
Step 3: Pour the Concrete into the Mold
Once the concrete is mixed, pour it into the mold. Use a trowel or a small shovel to distribute the concrete evenly across the mold. Make sure there are no air bubbles, and that the concrete fills the mold all the way to the edges.
- Tip: Gently tap the sides of the mold to release any trapped air bubbles. This will help prevent cracking when the stone sets.
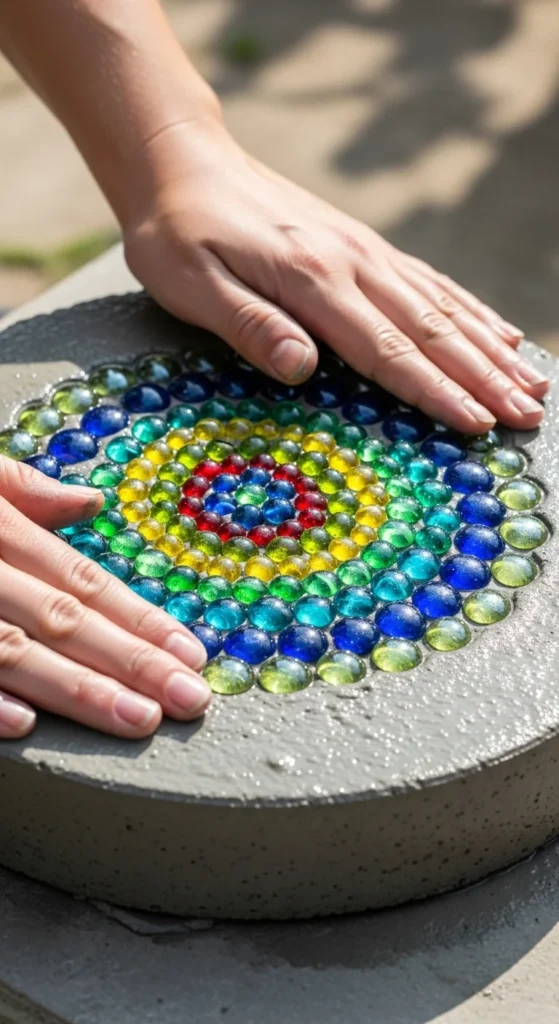
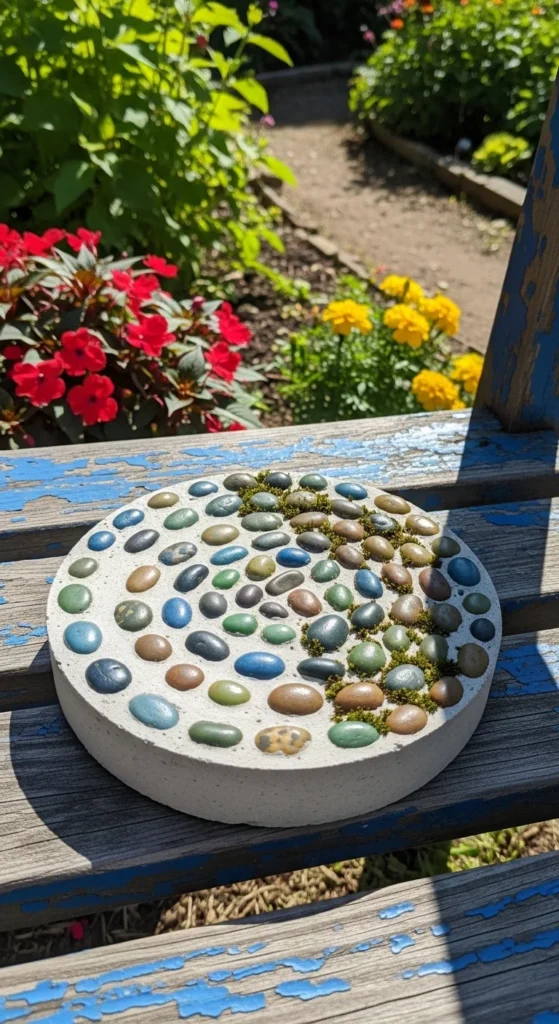
Step 4: Decorate Your Stepping Stone
This is the fun part! Before the concrete sets, add your decorative touches. You can press in pebbles, tiles, shells, or even leaves. Arrange the decorative items in any pattern that reflects your style – this could be geometric shapes, a random assortment, or even a specific image.
- Tip: For a more personalized touch, try stamping your stepping stones with a garden-themed design. You can use rubber stamps or even carved potato stamps for this step!
Step 5: Let the Concrete Set
Allow the concrete to set for at least 24-48 hours, depending on the size of your stone and the weather conditions. Don’t rush this process – the longer the stone cures, the stronger it will be.
- Tip: If it’s very hot outside, cover the stone with a damp cloth to prevent it from drying out too quickly. This will help ensure that the stone stays strong and crack-free.
Step 6: Remove the Stone from the Mold
Once the concrete is fully dry and hardened, carefully remove the stone from the mold. If you used a plastic container or mold, gently pull it away from the edges. For silicone molds, flex the sides to release the stone.
- Tip: If you want to add a layer of protection, you can coat the stone with a concrete sealant once it’s removed from the mold. This will help it last longer and maintain its beauty against the elements.
Tips for Creating Unique Stepping Stones
- Layering: For a more dimensional look, you can layer your stepping stones with different concrete mixes. Start with a base layer, then add different colored or textured layers for a striking effect.
- Textured Molds: Use textured molds to give your stones a natural stone or wood look. You can also try using old wooden planks for molds to imprint wood grain into the concrete.
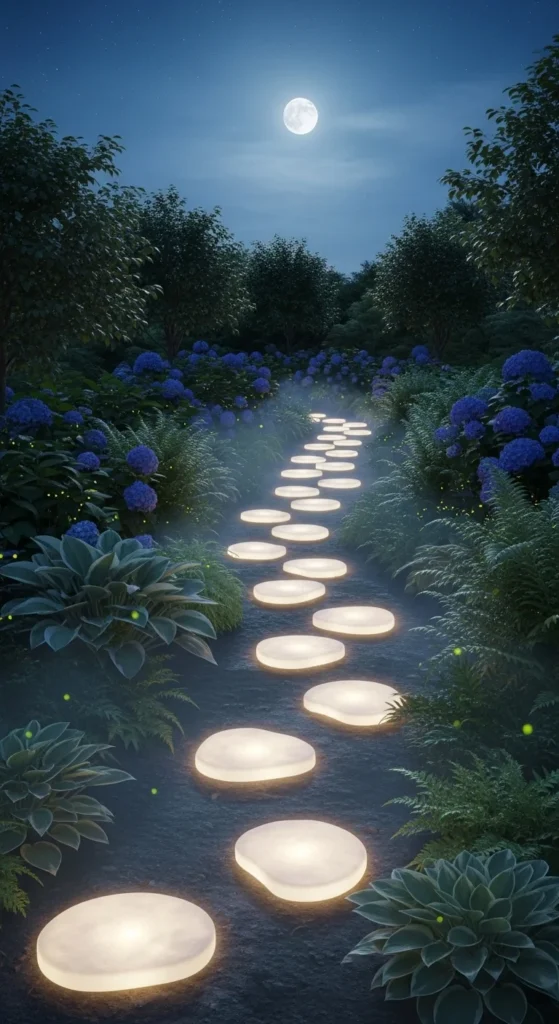
- Glow-in-the-Dark: Want your stepping stones to shine at night? Add glow-in-the-dark powder to your mix for a magical effect after dark.
Conclusion: A Personal Touch for Your Garden
Making your own garden stepping stones is not only a simple DIY project, but it also adds a deeply personal touch to your outdoor space. With endless design possibilities and the satisfaction of creating something unique, your garden will have a beautiful, homemade pathway in no time.
Save this idea for later and share your finished DIY garden stepping stones with friends and family! You might just inspire them to make their own too!

Leave a Reply