
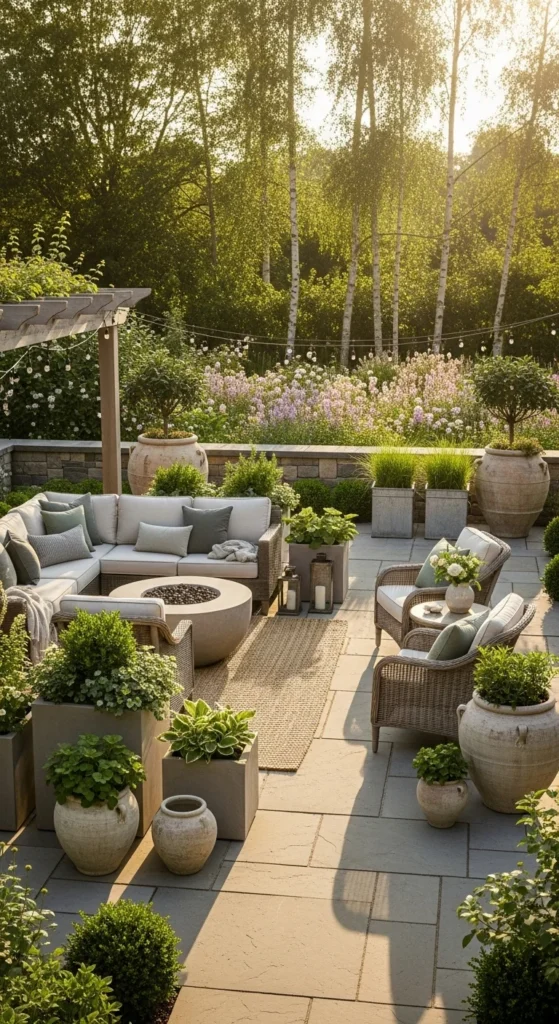
A high-end garden doesn’t come from a big budget—it comes from smart choices, thoughtful materials, and a little design confidence. The secret is knowing where to spend, where to DIY, and how to layer details so everything feels intentional instead of thrown together. If you’ve ever admired those polished outdoor spaces on Pinterest and wondered how they pulled it off, this guide breaks it down step by step.
Start With a Clear Style Direction
Expensive-looking gardens always follow a cohesive design style. Before buying or making anything, decide on one main look and stick to it.
Popular high-end garden styles include:
- Modern minimal (clean lines, neutral tones)
- Mediterranean (aged stone, terracotta, olive greens)
- Cottage luxe (layered florals, vintage finishes)
- Contemporary natural (wood, stone, soft textures)
Pick one and use it as your filter. If something doesn’t fit that style, skip it—even if it’s cute. Consistency is what makes decor look intentional.
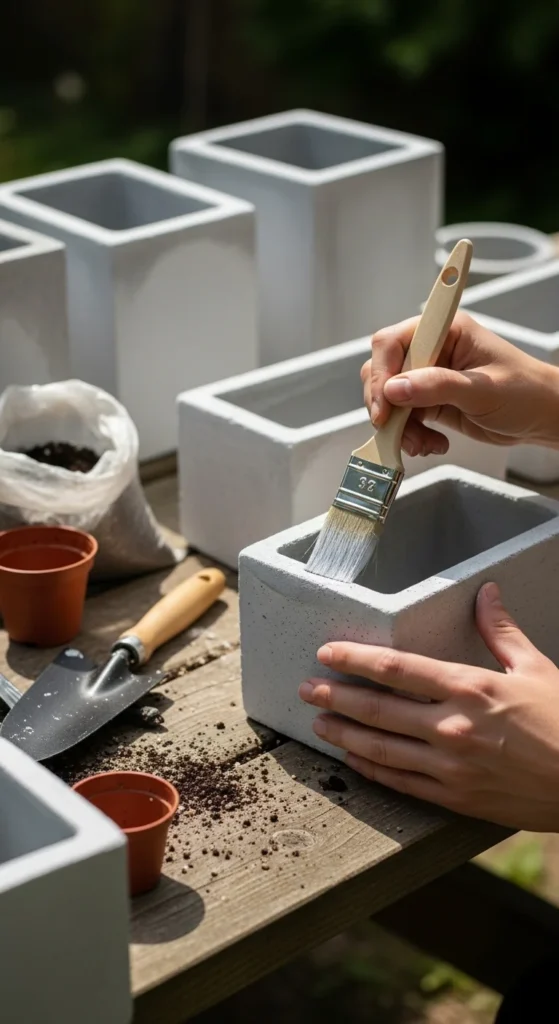
Upgrade Cheap Materials With the Right Finishes
The finish matters more than the object itself. Plastic, resin, and basic concrete can all look expensive when treated correctly.
Easy upgrades that elevate instantly:
- Spray paint in matte black, stone gray, or aged bronze
- Limewash or diluted concrete paint for texture
- Light sanding to soften sharp edges
Pro tip: Avoid shiny finishes. High-end gardens favor matte, chalky, or naturally weathered surfaces.
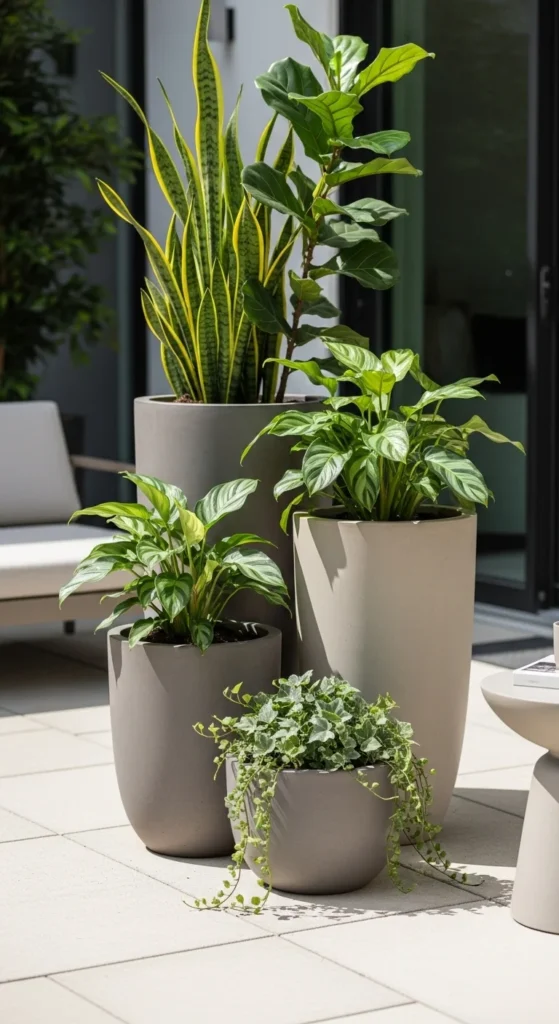
Make Statement Planters (Without Paying Statement Prices)
Luxury gardens often rely on oversized planters to anchor the space. Instead of buying designer pots, make your own elevated versions.
Try these ideas:
- Wrap plain pots with thin wood slats
- Create faux-stone texture using cement skim coats
- Group three matching planters in different heights
Stick to a tight color palette—black, warm gray, off-white, or natural clay. Too many colors make a garden feel busy and budget.
Use Repetition Like a Designer
Repetition is a quiet luxury trick. When something appears more than once, it looks planned and polished.
Ways to repeat decor naturally:
- Matching lanterns along a pathway
- Identical pots framing an entry
- Same plant variety used in multiple zones
This doesn’t mean everything must match perfectly—just keep the shape, color, or material consistent.
Add Weight With Stone, Gravel, and Concrete
Lightweight decor often looks temporary. Expensive gardens feel grounded.
Budget-friendly ways to add visual weight:
- Gravel paths or borders
- Concrete stepping stones
- Stone-filled baskets or bases
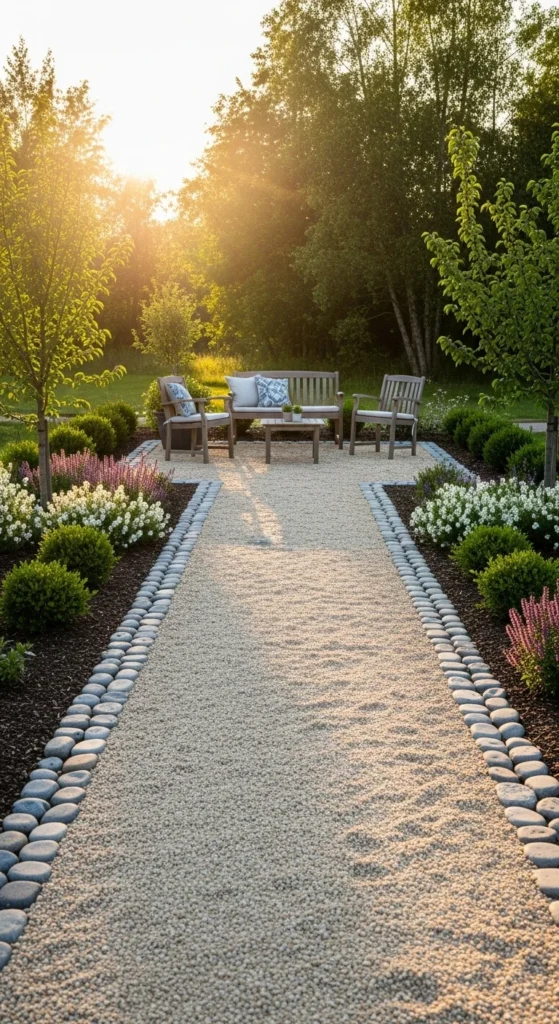
Even small additions like gravel under pots or stone around benches instantly raise the perceived value of your space.
DIY Garden Decor That Feels Custom-Made
Custom-looking pieces are what separate everyday gardens from standout ones.
High-impact DIY ideas:
- Concrete bowls for succulents
- Wooden trellises with clean geometric lines
- Minimal plant stands in black or natural wood
Keep designs simple and symmetrical. Overly detailed DIYs often look crafty instead of classy.
Use Lighting to Create a Luxury Mood
Lighting is non-negotiable if you want an expensive feel. The key is soft, layered illumination instead of harsh brightness.
Focus on:
- Warm-toned solar path lights
- Lanterns with subtle glow
- Hidden lighting behind plants or furniture
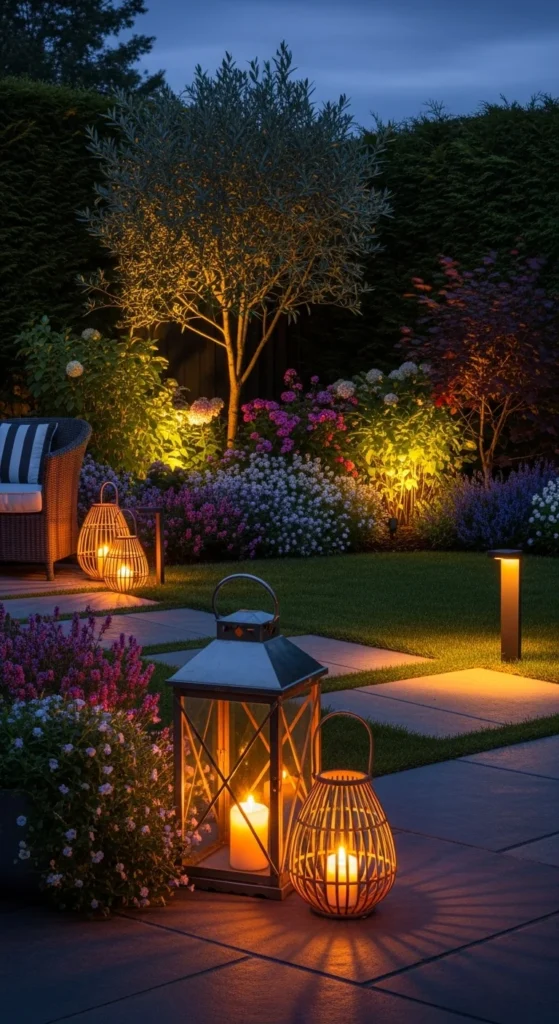
Avoid scattered string lights everywhere. A few well-placed light sources always look more refined.
Style With Restraint (Less Is Always More)
One of the biggest mistakes in garden decor is overfilling the space. High-end gardens leave room to breathe.
Before adding something new, ask:
- Does this serve a purpose?
- Does it fit the color palette?
- Does it elevate the space—or clutter it?
Removing excess decor can instantly make your garden feel more expensive without spending anything.
Final Takeaway: Design First, DIY Second
Expensive-looking garden decor isn’t about fancy materials—it’s about editing, consistency, and finish quality. When you plan your style, repeat elements, and choose textures wisely, even simple DIY projects can rival high-end outdoor spaces.
Save this guide for later, and start upgrading your garden one intentional detail at a time

Leave a Reply