
Clay pots are a versatile and affordable way to add charm to any garden. Whether you’re looking to refresh an old garden setup or dive into a fun DIY project, clay pots offer endless creative possibilities. From simple planters to whimsical garden sculptures, these humble pots can be transformed into stylish decor with a little creativity. Let’s dive into how you can make your very own garden decor with clay pots.
Step 1: Gather Your Materials
Before you start, gather all the necessary materials. Here’s what you’ll need:
- Clay pots of various sizes (small, medium, large)
- Paint (acrylic or spray paint)
- Brushes (if using paint)
- Outdoor sealer (to protect your design)
- Hot glue gun and glue sticks
- Decorative elements like beads, ribbons, or moss
- Potting soil and plants (if you’re using the pots for gardening)
These materials are easy to find and budget-friendly, making this an accessible project for anyone.
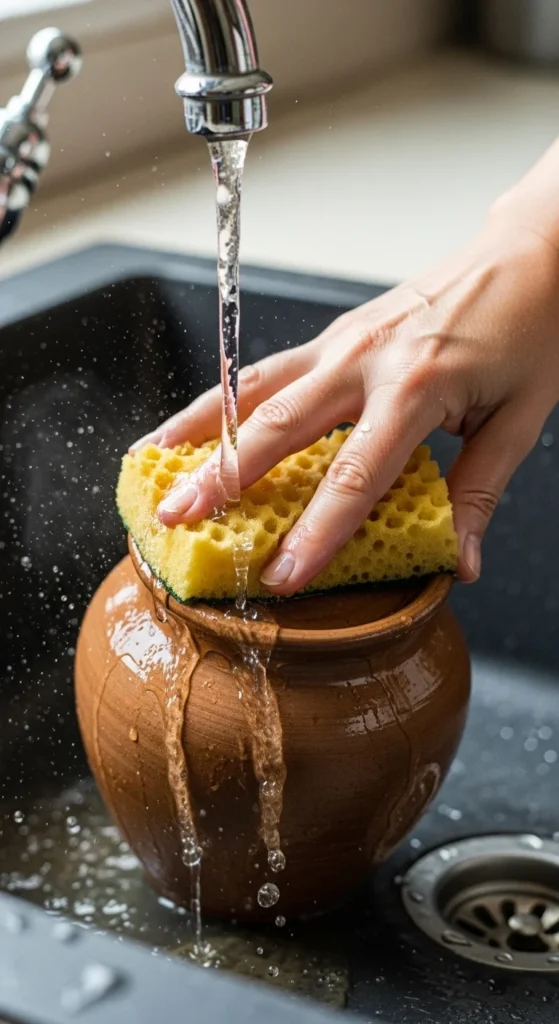
Step 2: Clean and Prepare the Pots
Start by cleaning your clay pots. This will ensure that the paint or any other decorations stick properly. Use a damp cloth to wipe away any dust or dirt. If your pots have any labels, you can remove them gently with a scraper or soak them in water to loosen the adhesive.
Tip: Let the pots dry completely before proceeding to the next step.
Step 3: Painting Your Clay Pots
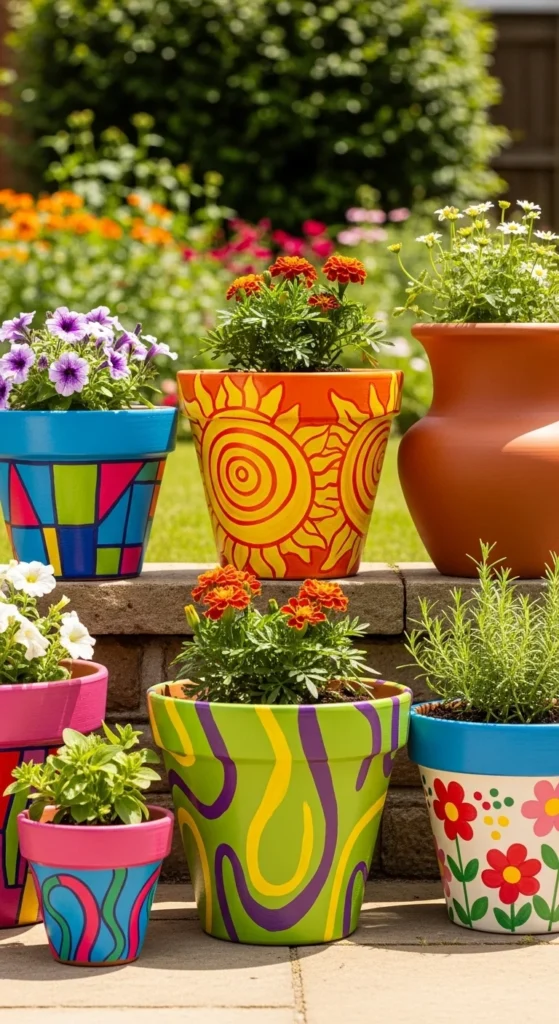
One of the most fun parts of this project is painting the pots. This step is where you can truly get creative! You can go for a solid color or a fun design. Here are a few ideas:
- Bold Colors: Paint the entire pot in a bright, bold color like turquoise, sunny yellow, or classic white. This is perfect for a modern, clean look.
- Patterns: Try creating stripes, polka dots, or geometric designs. You can also freehand a floral pattern or use stencils for a more uniform design.
- Rustic or Vintage: For a more rustic vibe, lightly sand the pot after painting it to give it a distressed look. This works great if you’re going for a farmhouse or vintage style.
Once you’re done painting, let the pots dry thoroughly before applying a second coat if necessary.
Tip: If you’re working with multiple colors, always start with the lighter shades first to avoid mixing colors accidentally.

Step 4: Add Decorative Touches
To give your clay pots an extra touch of personality, consider adding decorative elements. Here are a few ideas:
- Beads and Ribbons: Use a hot glue gun to attach beads or ribbon around the rim of the pot. This adds texture and a pop of color.
- Moss or Twine: Wrap twine around the pot for a rustic look, or glue on some artificial moss for an earthy, woodland vibe.
- Stencils or Stamps: If you’re not confident in your painting skills, use stencils or rubber stamps to create detailed designs on the pots.
These details can make even the simplest pot look unique and elegant.

Step 5: Seal Your Design
Once you’re happy with your painted design and decorative touches, it’s important to seal the pots with an outdoor sealer. This step will protect your design from the elements, especially if you live in an area with frequent rain or harsh sunlight.
- Spray the sealer evenly over the entire surface of the pot.
- Let it dry completely before placing the pot outside or adding any plants.
This ensures that your hard work will last, making your DIY garden decor stand the test of time.
Step 6: Planting and Displaying
Now comes the fun part—planting! If you’ve decided to turn your clay pots into planters, fill them with potting soil and your favorite plants. Consider using flowers, succulents, or even herbs like basil and mint for both aesthetic and functional garden decor.
- Small Pots: Perfect for adding color to your garden or patio. Use them for small flowers or herbs.
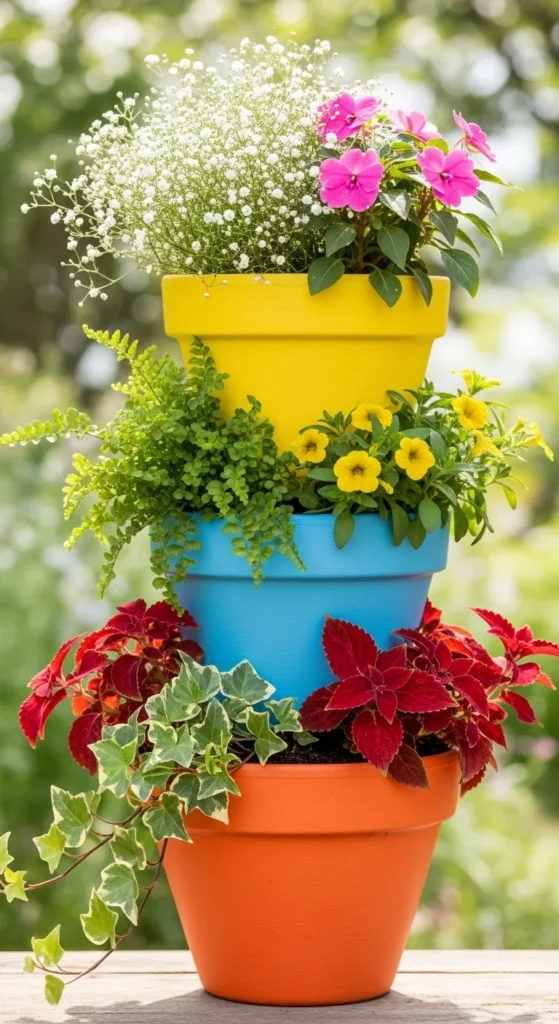
- Stacked Pots: Create a tiered garden display by stacking pots of various sizes. This makes for a charming, space-saving garden feature.
Arrange your newly decorated pots throughout your garden or porch. Whether you want them as a centerpiece, along your garden path, or near your patio, these clay pot decorations will certainly bring your garden to life.
Step 7: Additional Ideas to Get Creative
Here are a few extra creative ideas you can try with your clay pots:
- Clay Pot Fountain: Stack several pots upside down, drill holes in the center, and place a small pump to create a mini water fountain in your garden.
- Clay Pot Animal Sculptures: Turn your clay pots into adorable garden animals by stacking them and adding eyes and ears. A clay pot frog or snail can make for a whimsical addition to your garden.
- Fairy Garden: Turn a few small clay pots into a magical fairy garden with tiny plants, figurines, and decorative stones.
The possibilities are endless when it comes to making garden decor with clay pots. Whether you’re into a boho style, rustic charm, or sleek modernism, you can create something that reflects your personal style.
Conclusion: Let Your Garden Shine
With just a few simple materials, you can transform humble clay pots into beautiful garden decor. From painting and adding decorative touches to planting your favorite flowers, the process is easy, fun, and incredibly rewarding. Start your DIY garden project today and make your outdoor space a true reflection of your creativity!
Save this guide for later and share your own clay pot creations with friends and family. Happy crafting!

Leave a Reply