
Concrete isn’t just for sidewalks and driveways – it’s a versatile material that can be used to create beautiful and durable garden decor. Whether you’re a seasoned DIYer or just looking to add a personal touch to your outdoor space, making concrete garden decor can be both fun and rewarding. From stepping stones to plant pots, the possibilities are endless with a little creativity and some basic materials. Here’s how you can get started on making your own stunning garden decor with concrete!
Step 1: Gather Your Materials
Before you start, it’s important to have everything ready. Here’s a list of the essential materials you’ll need:
- Concrete mix (ready-made or mix your own with cement, sand, and water)
- Water (for mixing)
- Molds (you can use plastic containers, silicone molds, or even old bowls)
- Rubber gloves (for protection)
- Trowel or mixing tool
- Spray bottle (to moisten molds and keep the concrete from drying too quickly)
- Release agent (like petroleum jelly or cooking spray)
- Decorative items (optional, such as stones, glass beads, or colored concrete)
Having everything ready before you dive in will save time and make the process smoother.
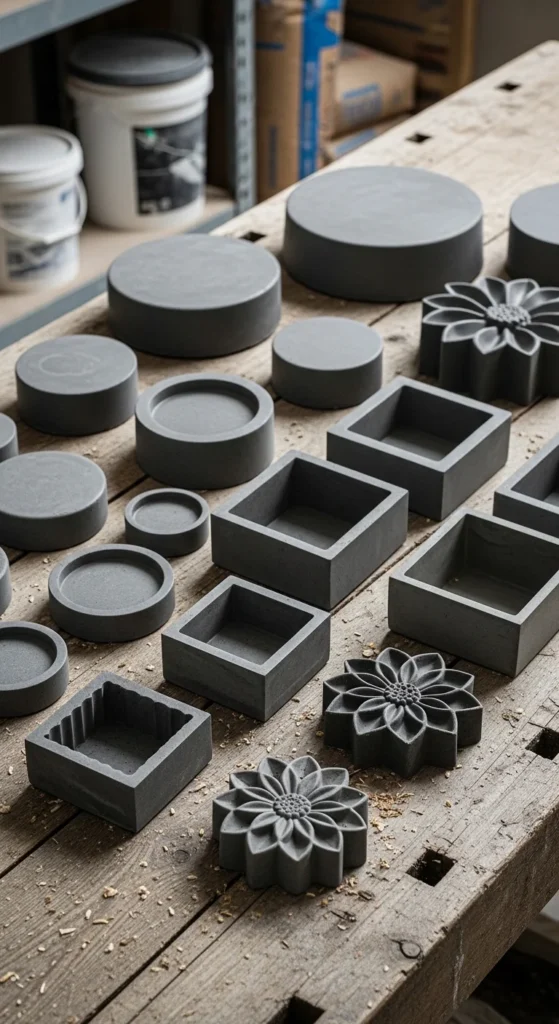
Step 2: Choose Your Mold
Molds are key to shaping your concrete decor. You can use almost anything you have at home, which means you don’t need to buy fancy tools. Here are a few options:
- Plastic containers (for round or square shapes)
- Old bowls (perfect for creating planters)
- Silicone molds (great for detailed shapes like flowers or animals)
- Foam board (for creating flat garden stepping stones)
The size and shape of your mold will determine the final look of your decor piece. Choose something that suits the theme of your garden!
Step 3: Prepare the Concrete
Now that you have your materials and mold ready, it’s time to mix the concrete. If you’re using a pre-made mix, simply follow the instructions on the package. Generally, you’ll mix the dry concrete with water in a large bucket until it reaches a thick, pudding-like consistency.
If you’re making your own concrete mix, here’s a basic recipe:
- 1 part cement
- 2 parts sand
- 3 parts gravel
- Water (add slowly until it reaches the desired consistency)
Use a trowel or a mixing tool to blend everything together thoroughly.
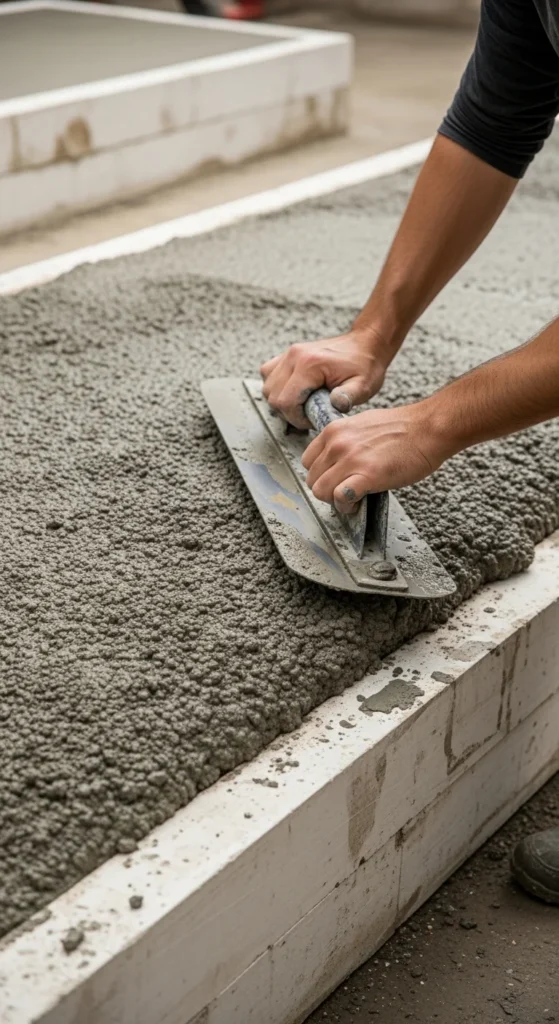
Step 4: Pour the Concrete Into the Mold
Once your concrete mix is ready, it’s time to pour it into your chosen mold. Before you do this, make sure to coat the inside of the mold with a release agent like petroleum jelly or cooking spray. This will make it easier to remove the concrete once it’s set.
Pour the concrete mixture into the mold, filling it to your desired height. Use a trowel to smooth the surface and remove any air bubbles. If you’re making a planter or other hollow item, you can press a smaller container into the center to create space for soil or plants.
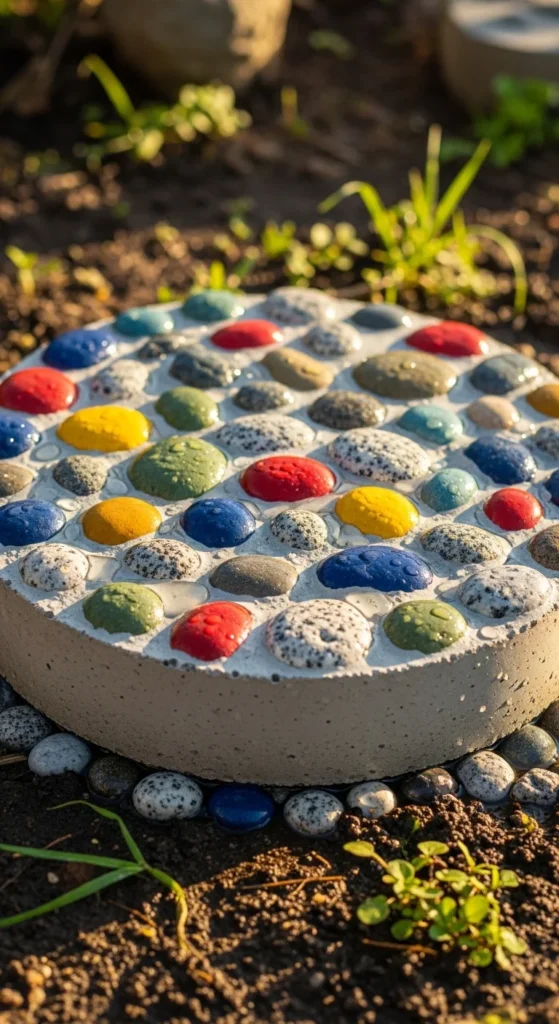
Step 5: Add Decorative Elements (Optional)
Here’s where you can get creative! While the concrete is still wet, you can add decorative elements to make your piece stand out. Some ideas include:
- Stones and pebbles: Press small rocks into the surface for a rustic look.
- Glass beads: Add colorful glass beads or marbles for a vibrant effect.
- Stamped patterns: Use a rubber stamp or texture roller to create a unique pattern on the surface.
- Paint: Once the concrete is dry, you can paint your decor to add extra flair.
Let your imagination run wild – your garden decor is a reflection of your personal style!
Step 6: Let the Concrete Set
After pouring the concrete and adding any decorative elements, let your project sit for at least 24 hours in a cool, dry spot. The curing time depends on the size and thickness of your decor piece, but generally, concrete takes around 48 hours to fully set. Make sure it’s completely dry before removing it from the mold.
Step 7: Remove the Mold and Finish the Piece
Once the concrete has hardened, carefully remove it from the mold. If you used a flexible silicone mold, it should pop right out. For sturdier molds, gently tap the sides or use a plastic scraper to loosen the edges.
After the concrete is removed, inspect it for any rough spots. Use a sanding block to smooth out any imperfections. If you want to add a glossy finish, consider applying a concrete sealer.
Bonus Tip: Personalize Your Concrete Decor
Want to make your garden decor even more unique? Try these fun tricks:
- Use colored concrete: Add pigments to your mix to create colorful planters or stepping stones.
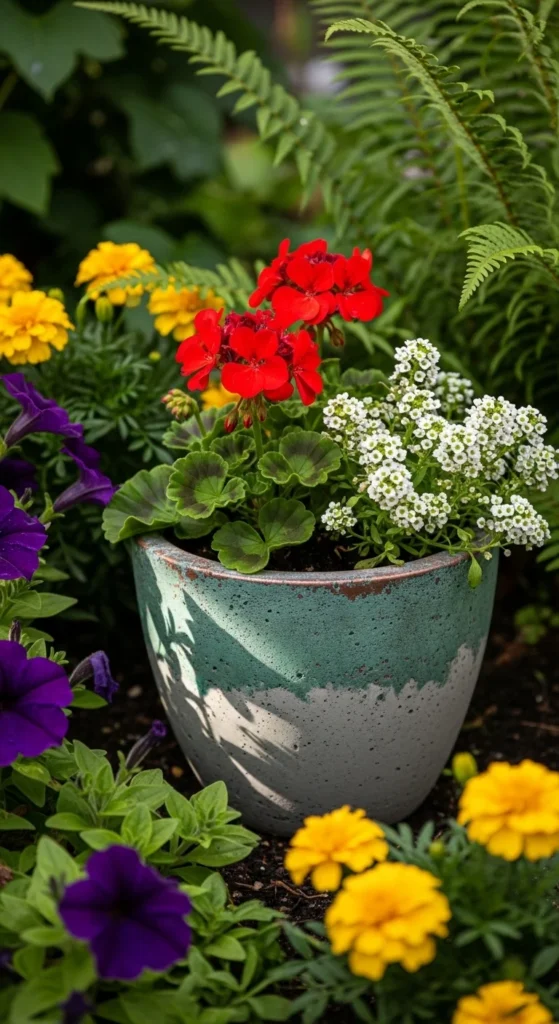
- Incorporate plants: Turn your DIY concrete pot into a living sculpture by planting succulents, flowers, or herbs in it.
- Repurpose old items: Turn broken dishes or old toys into molds for quirky and fun garden decor.
Conclusion: Create Your Own Concrete Masterpieces
Making garden decor with concrete is a great way to add a personal touch to your outdoor space. With a little time and creativity, you can craft beautiful, one-of-a-kind pieces that will last for years. So why not get started today? Gather your materials, pick your mold, and begin crafting your own concrete creations.
Ready to start your next DIY project? Save this guide for later and share your creations with friends!

Leave a Reply