
Glass garden decor can add a touch of elegance and color to any outdoor space, transforming your garden into a peaceful oasis. Whether you’re creating eye-catching sculptures, colorful planters, or simple yet stunning glass accents, working with glass is a fun and rewarding craft that can breathe new life into your garden. Let’s dive into the process of making your own beautiful glass garden decorations, with easy-to-follow steps and creative ideas!
1. Gathering Your Materials
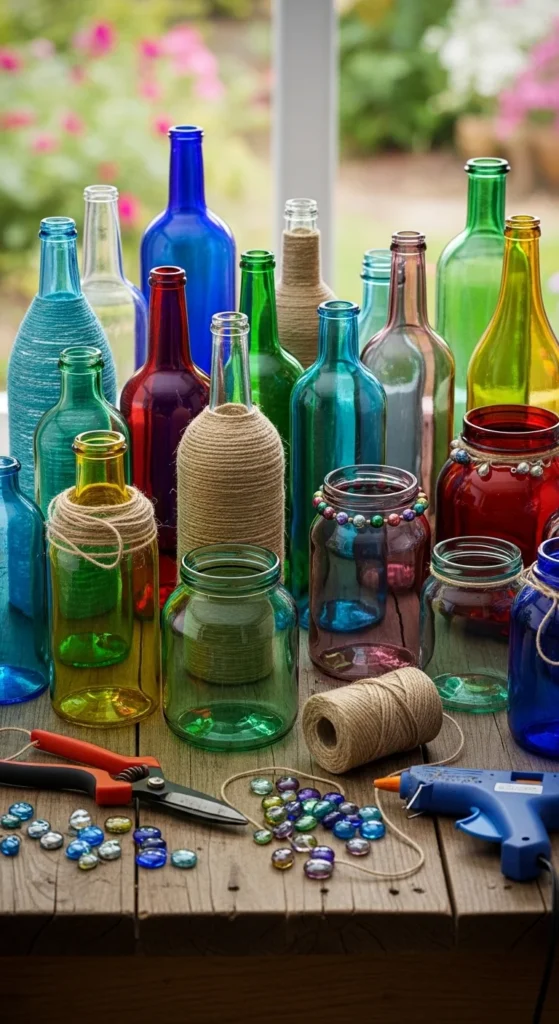
Before you get started, you’ll need a few basic materials. Fortunately, most of these items can be found at craft stores or online. Here’s a quick list:
- Glass bottles or jars (recycled ones work great!)
- Glass beads or mosaic tiles for added texture and color
- Glass glue or strong adhesive
- Acrylic paint (optional for customization)
- Gravel or sand (for base support)
- Pebbles, stones, or decorative gems (for embellishment)
- Glass cutting tools (if you want to get creative with shapes)
2. Choosing Your Project
Glass garden decor can range from simple to elaborate. It all depends on your preferences and the vibe you want to create in your garden. Here are a few ideas to get you inspired:
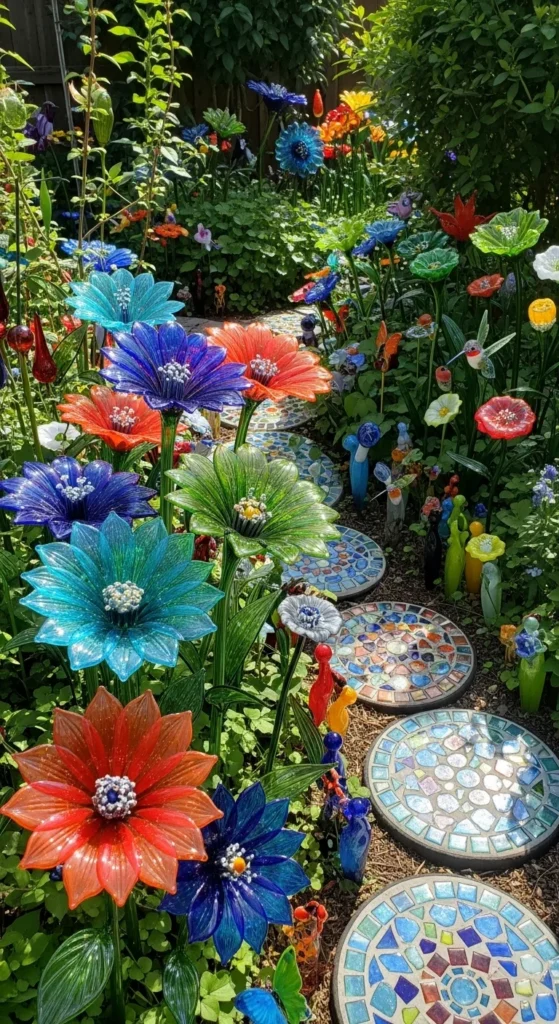
Glass Flower Sculptures
These are perfect for adding a pop of color to your garden bed. You can use old glass bottles to create vibrant, layered flower sculptures that look beautiful all year round. Simply glue the bottles together, with the necks facing outward, to mimic petals, and add some stones or beads in the center for a more realistic touch.
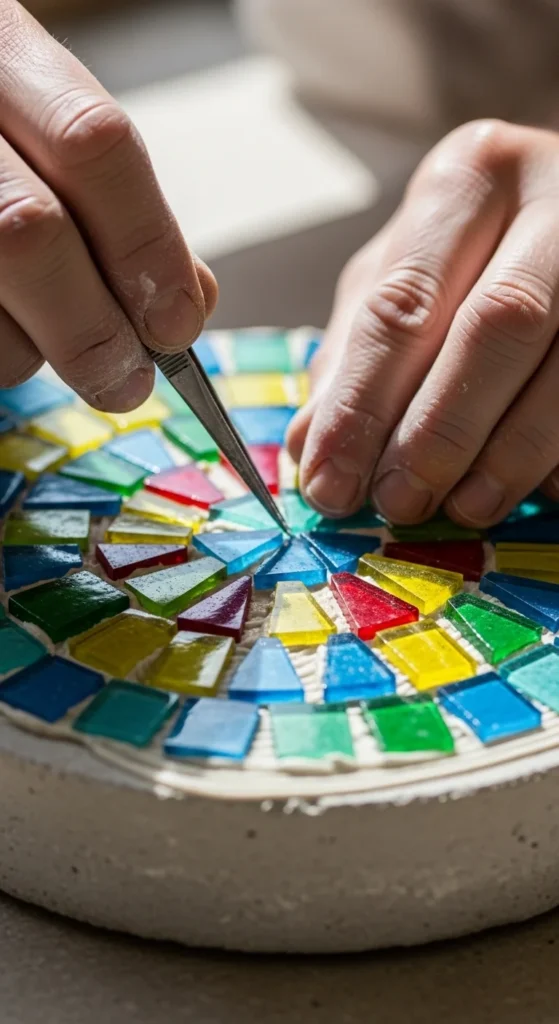
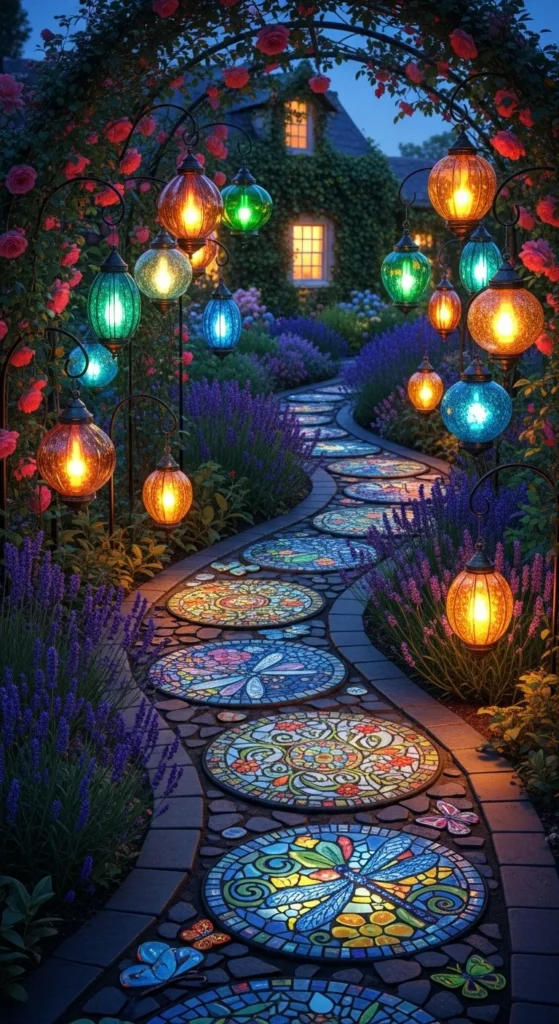
Mosaic Stepping Stones
Turn ordinary concrete stepping stones into stunning mosaics by gluing colorful glass tiles or beads onto the surface. These can add both beauty and functionality to your outdoor pathways.
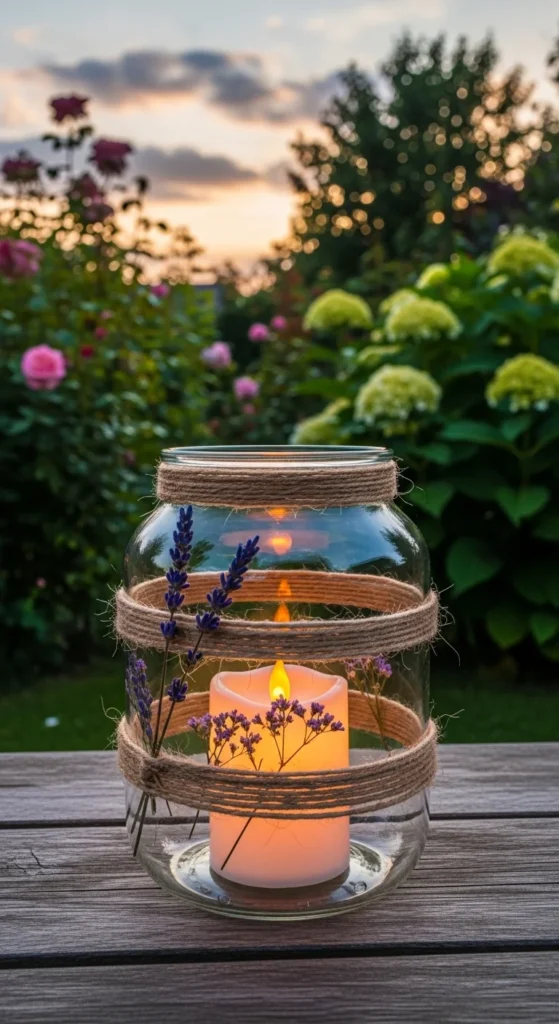
Glass Lanterns
Glass lanterns are perfect for creating a soft glow during the evening. You can repurpose glass jars, bottles, or even old glass light fixtures by adding candles inside and placing them around your garden. For extra flair, add some sand or pebbles in the bottom to create a base.
3. Creating Your Own Glass Garden Art
Let’s break down the process into simple steps so you can easily start creating your glass garden decor.
Step 1: Cleaning and Preparing Glass Pieces
The first step is to ensure all your glass pieces are clean and free from dust or dirt. Use warm water and a gentle cleanser to clean off any grime. Once cleaned, allow the glass to dry completely.
Step 2: Cutting Glass (Optional)
If you want to get more intricate with your design, consider cutting the glass into unique shapes. This step is optional and requires a glass cutter. Be sure to wear safety gloves and goggles to protect yourself when handling glass.
Step 3: Arranging and Gluing
Now comes the fun part: arranging your glass pieces! For sculptures or flower designs, arrange the bottles or jars in the shape you like. Once you’re happy with the arrangement, use glass glue or a strong adhesive to secure the pieces together.
For mosaics, start by applying glue in small sections of your stepping stone and placing the glass tiles one by one. Be sure to leave a small gap between each tile for that signature mosaic look.
Step 4: Allowing the Glue to Dry
Give your project ample time to dry—this could take several hours to a day, depending on the glue you use. It’s crucial that everything is securely attached before moving on to the next step.
Step 5: Adding Finishing Touches
Once the glue is completely dry, you can add your finishing touches. For sculptures, you may want to add additional glass beads or stones to enhance the design. For mosaics, consider grouting the tiles to fill the gaps, giving your stepping stones a polished look.
If you’re working with glass lanterns, you can add sand, pebbles, or even decorative gems inside to create a unique base for your candle. You can also use acrylic paints to add custom designs to your glass pieces.
4. Displaying Your Glass Garden Decor
Now that your glass decor is ready, it’s time to display it! Here are some tips for showcasing your creations:
- Placement: Place glass sculptures or lanterns in areas where sunlight can reflect off them. A sunny spot near a garden bed or along a pathway works best.
- Layering: For flower sculptures, layering different colored glass pieces can give depth and interest to your display. Mix up sizes and shapes to create a dynamic look.
- Grouping: Instead of placing a single item, consider grouping several pieces together. A collection of glass lanterns or a series of mosaic stepping stones can have a much greater visual impact than a lone piece.
5. Maintenance Tips for Glass Garden Decor
To ensure your glass garden decor stays in pristine condition:
- Clean regularly: Dust and dirt can accumulate on glass, so give your decor a gentle clean every few weeks.
- Protect during extreme weather: If you live in an area with heavy rain or snow, consider moving delicate glass pieces indoors during harsh weather to protect them from damage.
- Inspect for wear and tear: Over time, glass can chip or crack. Regularly check for any damage and repair or replace as needed to keep your decor looking fresh.
Conclusion: Let Your Creativity Shine!
Making garden decor with glass is a rewarding and creative way to personalize your outdoor space. With just a few simple materials, you can turn recycled glass into stunning art pieces that brighten up your garden and bring joy to your visitors. So, gather your supplies, let your imagination run wild, and start crafting!

Save this guide for later and start planning your glass garden decor project today!

Leave a Reply