
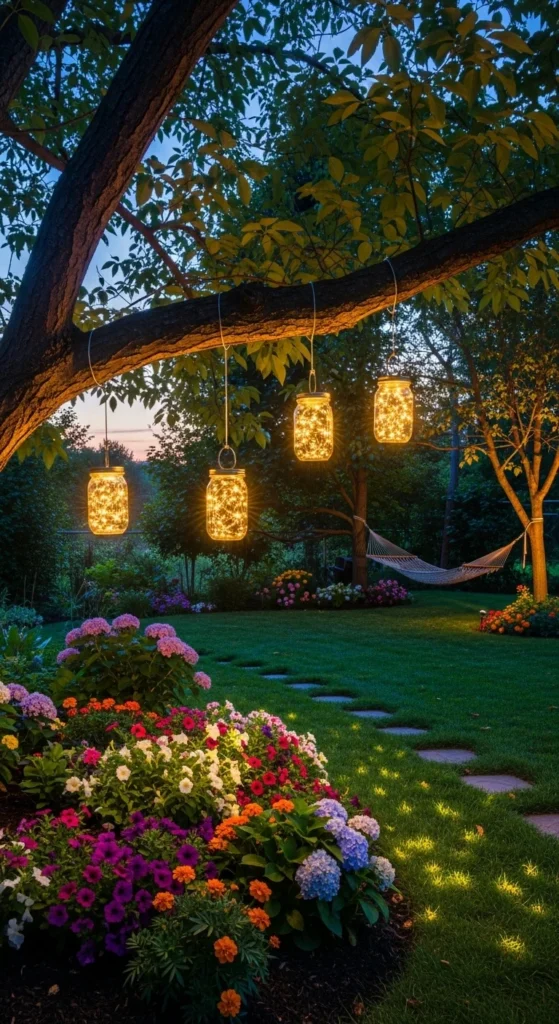
Imagine walking into your garden at dusk and seeing soft, twinkling lights glowing from jars scattered along your pathways or hanging from tree branches. Magical, right? With just a few simple supplies and a touch of creativity, you can transform ordinary jars into stunning garden lights that will enchant your evenings.
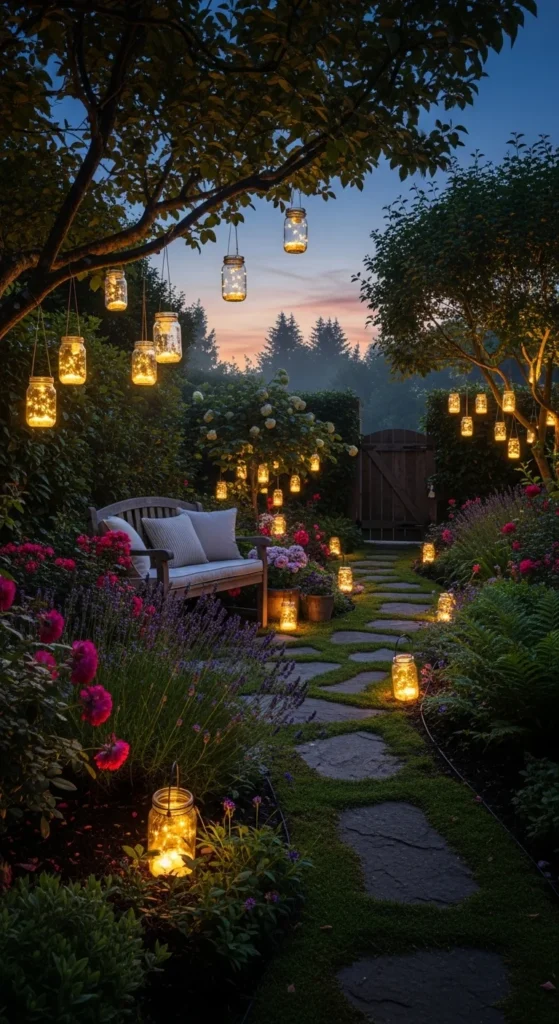
Whether you’re looking to add ambiance for a summer party or just want a peaceful spot to unwind, light jars are a fun, easy, and budget-friendly project. Let’s dive into how to make these glowing beauties yourself.
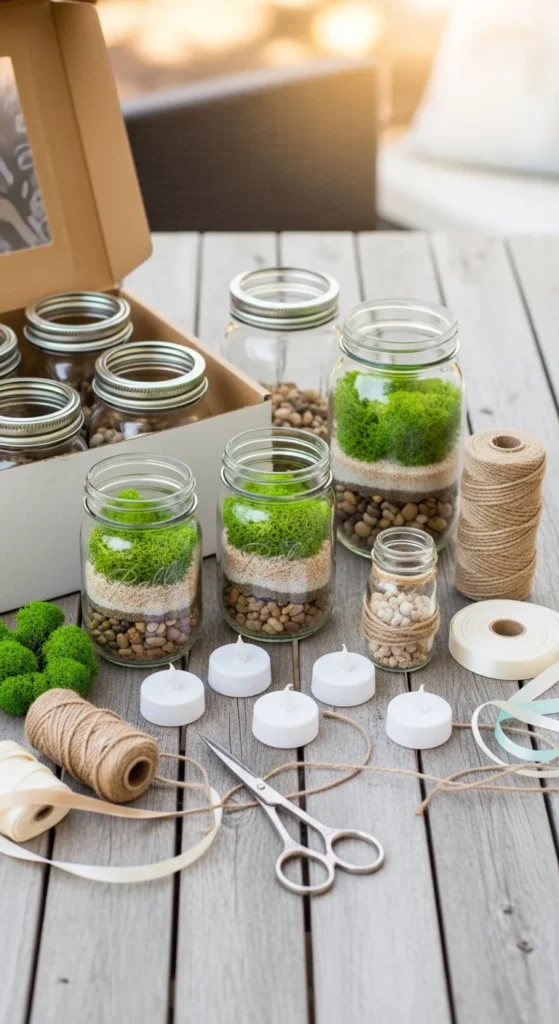
Materials You’ll Need
Before getting started, gather your supplies. Most of these items are inexpensive and easy to find.
- Clear glass jars (mason jars, jam jars, or any glass container)
- Battery-operated LED tealights or fairy lights
- Decorative elements: sand, pebbles, moss, or small artificial flowers
- Twine, wire, or ribbon (for hanging jars if desired)
- Optional: glass paint or frosted spray for a soft glow effect
Tip: If you’re making a lot of jars, pick jars of different sizes for an eclectic, whimsical look.
Step 1: Prepare Your Jars
Start by cleaning your jars thoroughly. Remove any labels and make sure the glass is dry. This ensures that your decorative elements will stick and the light will shine clearly.
- For a frosted effect, lightly spray the inside of the jar with frosted glass spray or apply glass paint.
- If you want a completely clear glow, leave the jars unpainted.
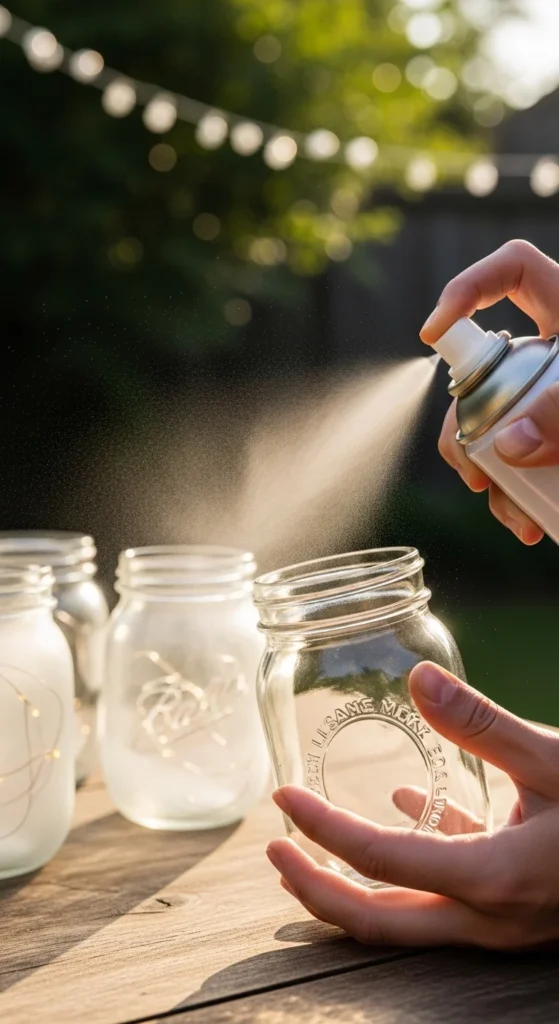
Pro tip: Frosted jars diffuse the light beautifully, creating a soft, dreamy atmosphere in your garden.
Step 2: Add Decorative Fillers
Now comes the fun part—personalizing your jars.
- Add a layer of sand, small pebbles, or moss to the bottom of each jar.
- Nestle a battery-operated LED tealight or fairy lights inside.
- For extra charm, add tiny artificial flowers, seashells, or colorful stones around the light.
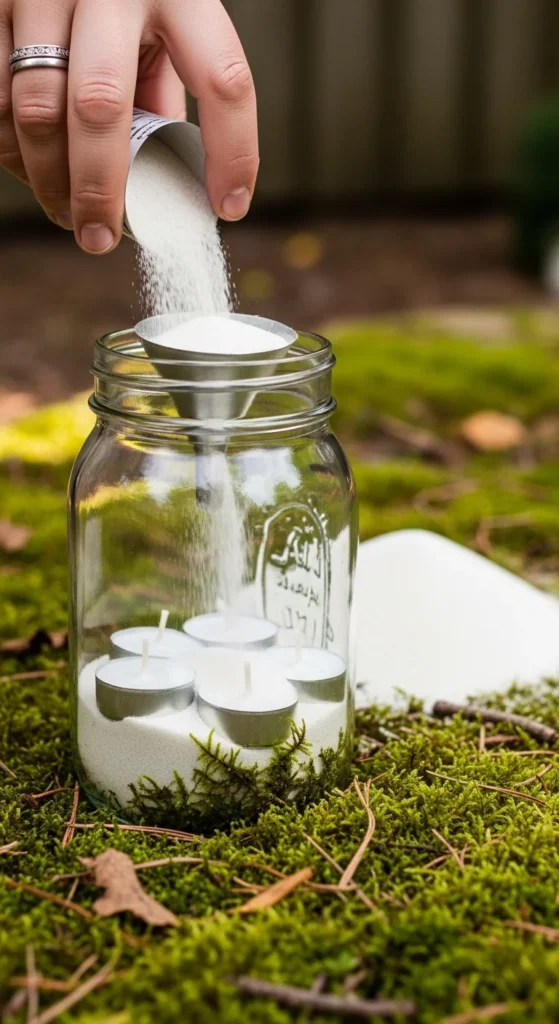
Remember: The base layer is not just decorative—it also helps stabilize your lights and prevents them from tipping over.
Step 3: Secure Your Jars for Hanging or Placement
If you want your light jars to hang from trees, pergolas, or hooks:
- Wrap twine, ribbon, or thin wire around the jar neck.
- Tie securely in a loop for easy hanging.
- Make sure the jar is balanced so it won’t tilt when hanging.
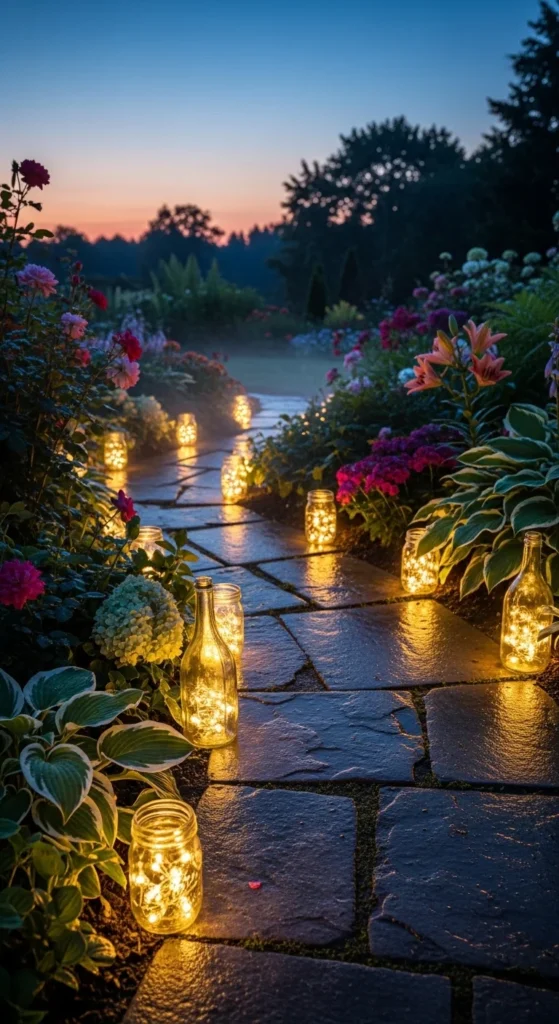
For ground placement, simply line the jars along a pathway, patio, or flower bed. Mix different heights for a more natural, whimsical look.
Tip: Experiment with placement during the day to see where the jars catch the best view and evening glow.
Step 4: Light Them Up and Enjoy
Once everything is set, switch on your LED tealights or fairy lights. Step back and enjoy the magical ambiance you’ve created.
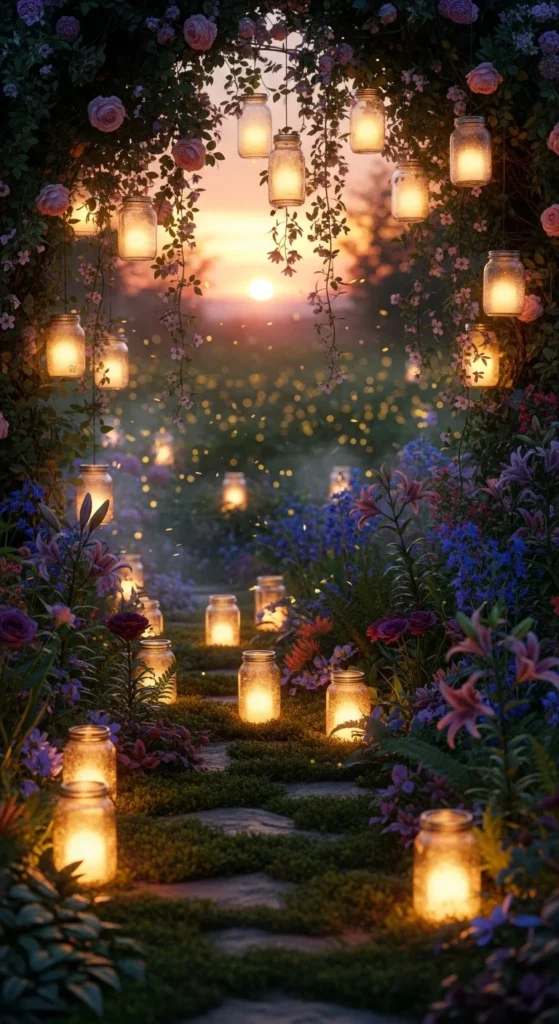
- Combine jars of different sizes and shapes for a fairy-tale garden feel.
- Cluster some jars together for a focal point, like a small glowing corner in your garden.
- Consider pairing them with lanterns or candles for extra sparkle.
Pro tip: Use timers on battery lights for automatic evening illumination—no need to turn them on manually every night.
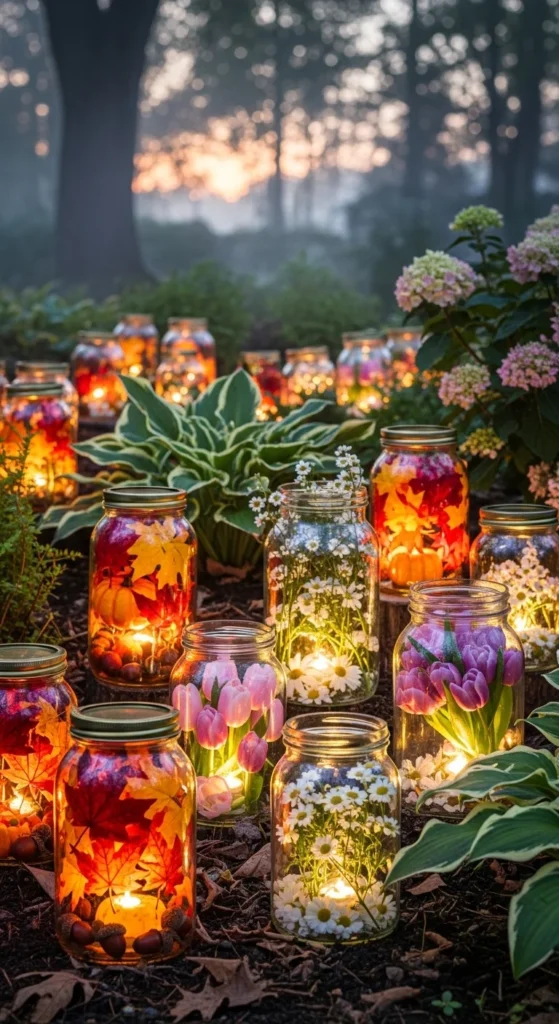
Step 5: Seasonal and Themed Variations
Light jars aren’t just for summer—they can be adapted for every season or celebration:
- Spring: Add pastel flowers or tiny faux birds inside.
- Autumn: Fill jars with mini pumpkins, pinecones, or dried leaves.
- Winter: Add glitter, snow spray, or small ornaments for a festive vibe.
- Special occasions: Customize jars with colored fairy lights for birthdays, weddings, or garden parties.
Final Tips for Long-Lasting Light Jars
- Use LED lights instead of real candles to avoid fire hazards.
- Store jars indoors during heavy rain or wind to prevent damage.
- Refresh decorative fillers seasonally to keep your garden looking fresh.
With just a little creativity, these simple jars can transform your garden into a cozy, enchanting retreat. Whether scattered on the ground, hung from trees, or grouped in clusters, your glowing jars will invite friends and family to linger, relax, and enjoy the magical atmosphere.
Takeaway: Light jars are a quick, inexpensive, and customizable way to brighten your garden evenings. Start small with a few jars, experiment with different designs, and watch your garden transform. Save this guide and create your own glowing garden haven tonight!

Leave a Reply