
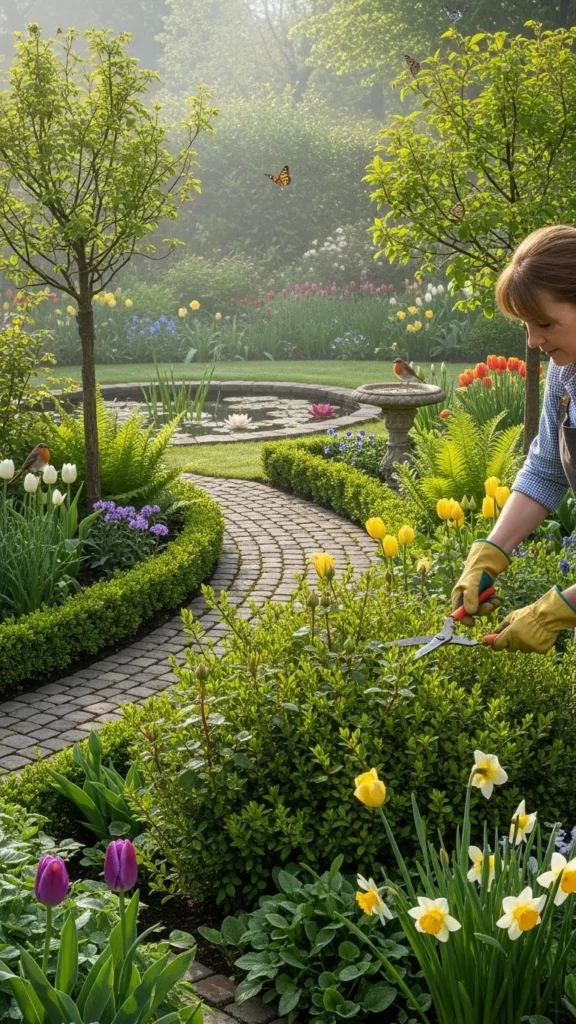
Growing new plants from existing ones is one of the most satisfying parts of gardening. Whether you’re expanding your garden on a budget or sharing favorites with friends, plant propagation gives you endless possibilities. From leaf cuttings to division, these simple propagation tips will help you grow healthy, thriving plants right at home—without fancy tools or expensive equipment.
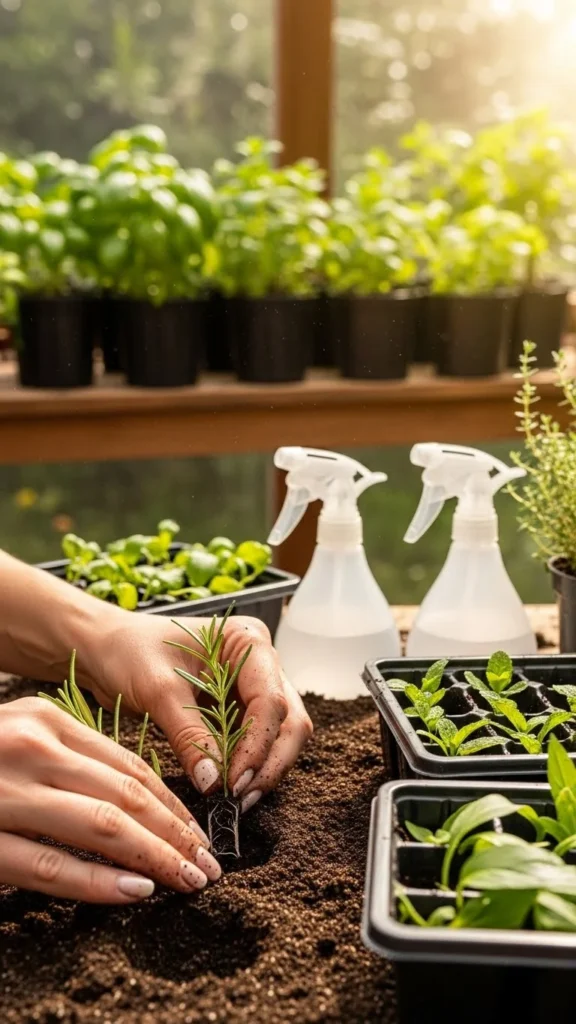
1. Start with Healthy Parent Plants
Always take cuttings from strong, disease-free plants. Unhealthy or stressed plants can pass on their weaknesses, leading to poor results. Look for vibrant leaves and sturdy stems. Before cutting, inspect the plant for insects or rot. Snip using clean, sharp scissors or pruning shears. Wipe tools with rubbing alcohol to prevent disease spread. Healthy parents equal healthy offspring—simple as that.
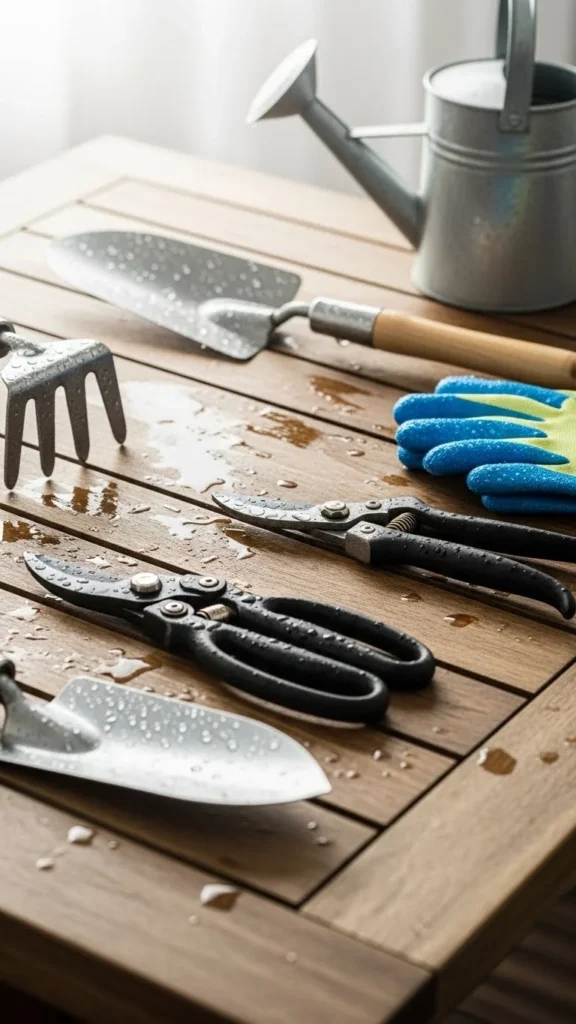
2. Use the Right Cutting Tools
A clean cut is everything. Use sterilized tools like pruning shears or razor blades for taking cuttings. Dull blades can crush stems and block water uptake. After each use, wipe tools with rubbing alcohol or hydrogen peroxide. If you’re taking multiple cuttings, clean between plants to stop cross-contamination. Investing in one good pair of shears can serve you for years of propagation success.
3. Time Your Cuttings Right
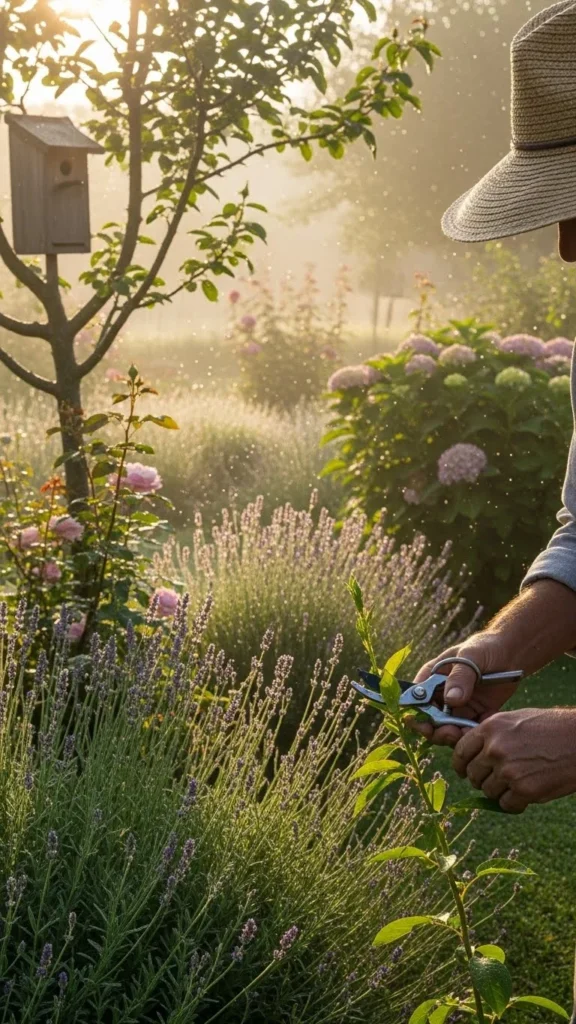
Take cuttings early in the morning when plants are fully hydrated. The stems are firm, and leaves are rich with moisture. Avoid mid-day heat—it can cause cuttings to wilt. For most plants, spring and early summer are perfect for propagation since growth hormones are at their peak. Timing makes a big difference in how quickly new roots form.
4. Choose the Correct Cutting Type
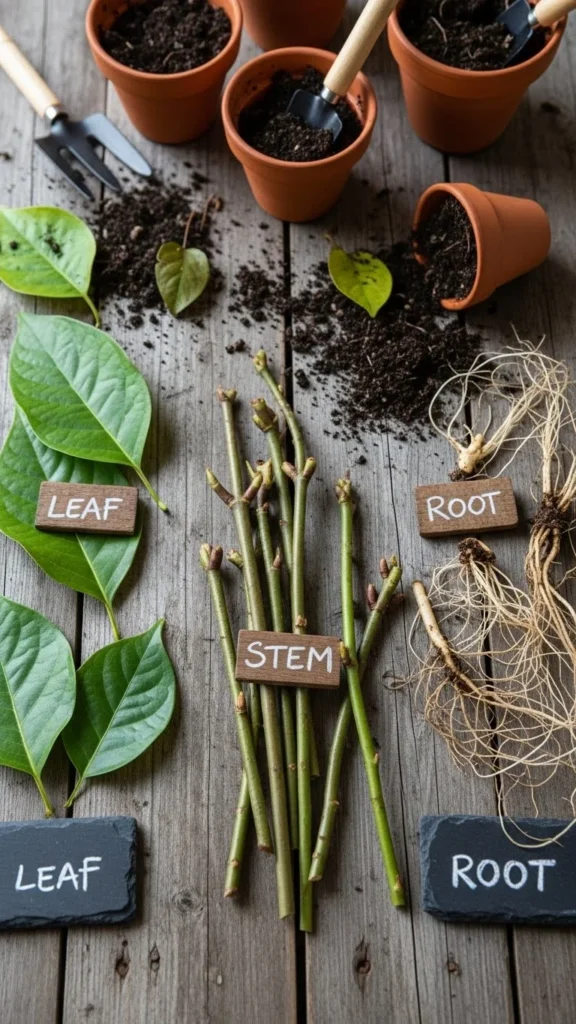
There are several ways to propagate—stem cuttings, leaf cuttings, or root divisions. Know which suits your plant. For example, succulents and begonias thrive from leaf cuttings, while woody herbs like rosemary prefer stem cuttings. Read up briefly on your plant type before snipping. Matching the method to the plant increases your success rate dramatically.
5. Keep Cuttings Moist, Not Wet
Humidity helps cuttings root, but too much water can cause rot. Mist the leaves once or twice daily and use well-draining soil. A plastic dome or zip bag can help retain moisture but don’t seal it completely—let fresh air circulate. This balance prevents fungal growth while keeping your cuttings comfortable.
6. Use Rooting Hormone Powder
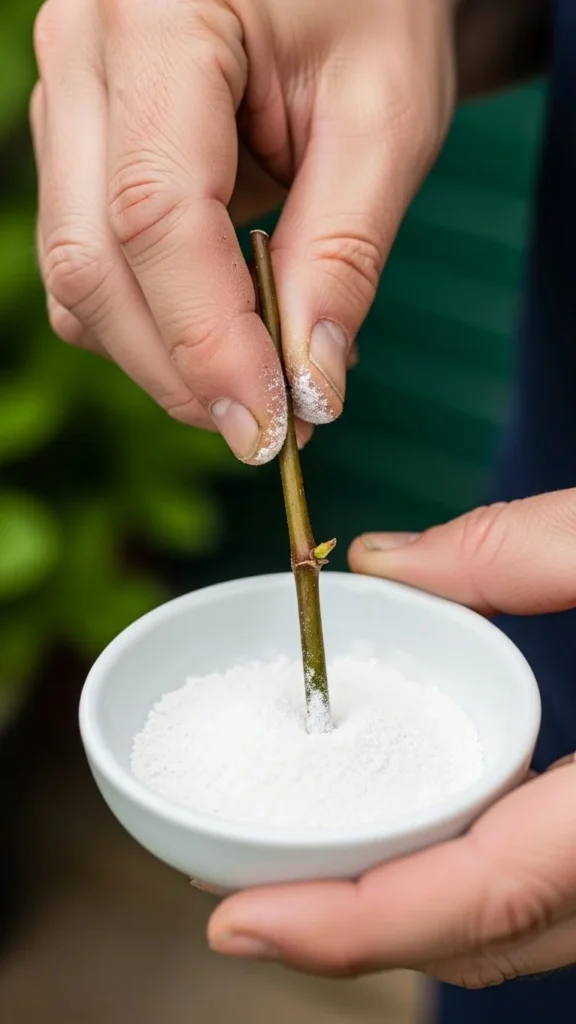
Rooting hormone speeds up root development and increases success, especially for woody stems. Dip the base of your cutting into the powder before planting. Shake off the excess, then plant in moist soil. You can find rooting hormone at any garden center—it’s inexpensive and lasts for ages.
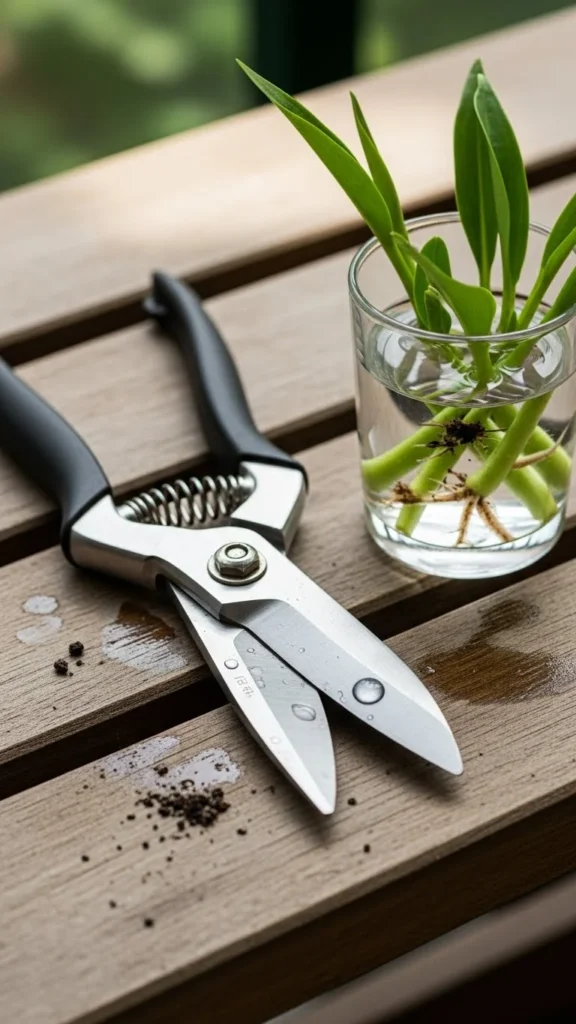
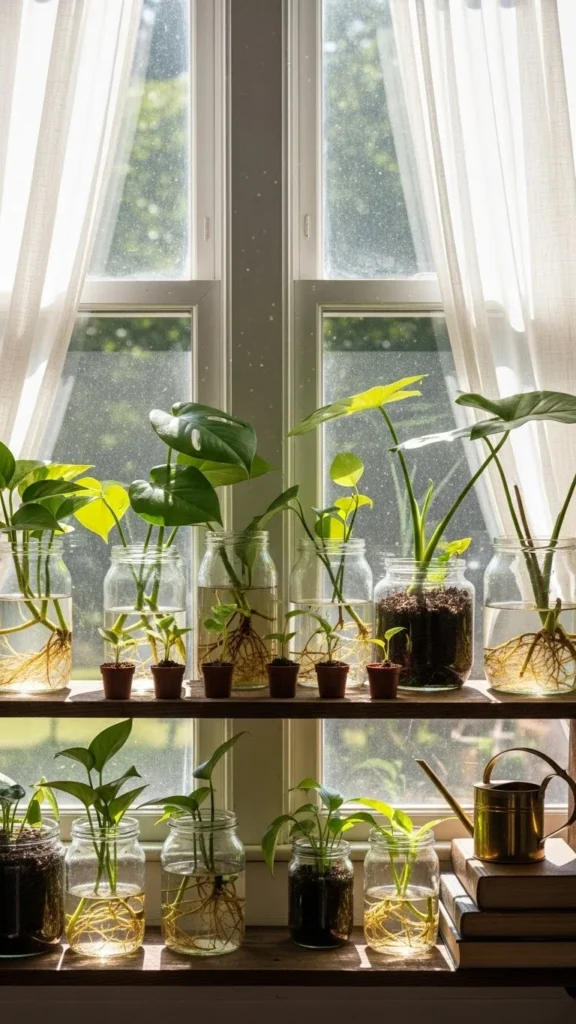
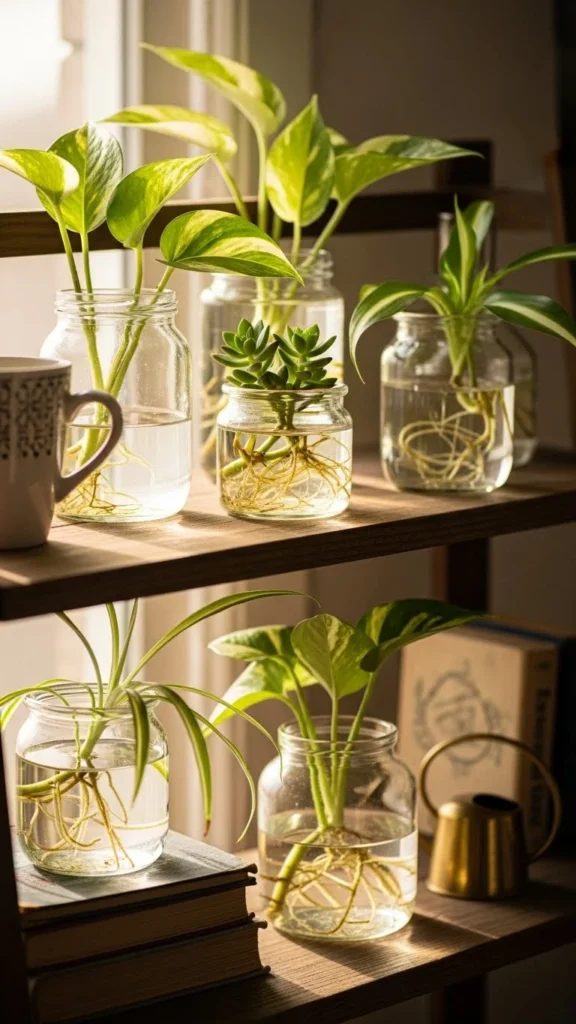
7. Try Water Propagation
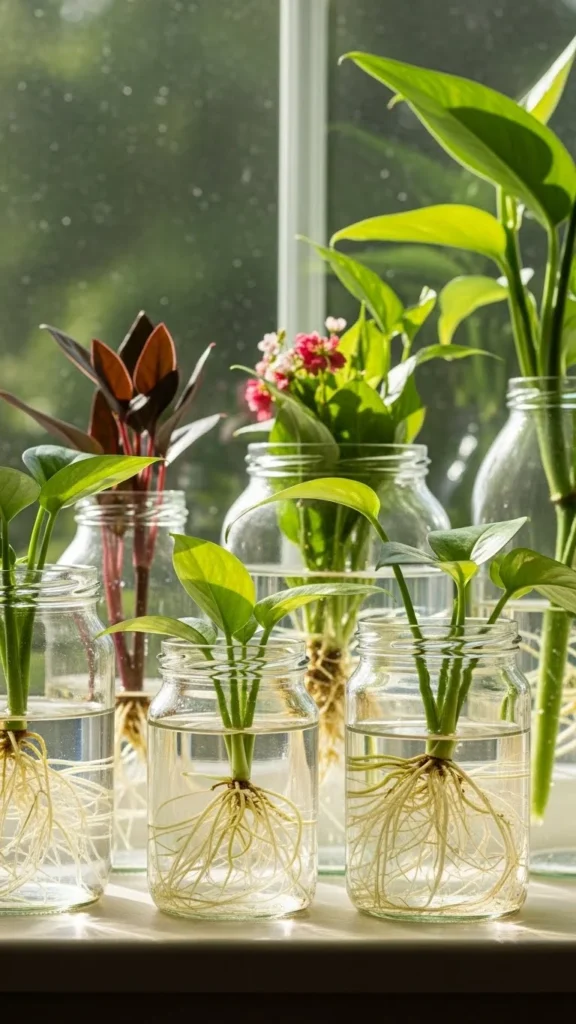
Water propagation is easy and fun to watch. Simply place your cuttings in a jar of water, ensuring only the lower part of the stem is submerged. Change the water every few days to keep it fresh. Once roots are a few inches long, transfer to soil. Great for pothos, philodendron, and mint!
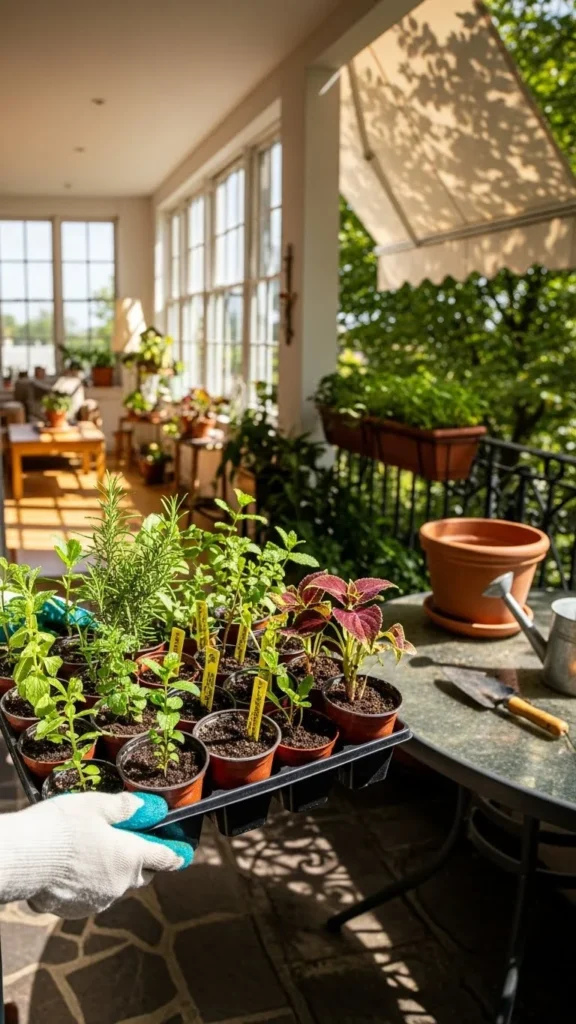
8. Maintain Warm Temperatures
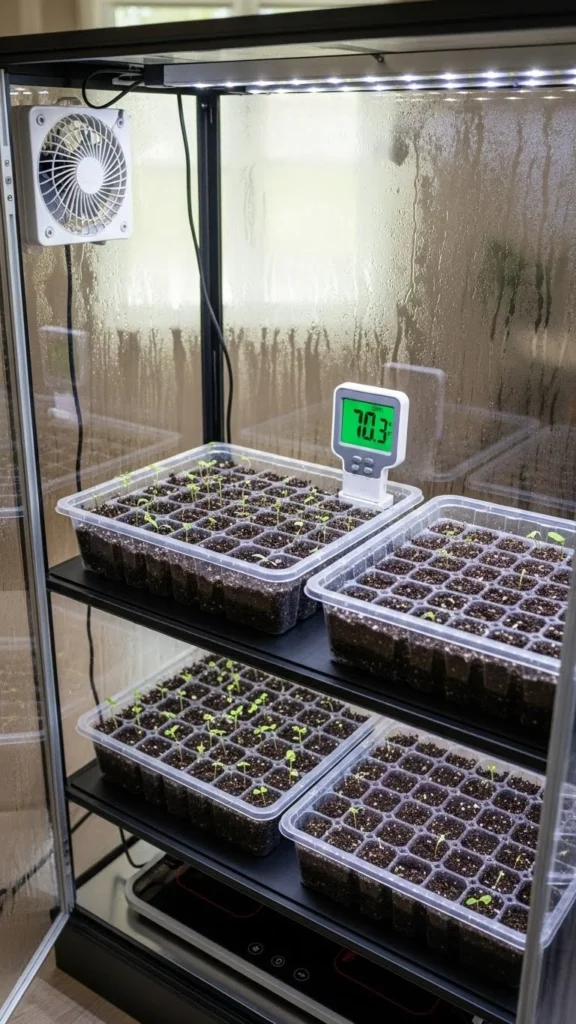
Roots develop faster in warm environments. Keep your propagation setup between 68–75°F (20–24°C). If it’s cold, use a seedling heat mat under your trays. Avoid direct sunlight that can overheat and stress new cuttings. Consistent warmth encourages steady root growth.
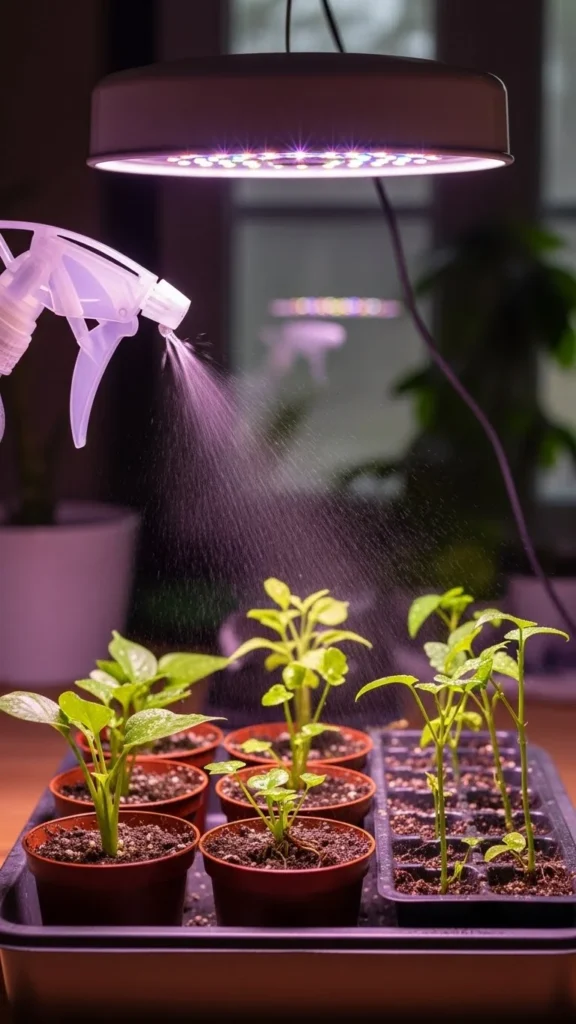
9. Provide Bright, Indirect Light
Light is vital but too much direct sun can scorch tender cuttings. Place them near a bright window or under grow lights. Aim for 6–8 hours of indirect light daily. Rotate trays occasionally so each side gets even exposure.
10. Label Everything
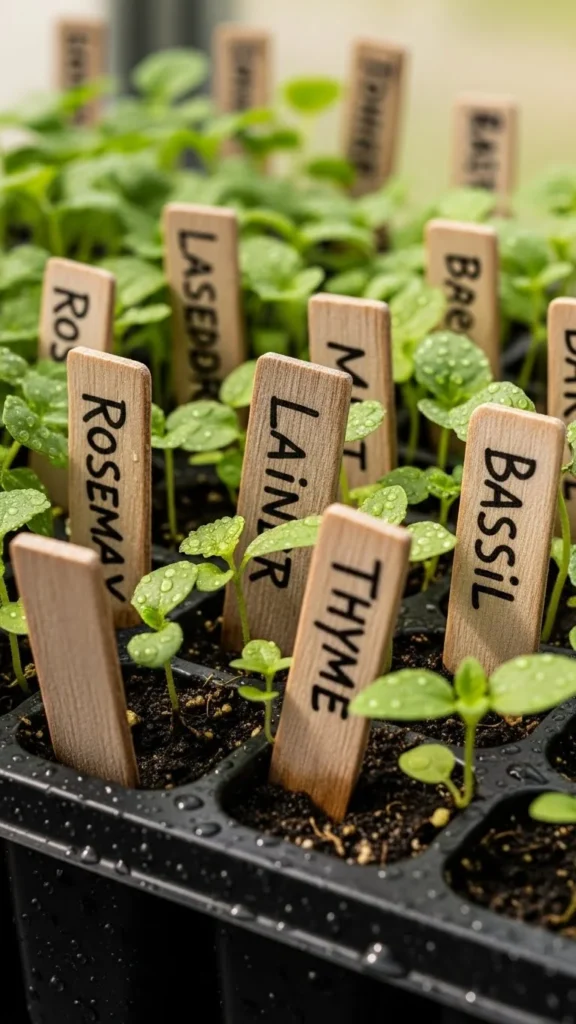
It’s easy to forget what’s what once you start multiple cuttings. Use labels or popsicle sticks to track each variety and date. This helps you observe rooting times and know when to transplant. Organized gardeners waste fewer plants and learn faster from experience.
11. Choose the Right Soil Mix
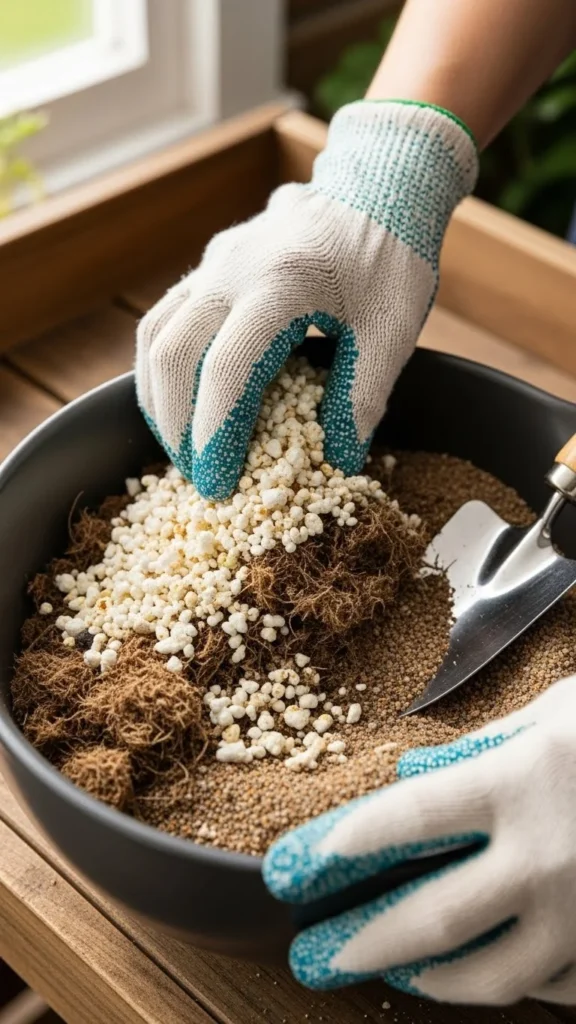
Cuttings love light, airy soil. Combine peat moss, perlite, and sand for good drainage and aeration. Avoid heavy garden soil—it holds too much moisture. For succulents, add extra sand; for houseplants, use more perlite. A simple homemade mix saves money and improves success.
12. Don’t Overcrowd Cuttings

Overcrowding traps humidity and spreads disease. Give each cutting its space to breathe. If using a tray, leave a few inches between them. Once roots form, transplant to individual pots. Clean spacing means stronger, more independent plants down the line.
13. Use Clear Containers for Monitoring
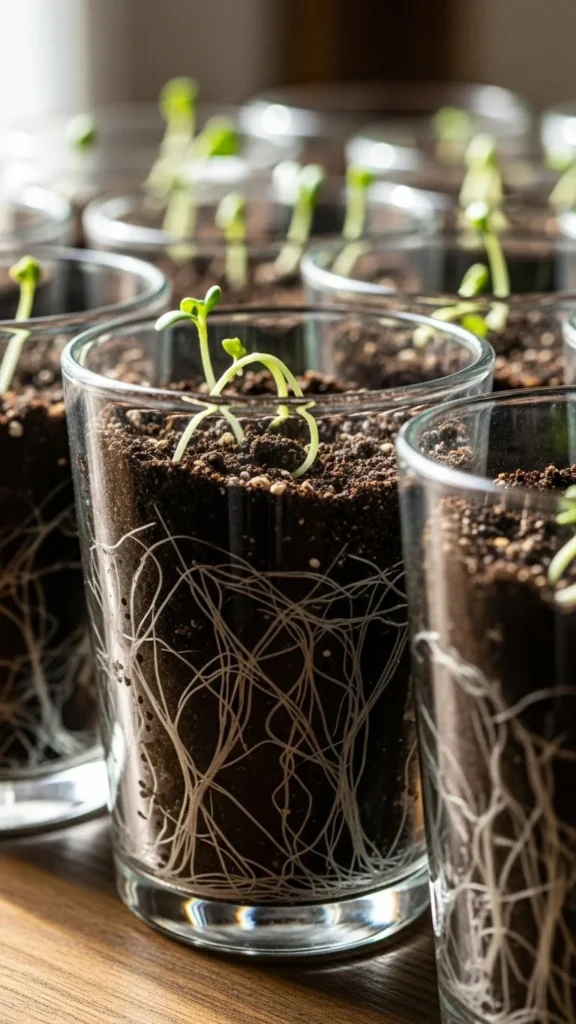
Clear plastic cups or jars let you see root growth without disturbing the plant. Punch small drainage holes if using cups. Watching roots grow helps you know when to transplant—usually when roots circle the cup or reach an inch long.
14. Avoid Over-Fertilizing
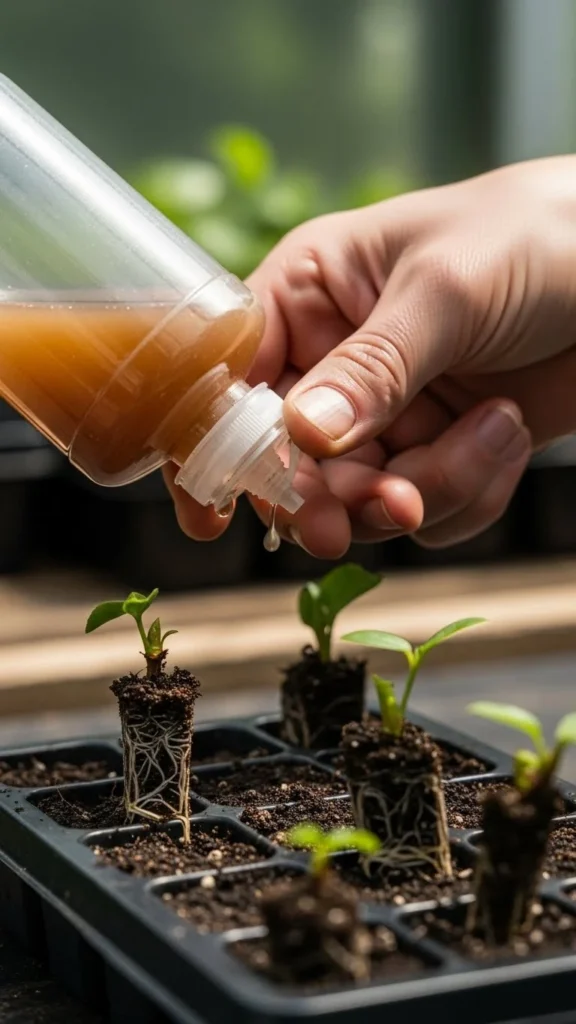
Fertilizer can burn delicate new roots. Wait until your cuttings are well-established before feeding. When ready, use half-strength liquid fertilizer once every few weeks. Healthy soil and consistent watering matter more in the early stages.
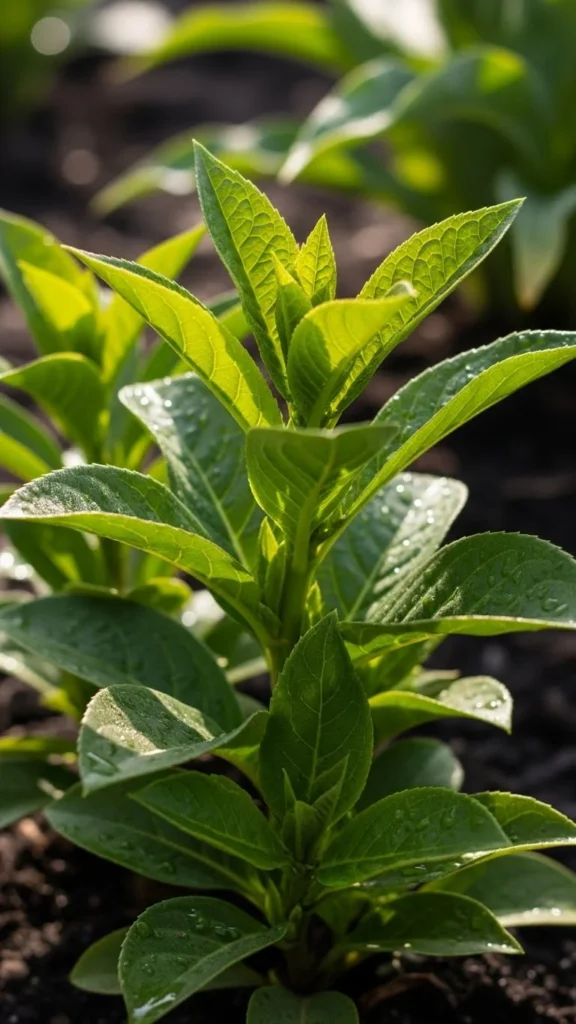
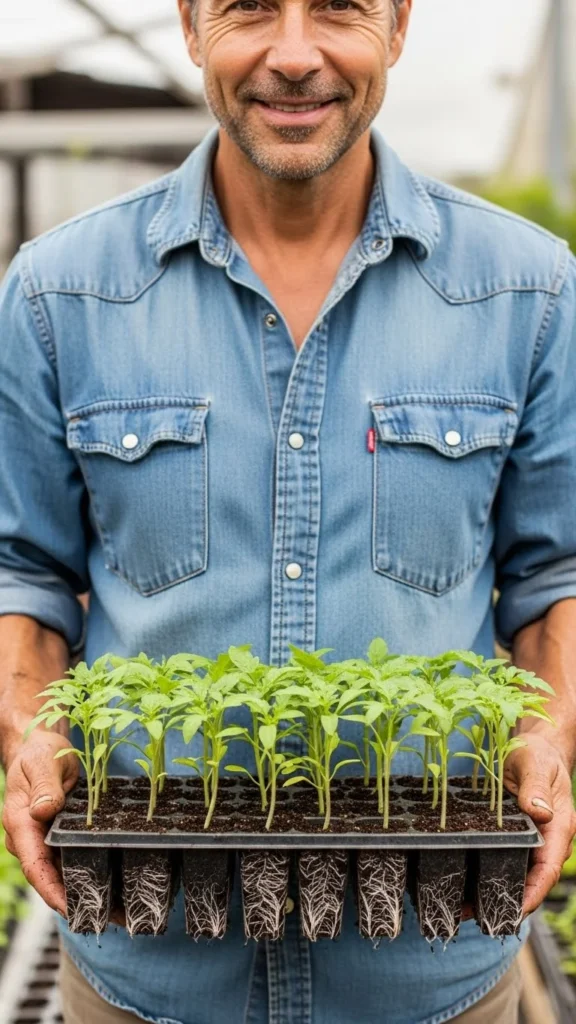
15. Propagate During Active Growth
Plants root faster when actively growing. Late spring and early summer are the sweet spots. Avoid cutting in winter unless it’s a tropical indoor plant. Timing your propagation with natural growth cycles makes everything easier and faster.
16. Try Air Layering for Difficult Plants
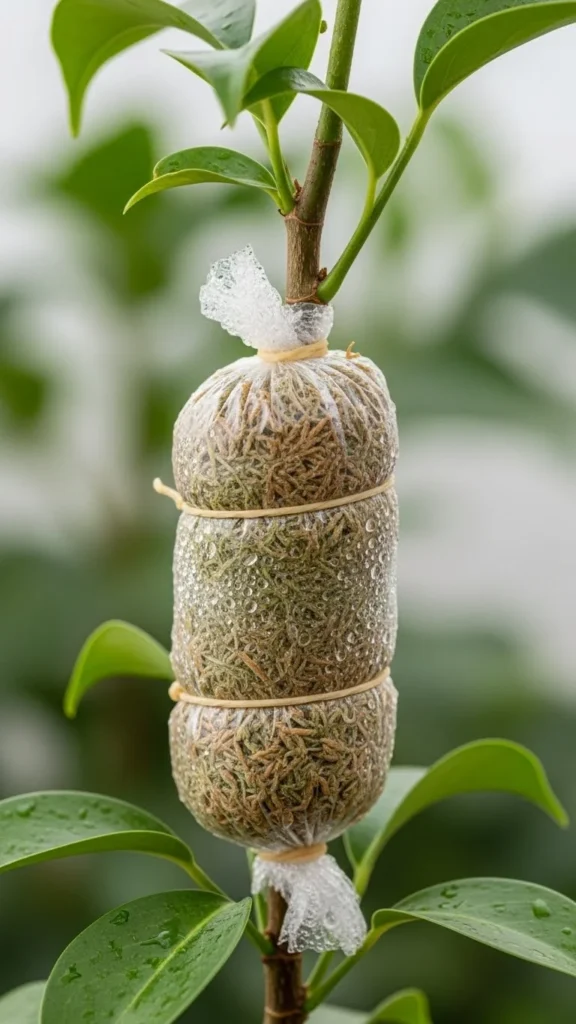
For plants like rubber trees or magnolia, air layering works wonders. Peel a small section of bark, wrap it in damp moss, and cover with plastic. Once roots form, cut below the new root zone and pot it. It’s slow but highly effective for tricky species.
17. Divide Root Clumps for Perennials
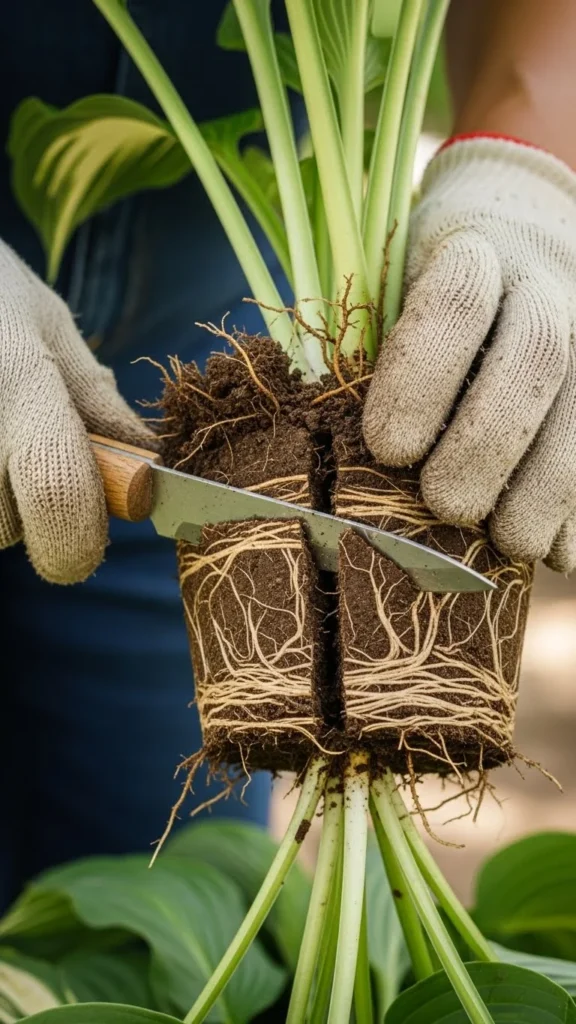
Many perennials like daylilies or hostas multiply underground. Dig up the plant, gently separate sections with roots attached, and replant each piece. It’s an easy way to fill your garden without buying new plants.
18. Keep Tools and Work Area Clean
Propagation invites disease if hygiene is ignored. Always start with clean pots, trays, and tools. Rinse containers in a bleach-water mix before reusing. A clean setup prevents fungus and bacterial infections that can kill young plants quickly.
19. Don’t Skip Acclimation
Before placing rooted cuttings outside, harden them off gradually. Set them outdoors for an hour a day, increasing the time daily over a week. This helps them adjust to wind, sunlight, and temperature changes without shock.
20. Reuse Kitchen Scraps
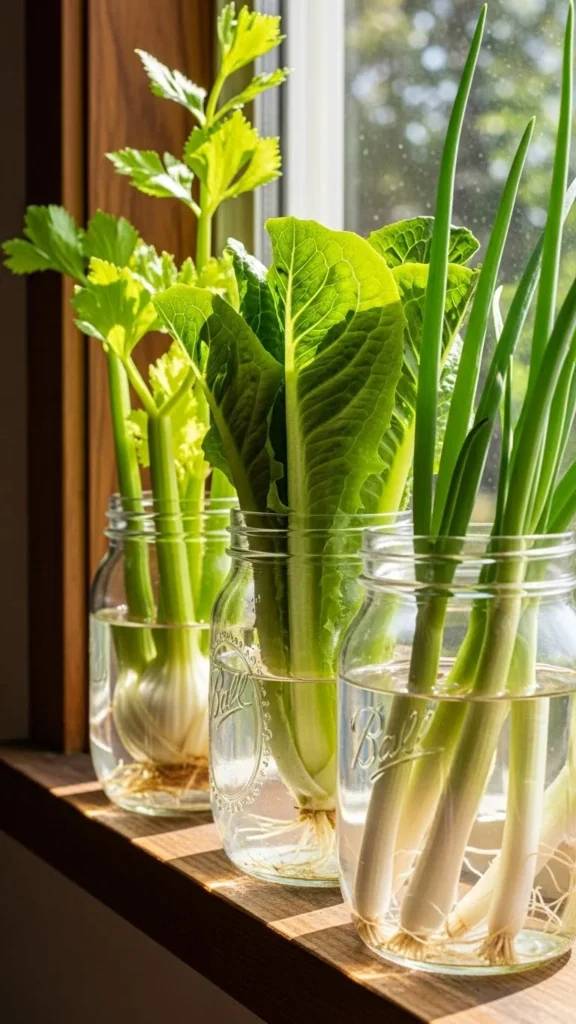
Many herbs and veggies regrow easily. Try green onions, basil, or lettuce in water. Once new roots form, transfer them into small pots. It’s fun, free, and helps reduce waste while keeping your kitchen stocked with greens.
21. Keep Track of Success Rates
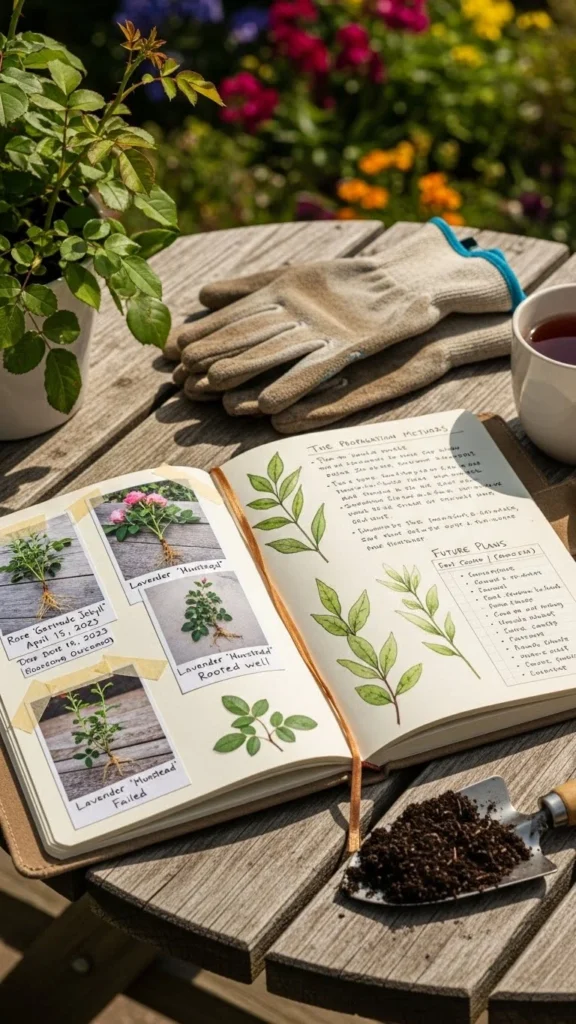
Maintain a small propagation journal. Note which plants rooted fastest, what method worked, and when you transplanted. Over time, you’ll develop your own proven routine that gets better with each season.
22. Be Patient
Some plants root in days, others take weeks. Don’t toss out a cutting too soon. Keep soil moist and watch for subtle signs of progress like new leaves or firm stems. Propagation rewards patience more than anything else.
23. Use Recycled Containers
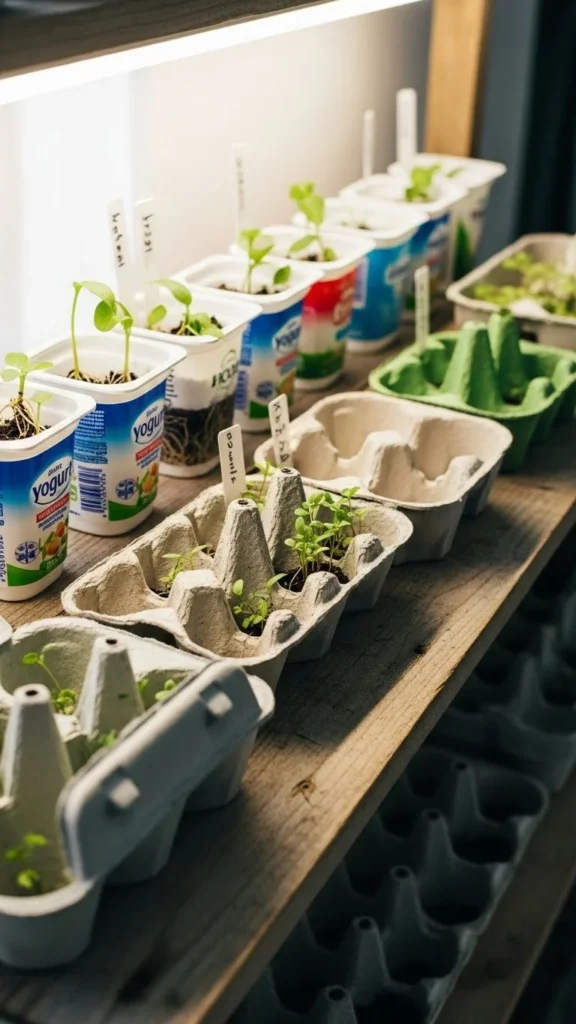
Save money and plastic waste by reusing containers. Yogurt cups, egg cartons, or takeout trays make great propagation starters. Just poke drainage holes at the bottom. It’s a small eco-friendly step that adds charm to your gardening setup.
24. Propagate Succulents the Easy Way

Succulent propagation is satisfying and low-effort. Place leaves on dry soil until roots appear, then mist lightly every few days. Keep them warm and dry until new baby plants form. Perfect for beginners and apartment gardeners alike.
25. Celebrate Every Success
Every rooted cutting is a win worth celebrating. Take photos of your progress, share plants with friends, and keep experimenting. Propagation is more than a gardening trick—it’s a way to grow joy, one stem at a time.
Conclusion
Plant propagation is easy once you get the rhythm. By following these simple, practical tips, you can turn one healthy plant into dozens without spending much. Whether you prefer water jars on a window sill or soil trays in a greenhouse, consistent care and patience are all it takes. Start today, and soon you’ll have a thriving garden filled with plants you grew yourself—literally from the ground up.

Leave a Reply