
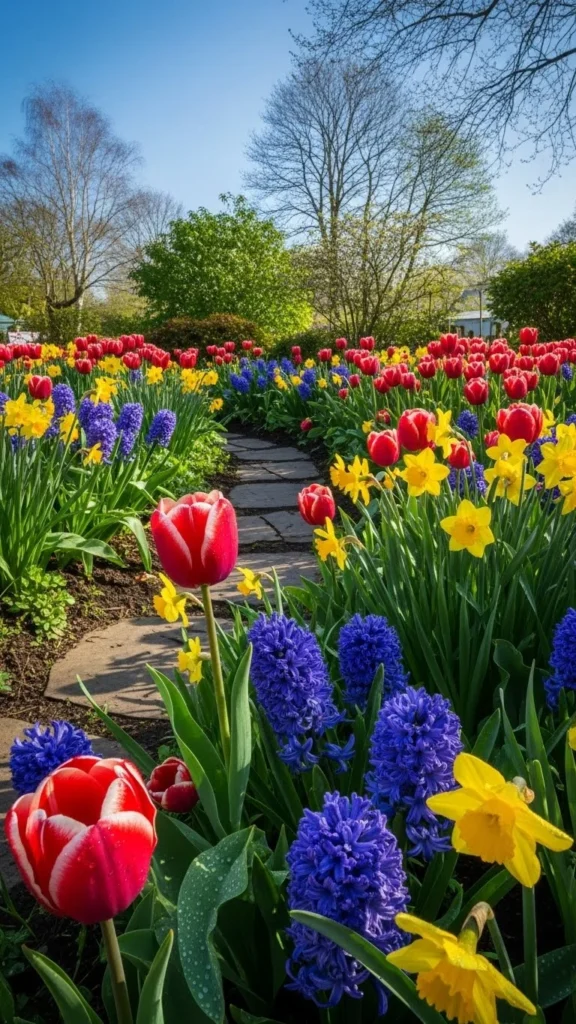
There’s something magical about stepping into your garden in early spring and seeing a burst of color after a long, quiet winter. Daffodils, tulips, crocuses, and hyacinths can all make that happen—but the secret starts in fall. Planting bulbs at the right time and depth ensures they rest, root, and bloom beautifully once the weather warms.
Why Fall Is the Best Time for Bulb Planting
Fall planting gives bulbs the time they need to establish strong roots before the ground freezes. During their winter “nap,” they prepare for the show of color you’ll enjoy next spring. Here’s why timing matters:
- Cool soil encourages root growth while discouraging fungal diseases.
- Moisture levels are ideal for settling bulbs into the soil naturally.
- Cold dormancy triggers spring flowering—without this rest period, bulbs won’t bloom properly.
Aim to plant bulbs about 6 weeks before your first hard frost. In most regions, that means late September through early November.
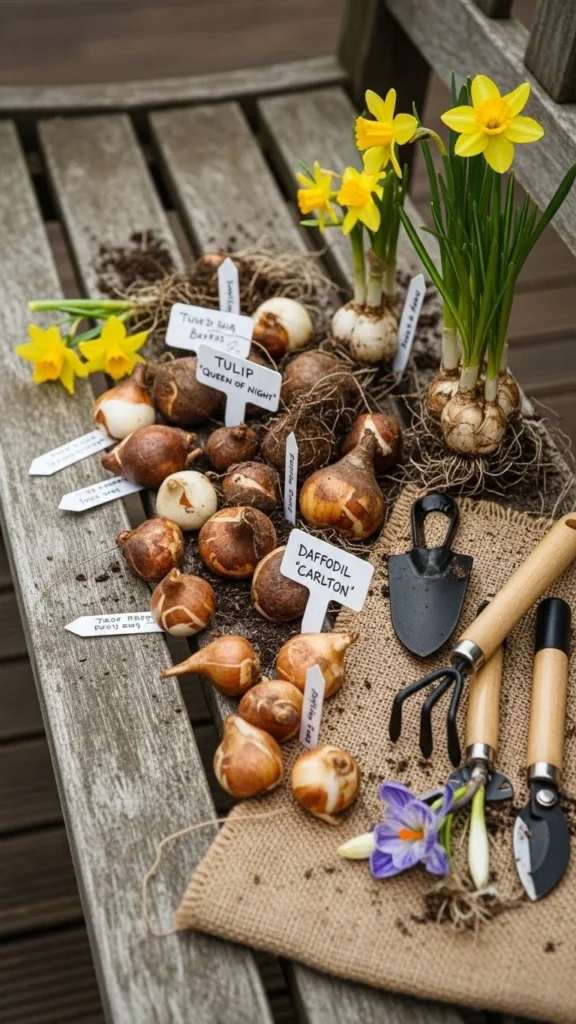
Choose the Right Bulbs for Your Garden
Different bulbs bloom at different times in spring—so mix early, mid, and late bloomers for months of color.
- Early bloomers: Crocus, snowdrops, and daffodils
- Mid-season stars: Tulips and hyacinths
- Late bloomers: Alliums and fritillarias
When shopping, look for firm, plump bulbs free of mold or soft spots. Bigger bulbs often produce stronger blooms.
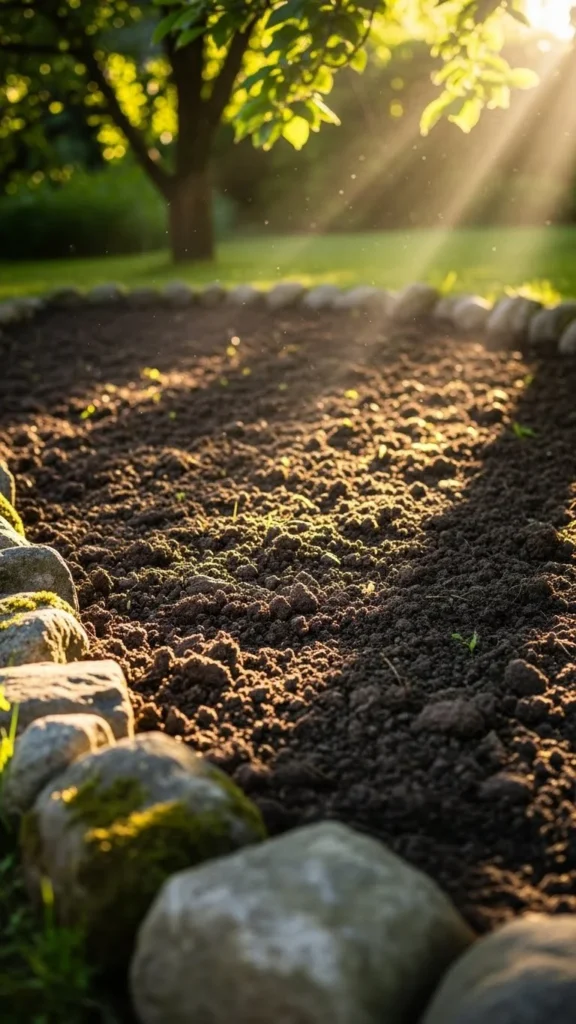
Pick the Perfect Spot
Bulbs love sunshine and well-drained soil. Choose a spot where they’ll get at least 6 hours of sunlight once trees leaf out in spring.
If your soil is heavy or clay-like:
- Mix in compost or sand to improve drainage.
- Consider raised beds or containers for better airflow.
Tip: Avoid areas where water pools after rain—soggy soil can cause bulbs to rot.
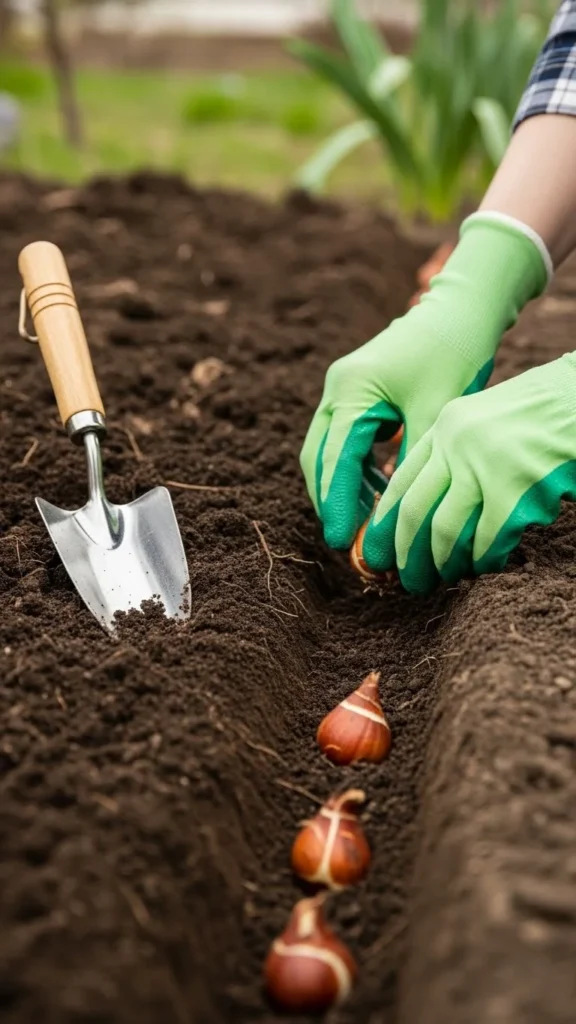
Planting the Bulbs: Step-by-Step
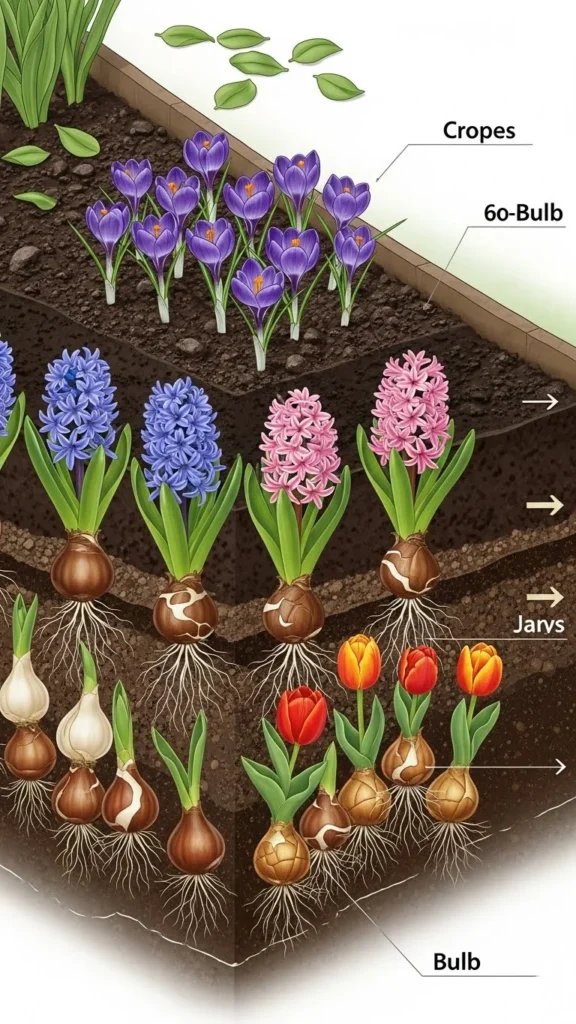
1. Dig the Right Depth
A general rule: Plant bulbs two to three times as deep as they are tall.
- Small bulbs like crocuses: 3–4 inches deep
- Medium bulbs like daffodils: 6 inches
- Large bulbs like tulips: 8 inches
2. Place Them Correctly
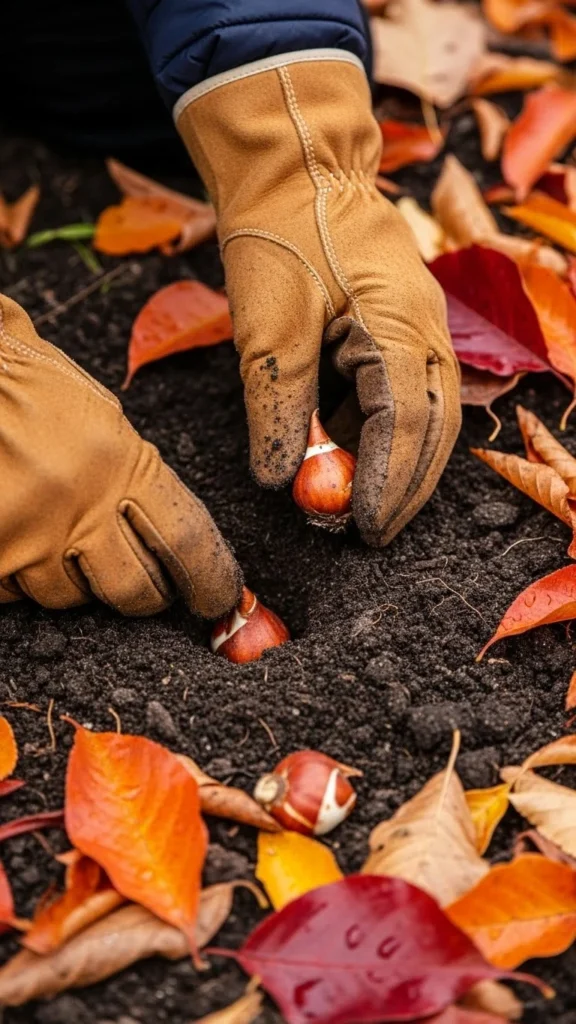
Always plant bulbs pointy side up and flat side down. The pointed end is where the shoots emerge.
3. Add a Little Boost
Sprinkle some bone meal or bulb fertilizer at the bottom of the hole for stronger root growth.
4. Cover and Water
Backfill the soil gently, pat it down, and water thoroughly. This settles the soil and gives bulbs their first drink before winter.
Layering for Continuous Blooms (The “Lasagna” Method)
If you want a nonstop show of flowers, try layering bulbs in the same spot:
- Start with large, late-blooming bulbs (like tulips) at the bottom.
- Add mid-sized bulbs (like hyacinths) in the middle layer.
- Finish with small, early bloomers (like crocuses) on top.
Cover with soil between each layer, and you’ll get a succession of color from early to late spring—all from one planting.
Protect Your Bulbs Over Winter
Bulbs are tough, but they need a little protection:
- Add mulch: A 2–3 inch layer of straw or shredded leaves helps insulate and prevent soil heaving.
- Mark your planting spots: Use garden labels or small stones to remember where your bulbs are hidden.
- Guard against pests: If squirrels are an issue, lay chicken wire over the soil surface until spring.
Caring for Bulbs in Spring
When those first shoots appear:
- Remove mulch gradually as the weather warms.
- Keep soil evenly moist but not soggy.
- After blooms fade, don’t cut the leaves immediately—they feed the bulb for next year’s flowers. Wait until they turn yellow and wilt naturally.
Final Thoughts
Planting bulbs in fall is like hiding a secret treasure—one that rewards you with vibrant color when the world wakes up again. With a little planning, good soil, and patience, you’ll enjoy a garden bursting with life every spring.
So grab your gloves, pick your favorite bulbs, and start planting—your future spring self will thank you.
Save this guide for later and share it with your garden-loving friends!

Leave a Reply