
Winter can be hard on outdoor plants, but the right garden bed setups make it easy to keep them safe through long stretches of ice and snow. This guide shares simple structures, covers, and layout ideas that help shield roots, trap warmth, and prevent damage from heavy snowfall. Each tip is practical and budget-friendly, so you can set up winter protection without complicated materials or advanced skills.
1. Raised Beds With Deep Mulch Layers
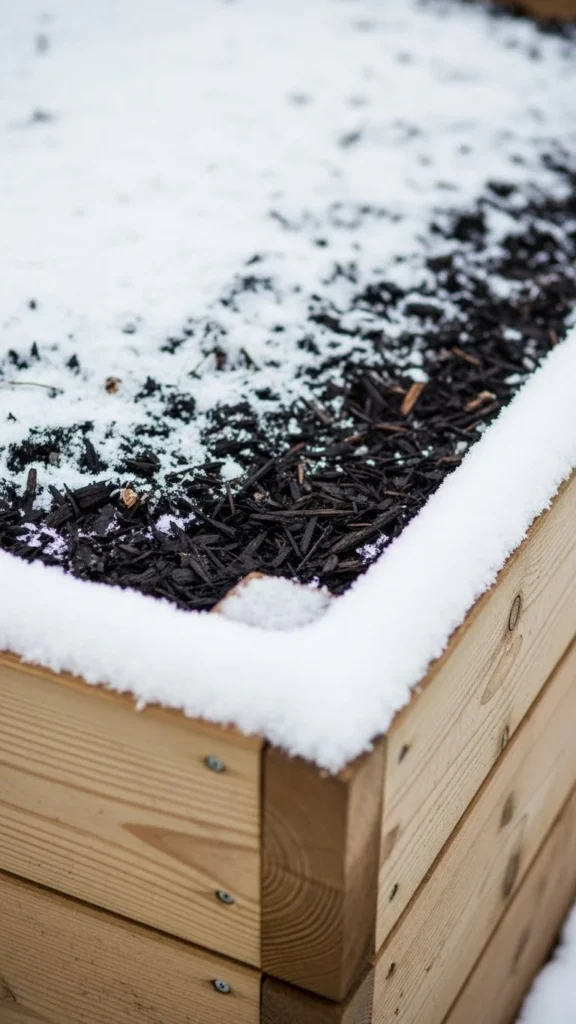
A deep mulch layer works like a natural blanket. It traps warmth in the soil and prevents root damage when temperatures drop. Even a basic mix of straw or shredded leaves can keep the soil from freezing too hard. Spread a thick 4–6 inch layer at the start of winter. Add more after the first heavy frost if it settles. This setup is simple, low cost, and easy to maintain. You can collect fallen leaves in autumn and store them in bags for winter use. If your bed sits in a windy area, tuck mulch under a small wood board at the edges so it doesn’t blow away. This method is great for root vegetables and hardy herbs. With steady coverage, your plants stay tucked in all season.
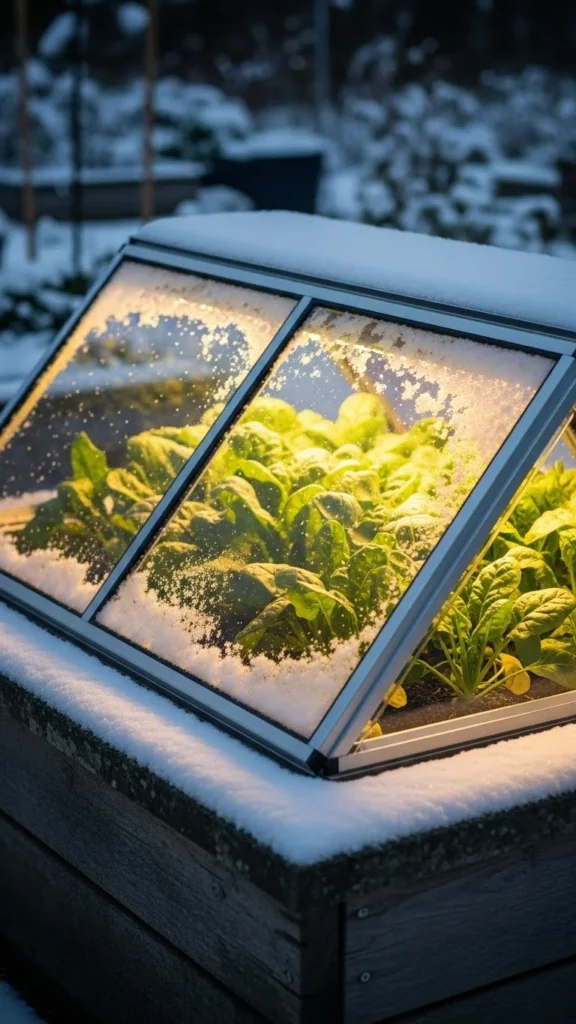
2. Cold Frame Beds With Clear Lids
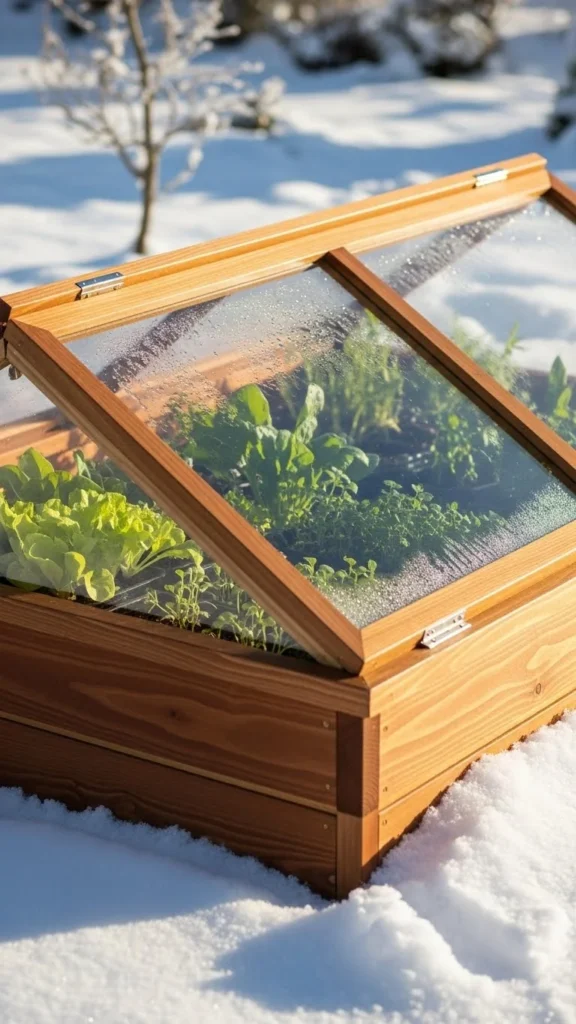
Cold frames warm the soil by trapping sunlight during short winter days. The clear lid creates a small micro-climate that helps plants survive colder nights. You can build one from scrap wood and a clear panel from an old window or greenhouse sheet. Keep the frame low to the ground so heat stays concentrated. A simple hinge lets you open it for airflow on milder days. Add bricks around the outside to keep the structure sturdy when snow piles up. This works well for winter greens, young seedlings, and herbs that struggle with freezing winds. If you want extra warmth, place a dark stone inside to hold daytime heat and release it slowly overnight. It’s budget-friendly and durable for many seasons.
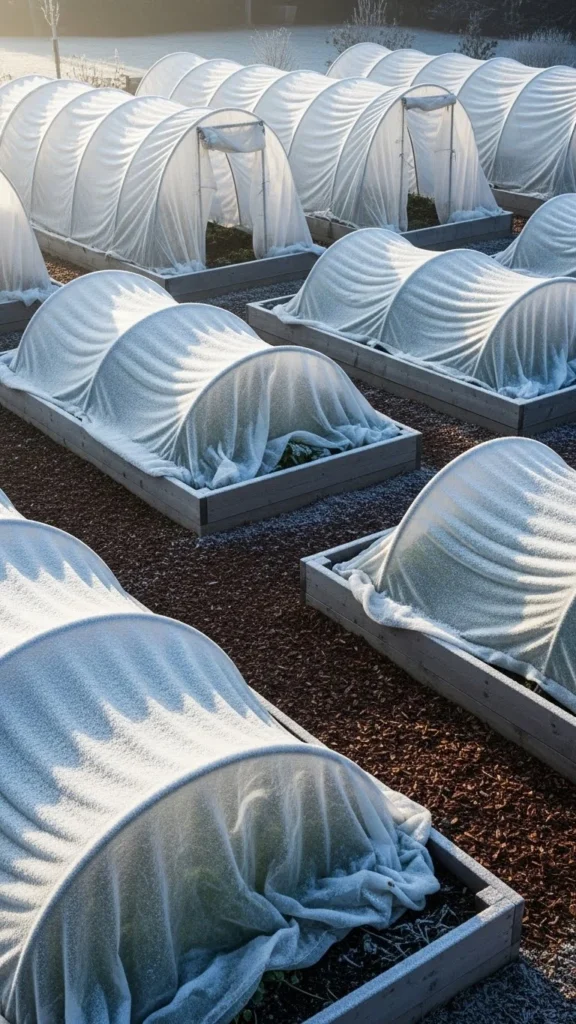
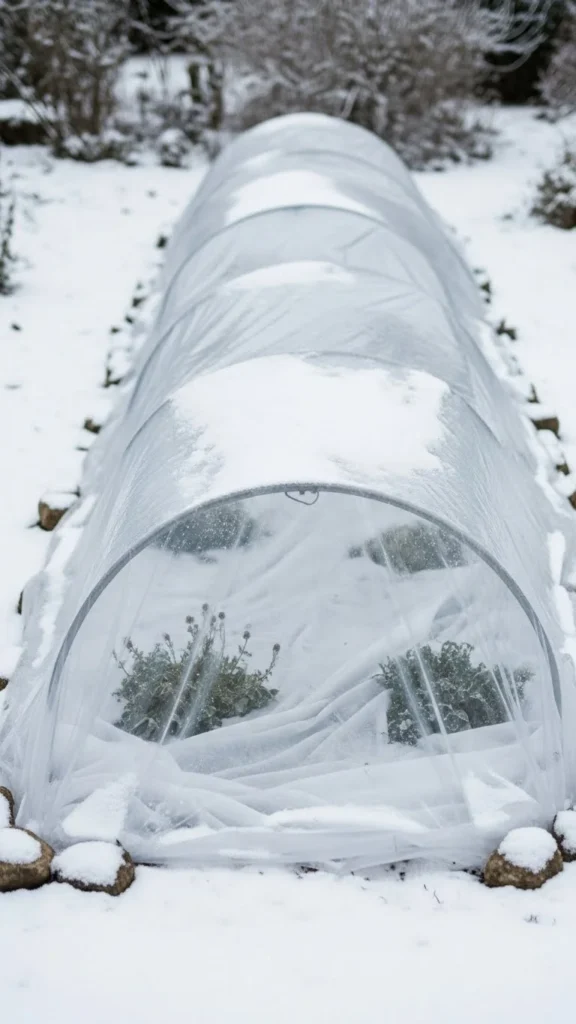
3. Hoop Tunnel Beds With Plastic Sheeting
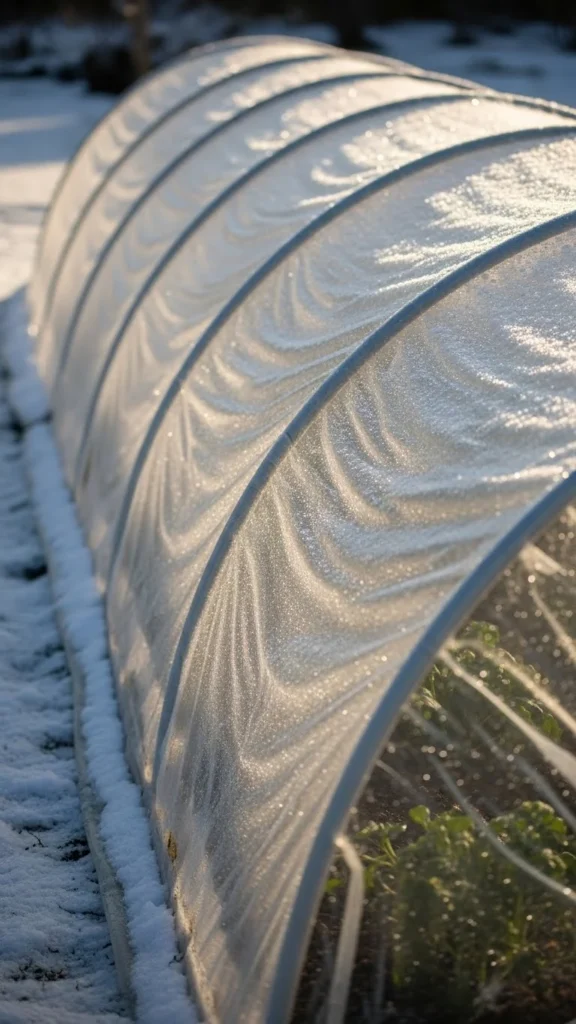
Hoop tunnels create a warm layer of air around your plants. They’re quick to install and fit over almost any bed size. Use flexible PVC or metal rods to form arches, then drape with clear plastic. Clip the material tightly so snow won’t collapse it. Add a second layer if your winters are especially harsh. The small air pocket between the layers keeps beds warmer than single-layer setups. Open the ends on sunny days for a quick airflow refresh. You can even slip frost cloth under the plastic for double protection. This setup is great for leafy greens, herbs, and overwintering carrots. Replace plastic as needed each year, but the frame will last for seasons.
4. Straw Bale Garden Bed Walls
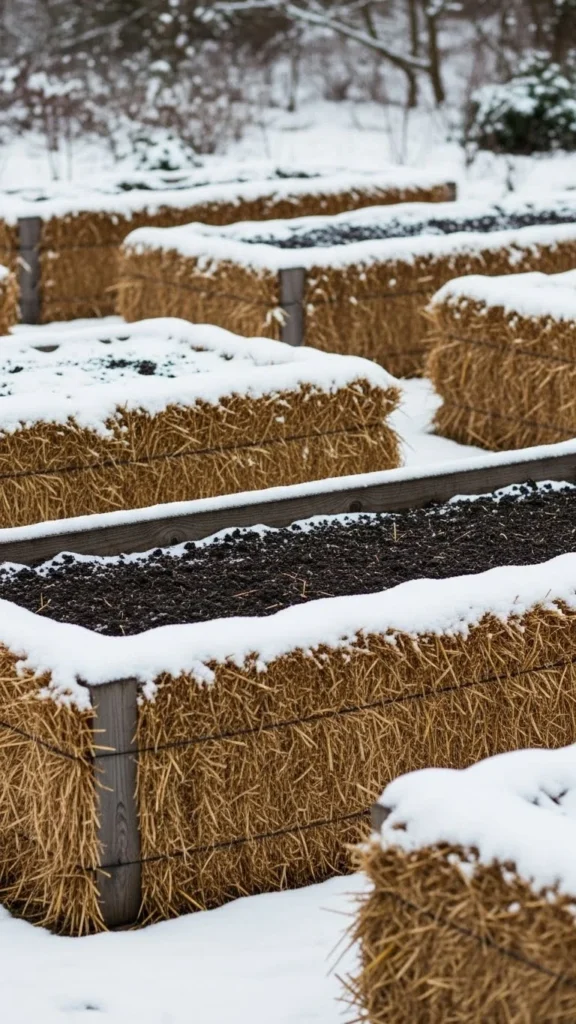
Straw bales act as thick insulation around garden beds. They trap warmth, block wind, and create a cozy growing pocket. They’re easy to position and replace each year. Set them tightly around the perimeter, leaving the top open for your plants. Add a row of burlap along the inside for extra wind protection. Throughout winter, the bales slowly break down and enrich the soil. You can even plant into them in spring if you’re experimenting with bale gardening. Keep an eye on moisture; too much water can cause sagging. Use a simple cord or twine to reinforce corners. This is a great choice for gardeners who want low-cost insulation that doubles as soil-building material.
5. Snow-Fence Wind Block Beds

Snow fences help redirect drifting snow and protect beds from heavy coverage. They’re easy to set up with wood stakes and mesh panels. Place them on the windward side of your garden. Even a small fence helps reduce snow buildup on delicate plants. This setup keeps beds from getting buried and makes it easier to access your winter greens. Add a low layer of straw inside the fenced zone for extra warmth. If you garden in an open yard with strong winds, this small addition makes a big difference. It also helps preserve pathways and keeps your winter chores simple.
6. Rock Border Heat-Holding Beds
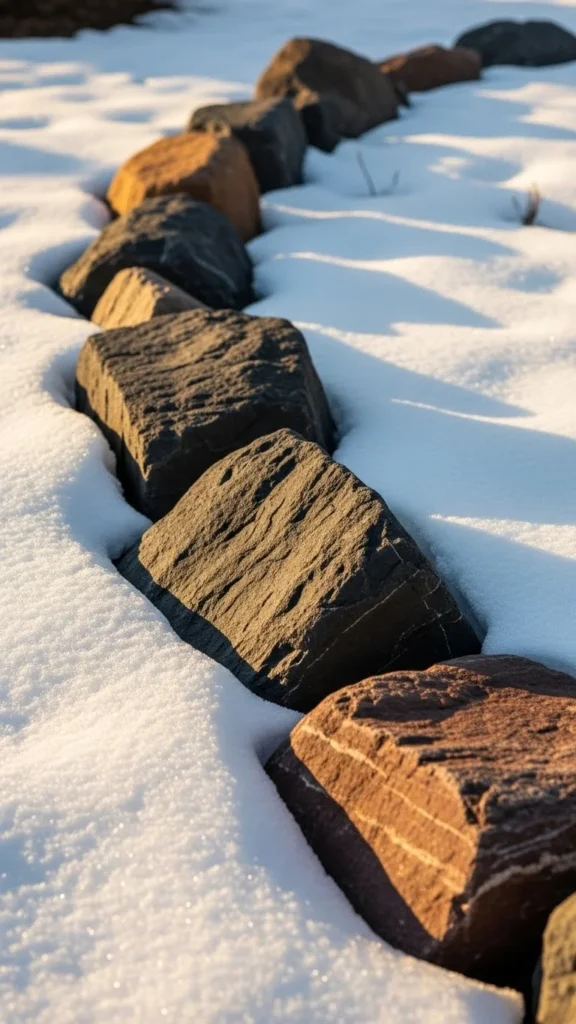
Rocks naturally hold heat from the sun and release it slowly during cold nights. A rock border around your garden bed gives plants a temperature buffer. Large, dark stones work best because they absorb more warmth. Collect rocks from your yard or a local landscape supplier. Arrange them tightly around the edges. Even in snowy weather, they help soften temperature swings. This method works especially well when paired with mulch or a frost cloth. You can also place a few stones inside the bed near heat-sensitive plants. This simple, natural method adds character to your garden while helping plants stay safe.
7. Frost Cloth Layered Beds
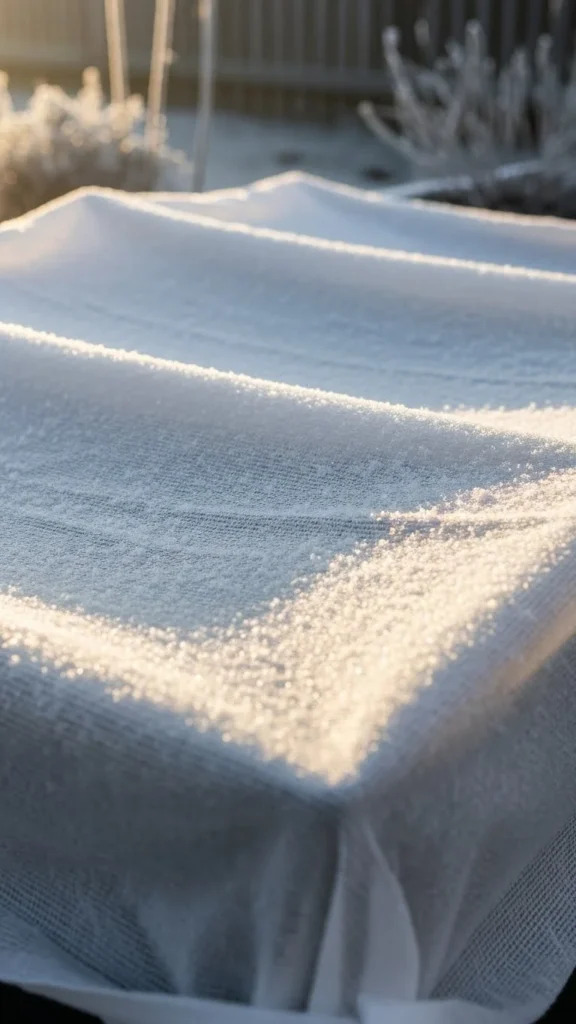
Frost cloth is lightweight but effective. It keeps plants warm without blocking too much light. Drape it directly over plants or use small stakes to keep it lifted. Choose thicker fabric for harsher climates. Secure the edges with stones or wood boards so wind doesn’t shift it. This material allows airflow while creating a gentle protective layer. You can fold it double around delicate herbs. It’s affordable, reusable, and easy to store. Keep an extra roll handy for sudden cold snaps. This method is perfect for gardeners who want quick protection without building heavy structures.
8. Cedar Frame Beds With Removable Lids
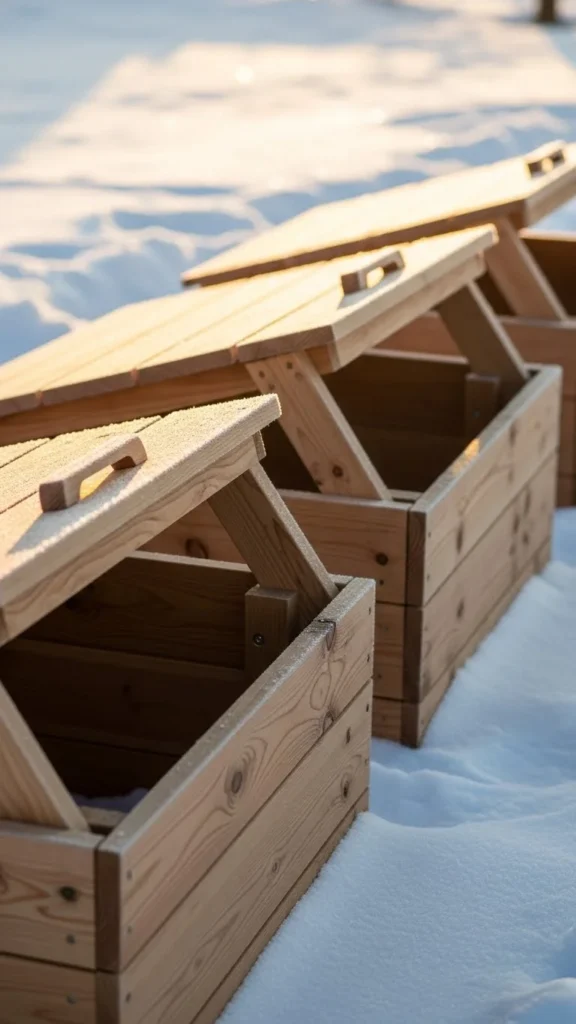
Cedar frames with lids give your garden bed a snug enclosure. Cedar holds up well in wet, cold weather, making it a smart material for winter setups. Build a simple box frame and add a lid with hinges. Use clear polycarbonate panels to let sunlight in. Lift the lids on warmer days to release moisture. You can size the frame to fit herbs or greens. Add a strip of weatherproof tape along the lid seams for tight insulation. This setup is long-lasting and works for year-round gardening.
9. Brick-Walled Beds That Trap Heat
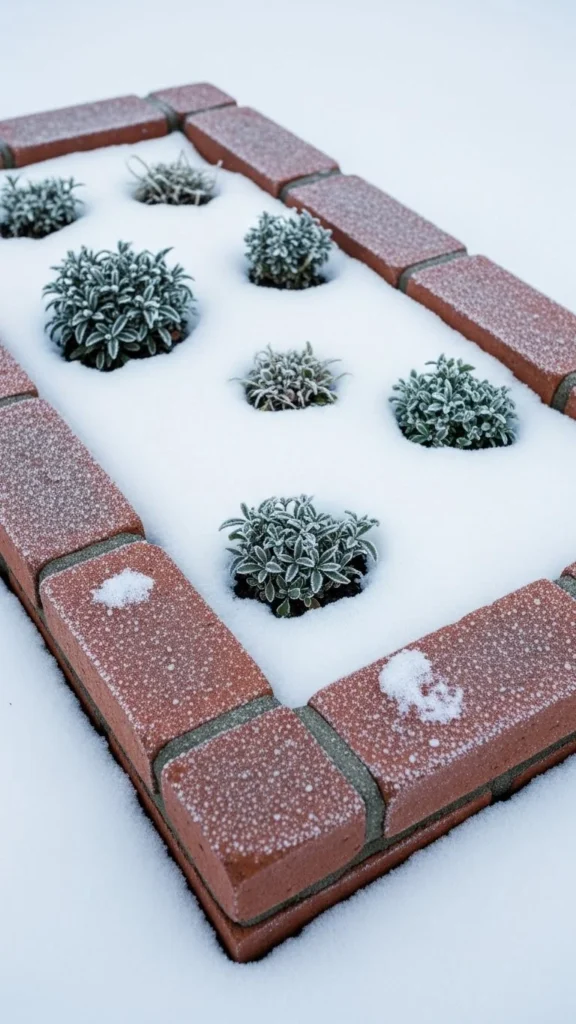
Brick walls retain heat and help moderate temperature changes. They act as a buffer against cold soil. Build low brick walls around your existing beds or convert an old patio space into a winter-friendly zone. Pair with mulch or cloth for stronger protection. The bricks keep roots warmer and make snow melt faster around the bed edges. This is an easy upgrade if you already have leftover bricks. It also gives your garden structure and charm during winter.
10. Earth-Sheltered Trench Beds
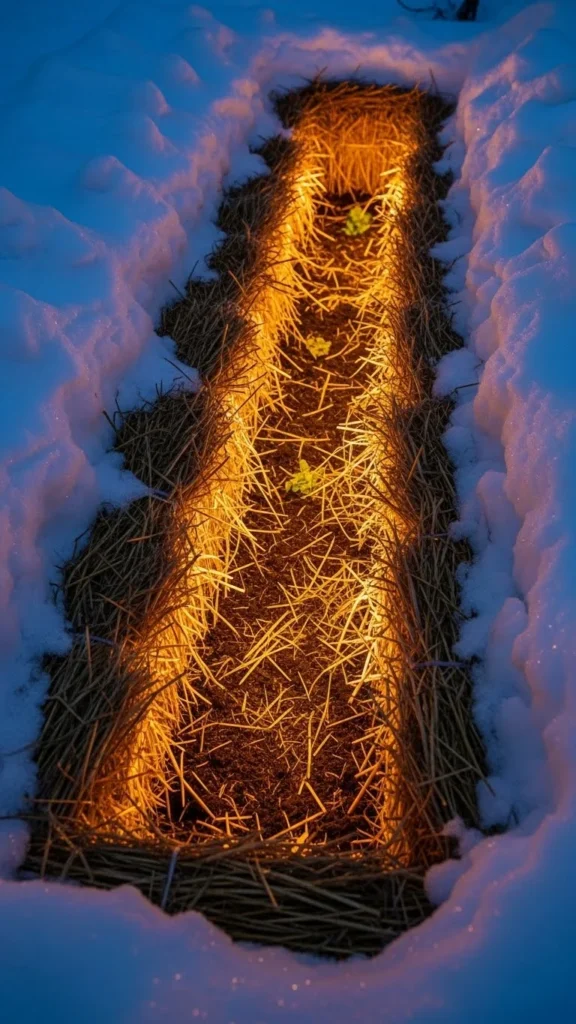
Trench beds sit lower than ground level, giving plants shelter from harsh winds and snow. Dig a shallow trench and line it with straw or leaves. Plant hardy crops inside and cover lightly with cloth on colder nights. Snow naturally accumulates around the trench, creating an insulated barrier. This setup works well for root crops, garlic, and hardy greens. It’s inexpensive and simple to maintain. Refill the trench each year as soil settles.
11. Mini Greenhouse Bed Toppers
Mini toppers function like tiny greenhouses. They’re perfect for compact winter gardens. You can buy them pre-made or craft one using clear panels and a wooden frame. Set them directly over your garden bed and secure with ground stakes. They trap warmth and shield plants from snow. Add a few ventilation holes to prevent moisture buildup. These toppers are portable, so you can move them between beds as needed. They’re ideal for winter herbs and greens.
12. Layered Bed Covers With Burlap
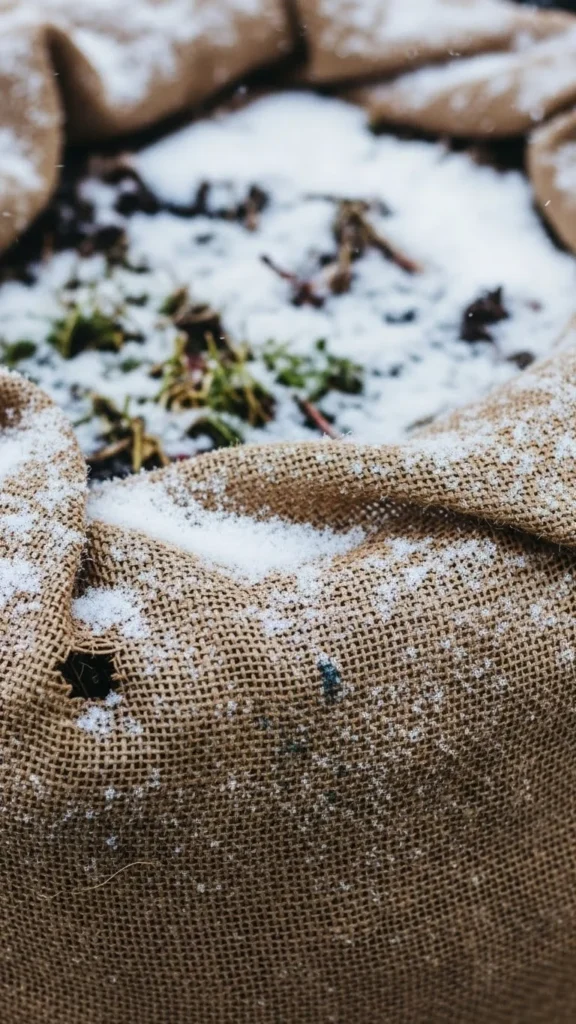
Burlap is breathable and offers light protection against cold winds. It’s great paired with mulch or cloth. Wrap it around exposed bed edges or drape it over hoops. It helps keep soil warmer without trapping too much moisture. Burlap is affordable and easy to reuse. Add clothespins or garden clips to hold it in place. Use it when you want a natural look that blends into the garden.
13. Dual-Layer Plastic and Cloth Beds
Two layers offer simple but strong winter protection. Start with frost cloth, then add clear plastic on top. Leave small air pockets between layers for warmth. Secure with stakes or heavy stones. This setup works when you don’t want to build full frames. It’s flexible, light, and easy to remove when snow melts. Perfect for gardeners who want a quick solution without major construction.
14. Pallet-Walled Beds for Wind Shielding
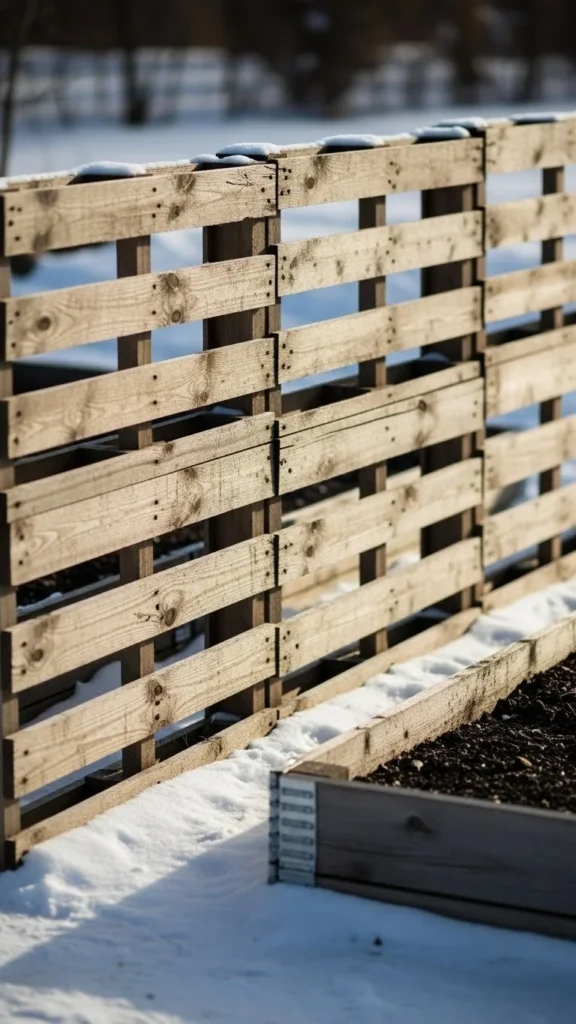
Pallets are a budget-friendly way to create wind protection. Stand them upright around your garden bed to form a rustic barrier. They diffuse harsh winter gusts and help snow settle more gently. Add a tarp or cloth to the inside of the pallets for stronger coverage. Pallets are free or low cost in many areas. They also allow airflow without exposing plants to intense weather.
15. Evergreen Branch Mulch Beds
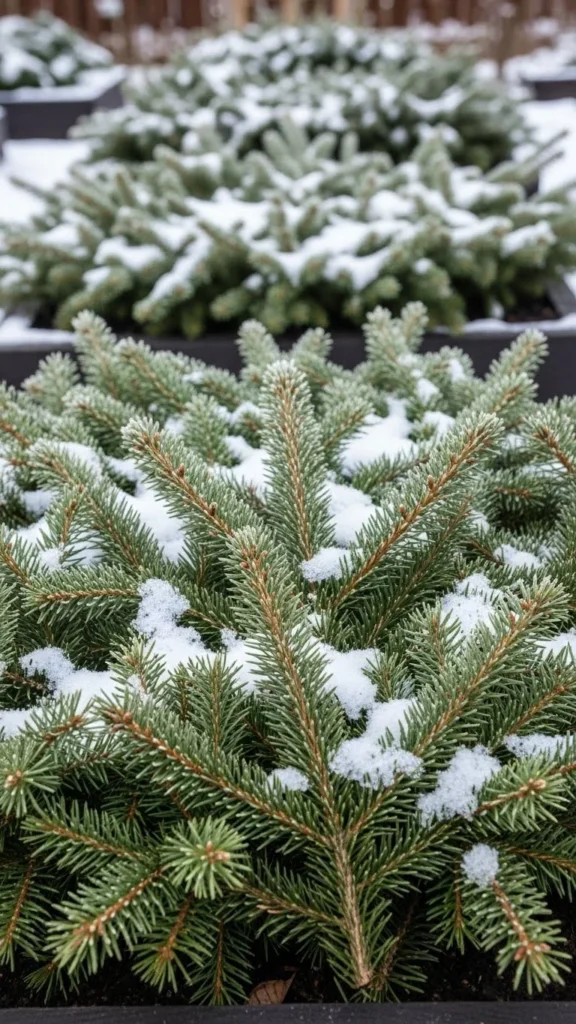
Evergreen branches offer natural winter coverage. They protect soil without smothering plants. After trimming holiday trees or nearby evergreens, layer branches over the bed. The needles trap warmth and create airflow. As snow collects, the branches distribute weight and prevent damage. This method costs nothing if you have access to evergreen trimmings. Replace branches as they flatten or break down.
16. Warming Water Jug Bed Borders
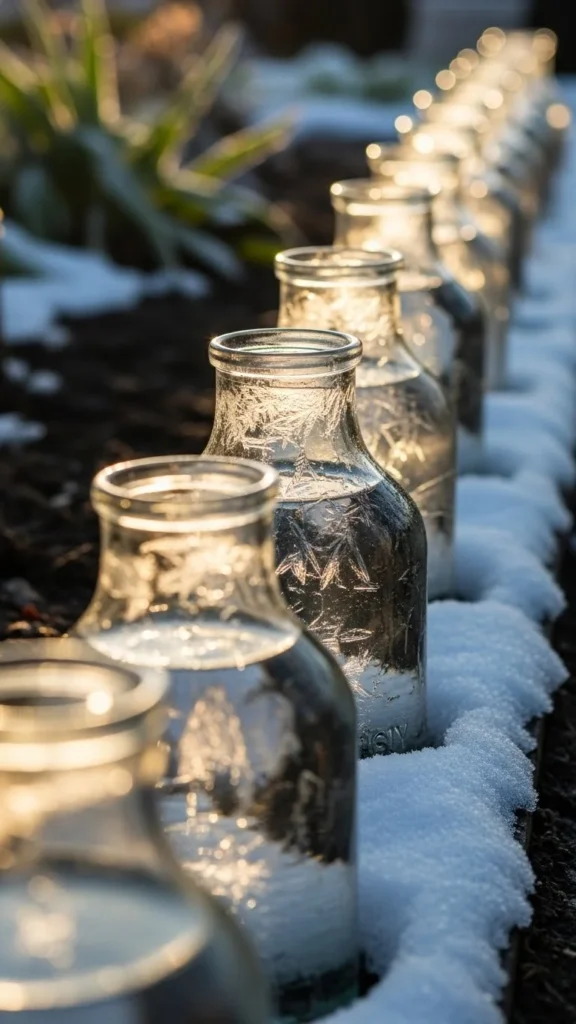
Water absorbs heat during the day and releases it at night. Line garden beds with clear jugs filled with water. Place them close together to create a heat-holding border. Paint one side dark to increase warmth absorption. This method works especially well inside tunnels or frames. It’s simple, uses recycled materials, and creates steady nighttime warmth.
17. Insulated Fabric Panel Beds
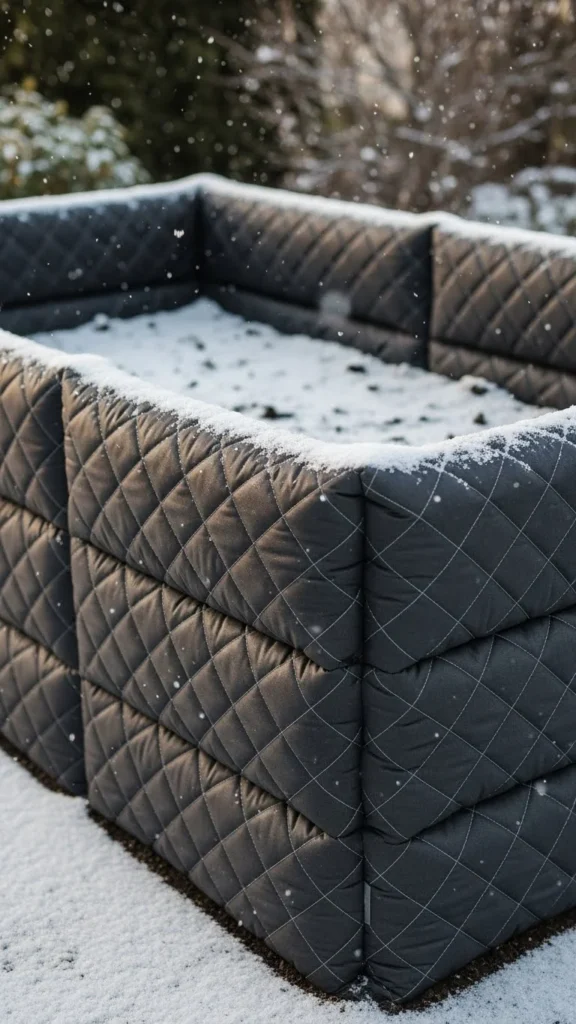
Fabric panels add warmth to exposed bed walls. Wrap them around wooden or metal frames for gentle insulation. Use clips or staples to secure. Choose heavy, weather-resistant fabric. This method is helpful for beds with thin walls that lose heat quickly. Pair it with mulch or hoops for stronger protection.
18. Snow-Shedding A-Frame Covers
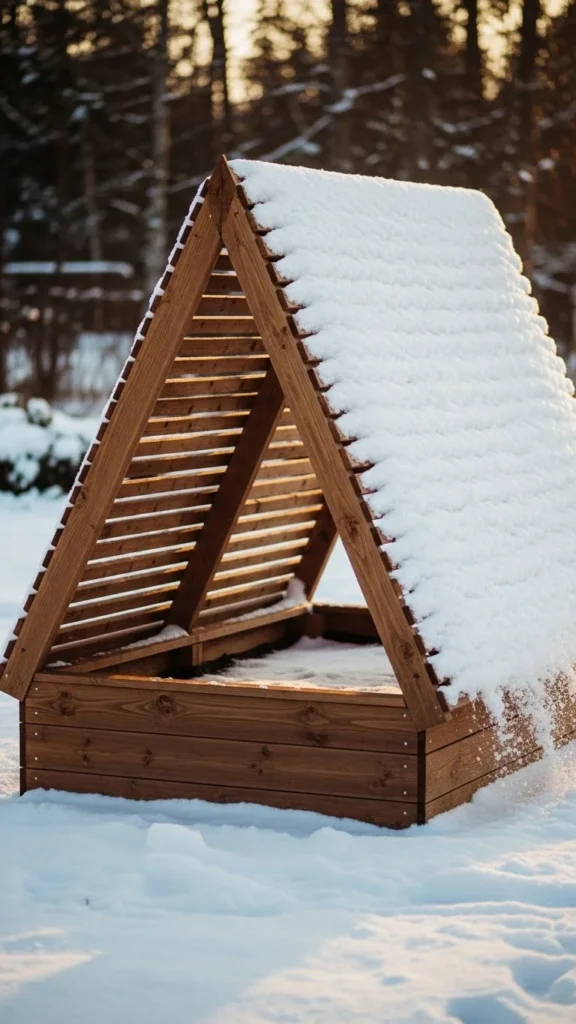
A-frame covers shed snow easily. Their steep angle helps snow slide off before it can build weight. Build one from wood planks and a clear roof panel. Add hinges for easy lifting. These covers protect plants while still letting sun reach the soil. They work well in regions with heavy snow.
19. Insulated Metal Beds With Liner

Metal beds cool quickly in winter, but lining them solves that problem. Add foam board or thick fabric to the inside walls. Cover the soil with mulch. This reduces heat loss and keeps roots from freezing. It’s a quick upgrade for gardeners using metal containers.
20. Straw Tunnel Beds
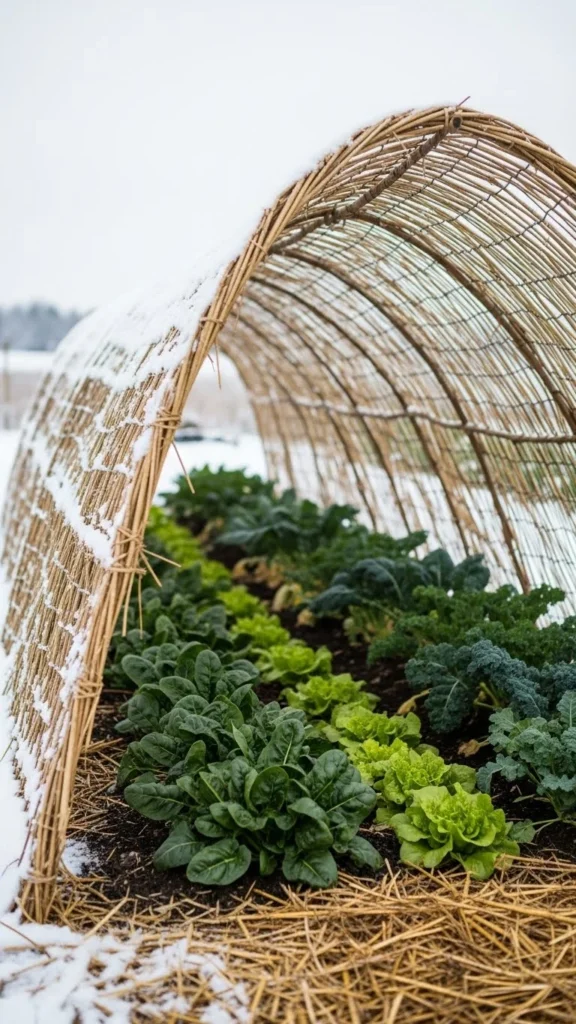
Straw tunnels offer natural insulation. Create a long arch using bent branches or wire, then layer straw on top. Add twine to keep the straw in place. This structure warms the bed and softens snow load. It’s a rustic, cost-effective option for winter gardening.
21. Compact Bed Covers Made From Recycled Windows
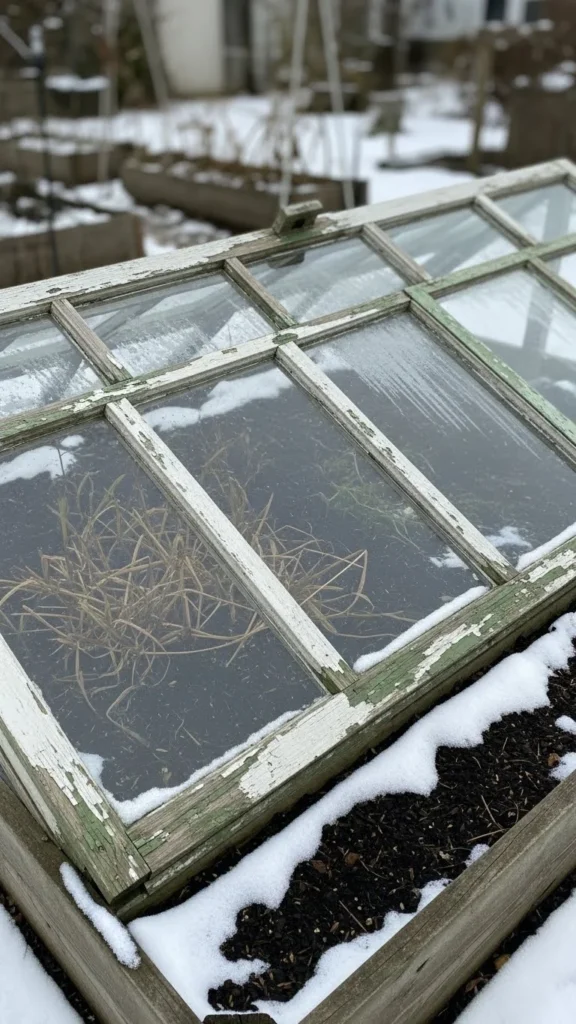
Old windows make strong covers. Place them on top of wooden frames to create small warming shelters. The glass captures sunlight and keeps soil warmer. Open slightly on bright days to reduce condensation. This is perfect for gardeners who enjoy upcycling materials.
22. Pine Needle Mulch Beds
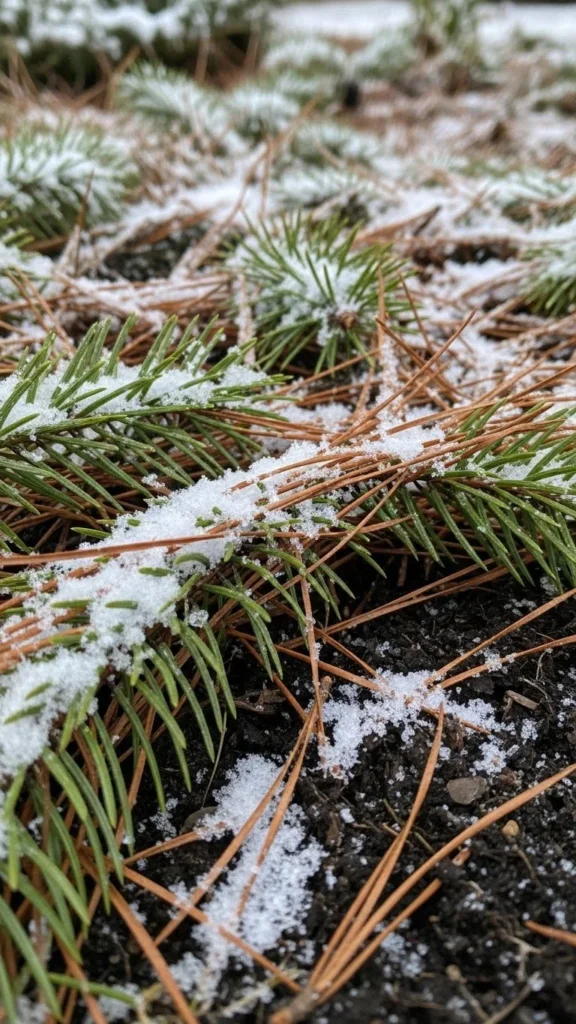
Pine needles protect soil while allowing good airflow. They don’t mat down easily and last all season. Spread them thickly over vegetable beds or flower areas. They hold heat and create a soft barrier under snow. Collect needles in autumn and store for winter use.
23. Log Border Beds
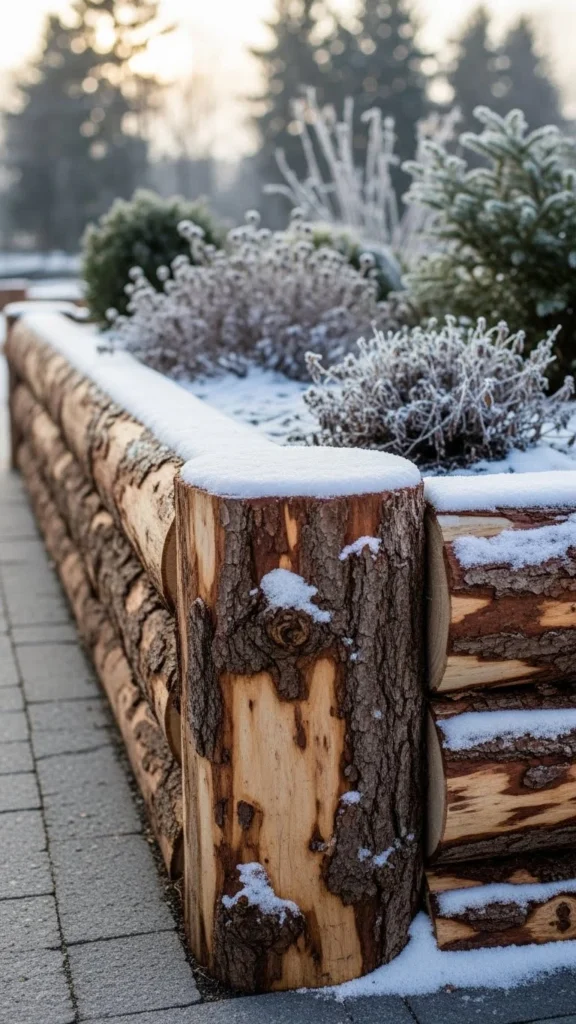
Logs act as natural insulation. Place them tightly around bed edges to block wind and hold warmth. You can repurpose fallen branches or cut logs from firewood. Pair with mulch or cloth for better results. This method adds a cozy woodland look to your winter garden.
24. Heavy-Duty Plastic Dome Beds

Plastic domes are sturdy and great for winter. They shed snow easily and trap warmth below. Many are sold pre-made, but you can build one using flexible rods and strong plastic. Secure the dome with stakes so wind doesn’t lift it. Great for herbs and greens.
25. Insulated Soil Bag Beds
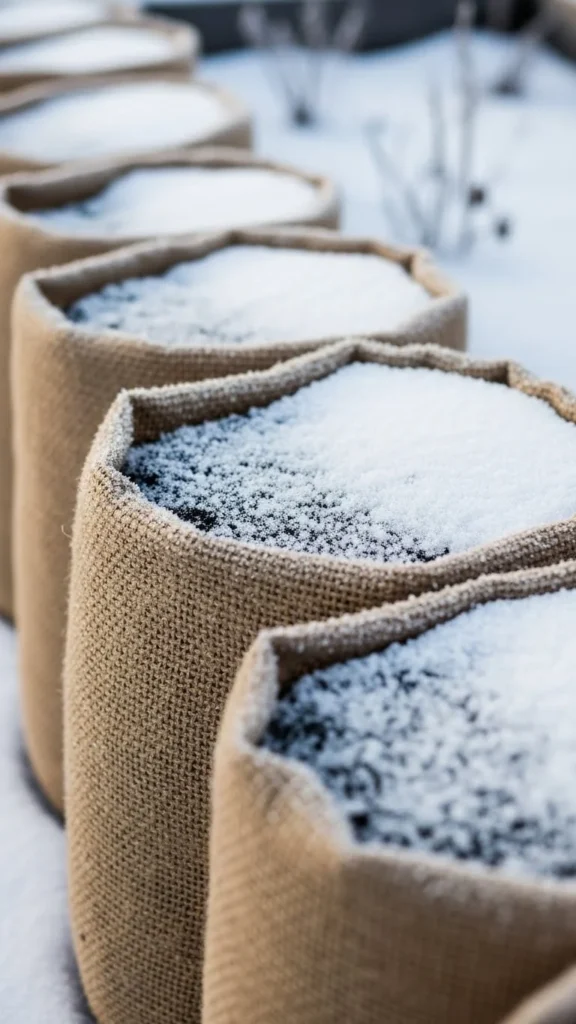
Soil bags work as simple insulation. Place them around your bed as barriers. They slow heat loss and help keep roots warmer. Bags are cheap, durable, and easy to rearrange. This is helpful if you garden in small or irregular spaces.
26. Frost-Resistant Wooden Beds With Corner Posts
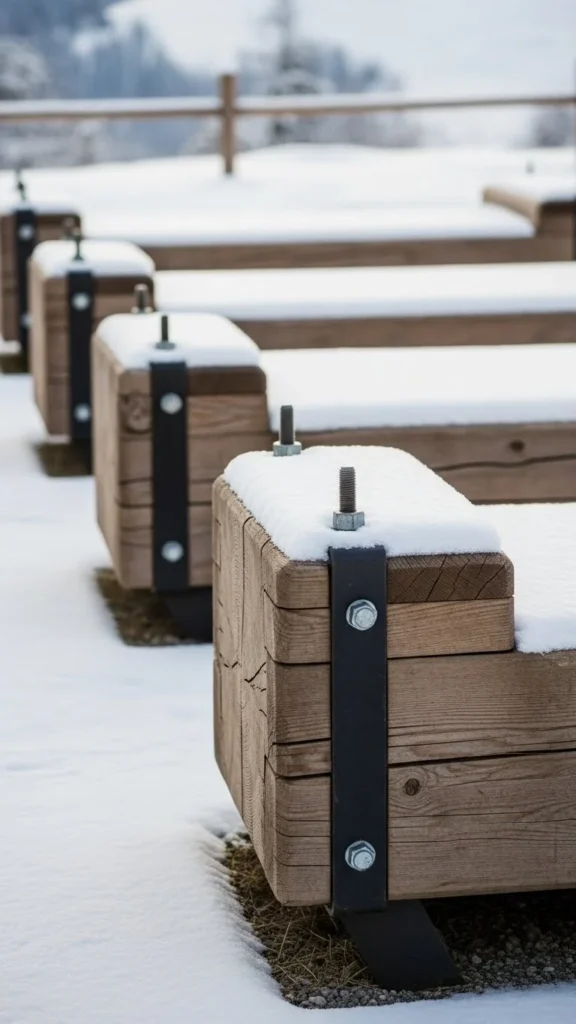
Thicker wood helps maintain warmer soil. Add posts on each corner to strengthen the frame for winter weight. This setup lasts for years. Pair with cloth or tunnels for stronger winter comfort. Great for gardeners who want a permanent winter-friendly setup.
27. Mulch-and-Tarp Hybrid Beds
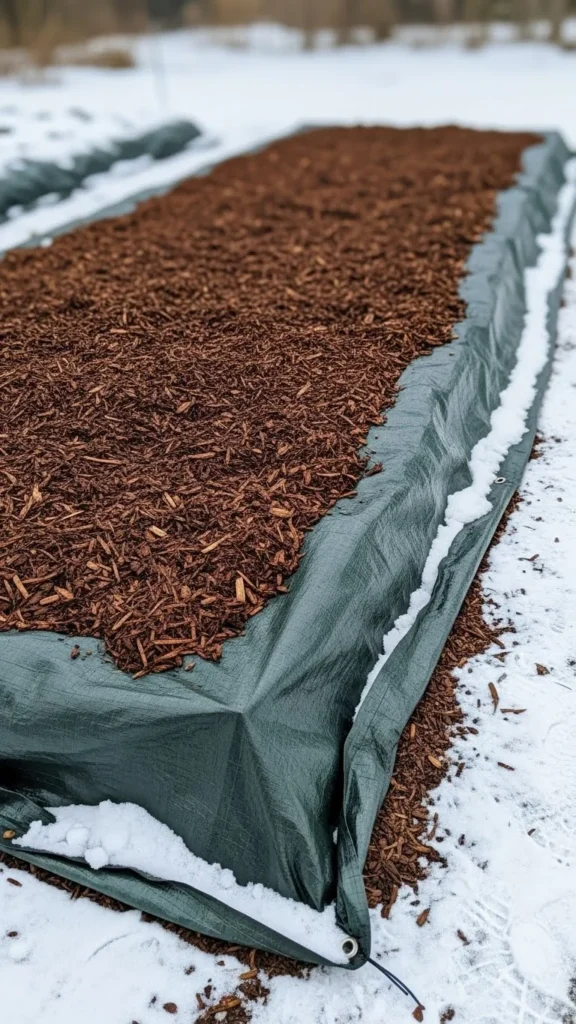
This hybrid method warms soil and blocks moisture. Add mulch first, then drape a tarp loosely. Leave small openings for airflow. The tarp keeps snow from saturating the bed and helps maintain steadier soil temperature. Easy to apply and remove as needed.
28. Winter Gravel Drainage Beds
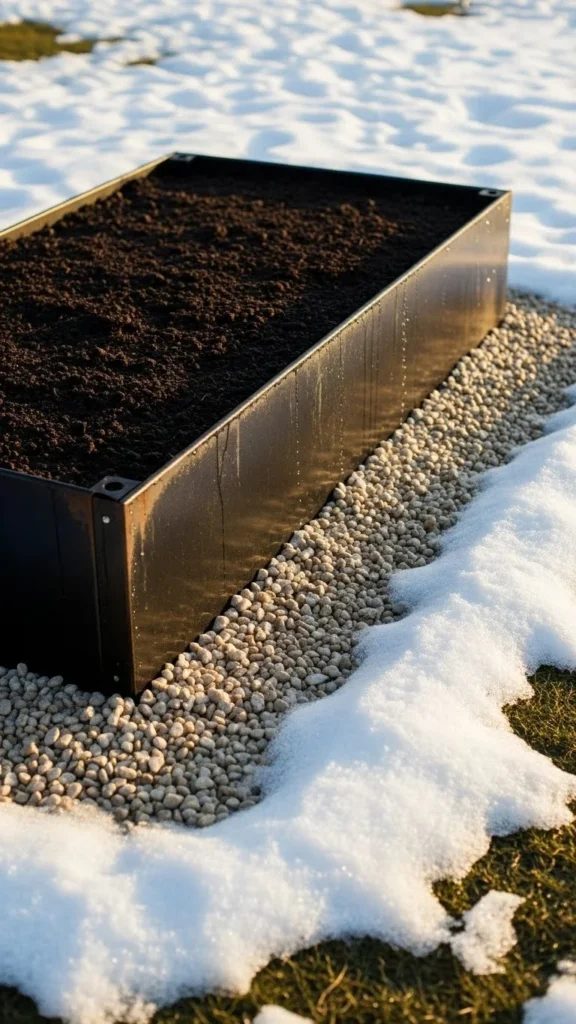
Gravel improves drainage and reduces ice buildup. Add a gravel perimeter or a gravel-filled trench near the bed. Better drainage keeps roots healthier during freeze-thaw cycles. This method pairs well with cloth or tunnel covers. It’s simple and great for problematic wet soil.
Conclusion
Winter protection doesn’t need to be complicated. With simple materials, smart covers, and well-insulated bed designs, you can keep your plants safe through months of snow and cold. Try one or mix several to create a winter setup that works for your space. Your garden will wake up healthier and ready for strong spring growth.

Leave a Reply