
Winter seed starting can feel slow, but a few smart tricks make the whole process easier, faster, and far more reliable. You don’t need fancy gear or complicated steps. A few household items, simple materials, and gentle tweaks can help seeds sprout stronger when the weather is cold. Below are practical ideas you can use right away—perfect for small spaces, tight budgets, and anyone who wants early, healthy seedlings when spring arrives.
1. Use Clear Plastic Jugs as Mini Greenhouses

Cut clear jugs into clamshell-style containers. Add soil, plant your seeds, and snap them shut. These containers trap warmth during the day and protect seeds from harsh cold at night. Place them in a sunny spot outdoors. You won’t have to open or water them often because condensation keeps the soil moist.
For a budget-friendly twist, use any transparent container you already have—juice bottles, water jugs, or food packaging. If you live in a windy area, secure the containers with small rocks. This is one of the easiest ways to start seeds outdoors while reducing indoor mess.
2. Start Seeds in Recycled Takeout Containers
Takeout containers with clear lids make great seed trays. They already hold moisture and light well. Add drainage holes to the bottom, fill with soil, sow your seeds, and close the lid. Place the container outside where it gets natural light.
This simple method saves money and cuts down on plastic waste. You can stack multiple containers to save space. If your soil dries out, just mist gently and close the lid again. It’s a clean, simple setup that works even in small yards or balconies.
3. Insulate Trays With Bubble Wrap
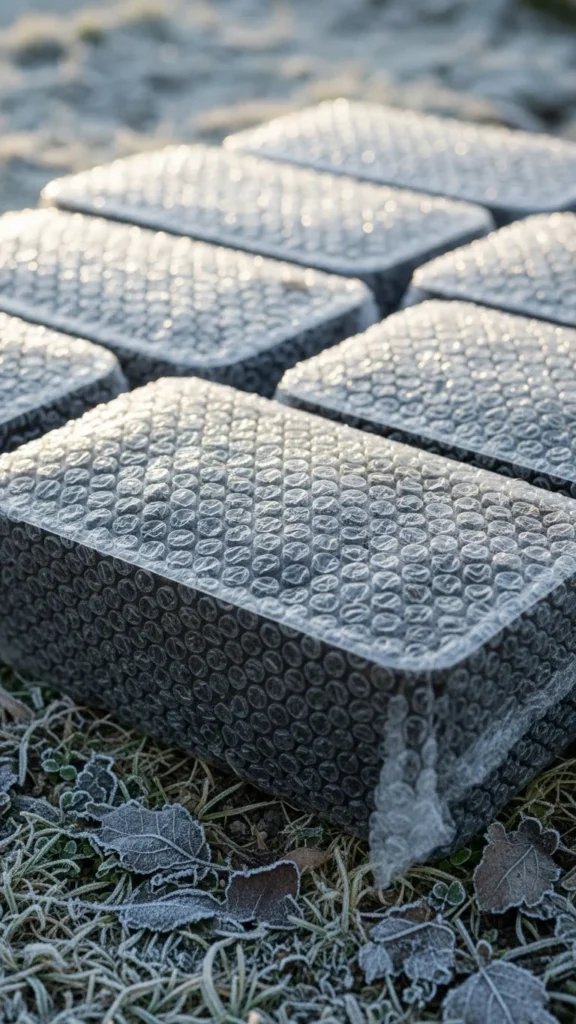
Wrap bubble wrap around seed trays to trap extra warmth. This keeps the soil from freezing solid and helps seeds stay at a stable temperature. You don’t need to wrap the entire tray—just the sides make a difference.
A small roll of bubble wrap lasts all winter and works with any container size. Tape the edges loosely so air can still move. This trick is perfect for seeds that like slightly warmer soil, such as peppers or tomatoes, when started outdoors.
4. Use Dark-Colored Pots to Absorb Heat
Dark pots warm up faster under sunlight. This creates slightly warmer soil for seeds that are slower to sprout in cold weather. It’s a simple way to add natural warmth without using electricity.
If you only have light-colored pots, wrap them in black fabric or paint the outside with dark, weather-safe paint. Place the pots near a south-facing wall for even more warmth.
5. Add a Thin Layer of Sand on Top
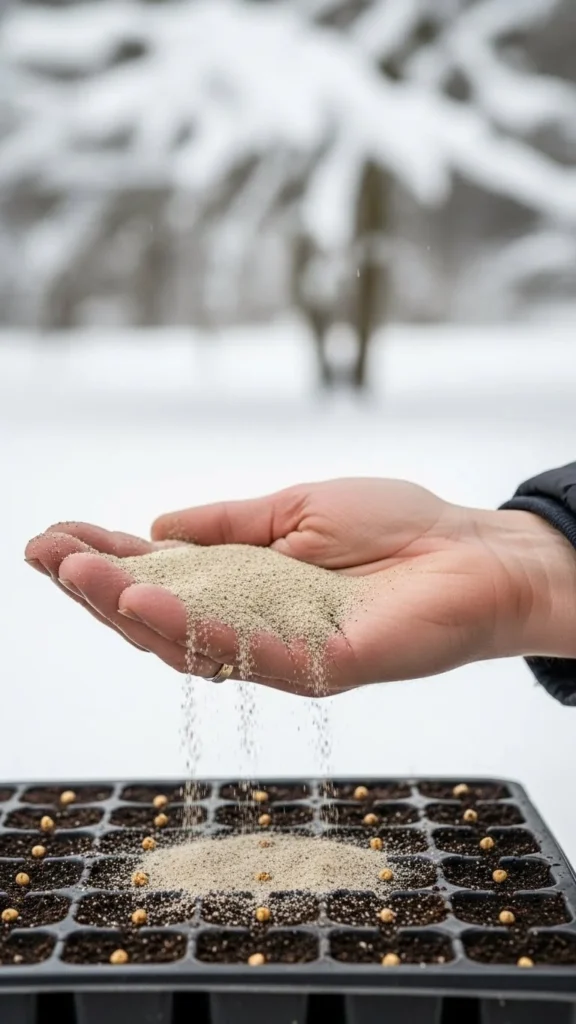
Sand helps soil drain better. This keeps seeds from sitting in soggy conditions, which can lead to rot. A thin layer also protects seeds from sudden cold snaps.
Use clean, fine sand from a hardware store or leftover craft materials. Spread just enough to lightly cover the soil. This small step makes early sprouting more dependable.
6. Use Eggshell Halves as Biodegradable Pots
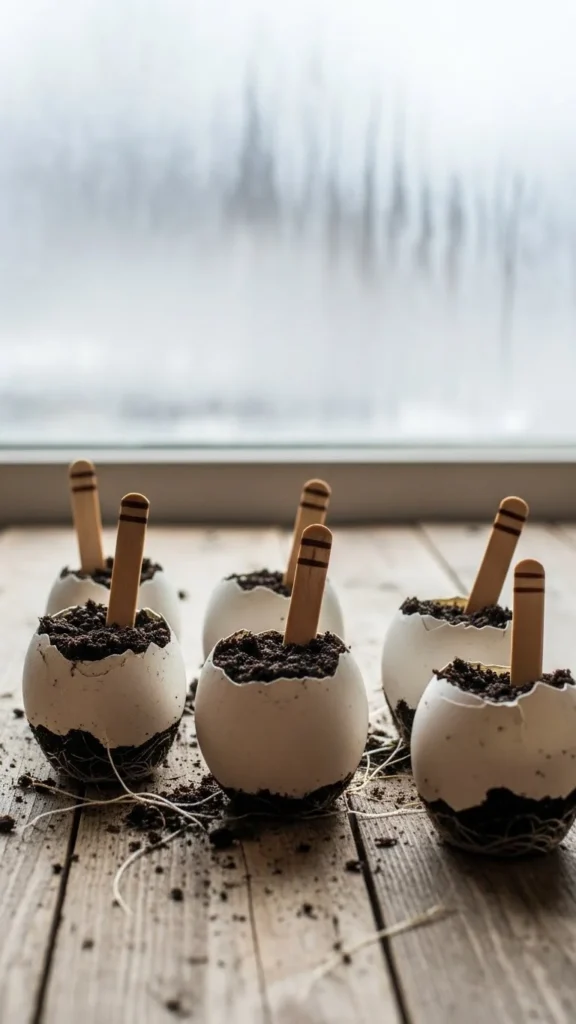
Eggshells hold moisture well and break down easily once planted in spring. Fill the shells with soil, press seeds inside, and set them in an egg carton for stability.
When seedlings grow, plant the entire shell directly in the ground. Crush the bottom lightly to help the roots spread. This is a great zero-waste option for small seeds like lettuce, herbs, and flowers.
7. Warm Soil With Flat Stones
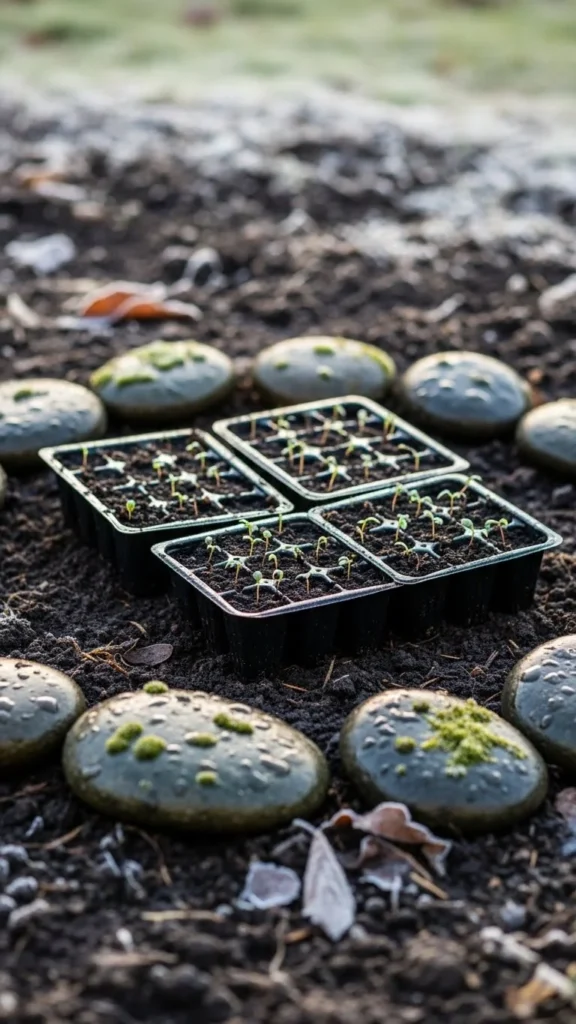
Stones soak up sunlight during the day and release warmth slowly at night. Spread a few around your seed trays or pots to help keep the soil slightly warmer.
This trick works well if you live in an area with big temperature swings. Look for dark stones or leftover pavers. No cost. No tools. Just simple heat retention.
8. Try Winter Sowing in Sheltered Corners
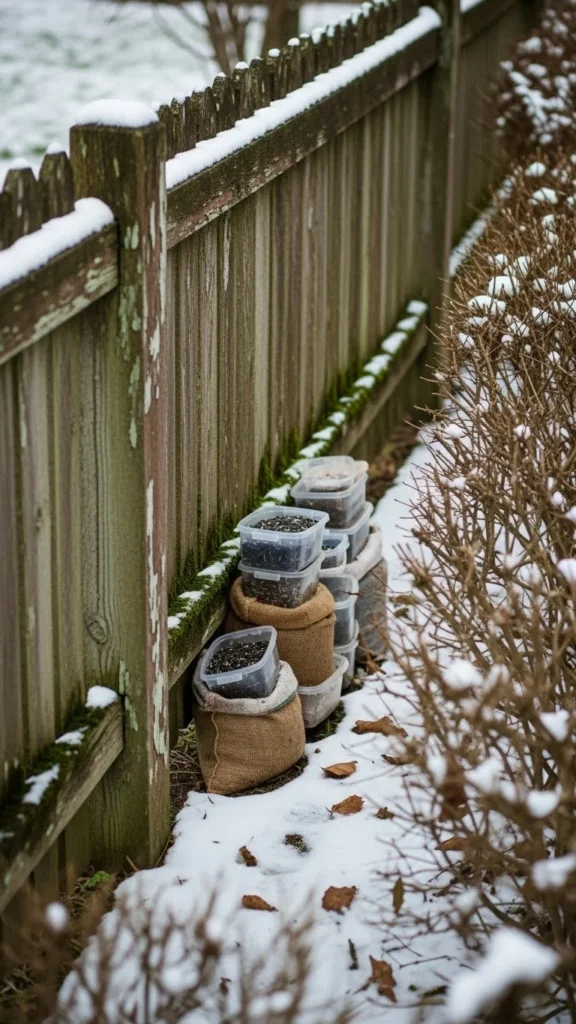
Sheltered spots—like corners near fences, walls, or evergreen shrubs—stay slightly warmer than open spaces. Place your seed containers there to help them sprout earlier.
You don’t need full sun all winter. Light increases as the season changes. Even partial winter sun works well for hardy seeds.
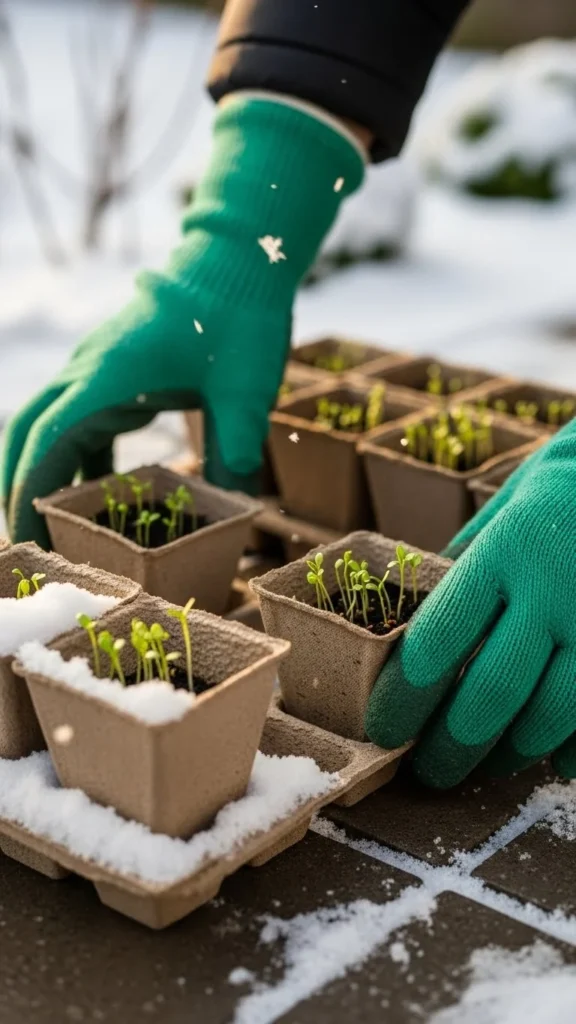
9. Use Snow as Moisture
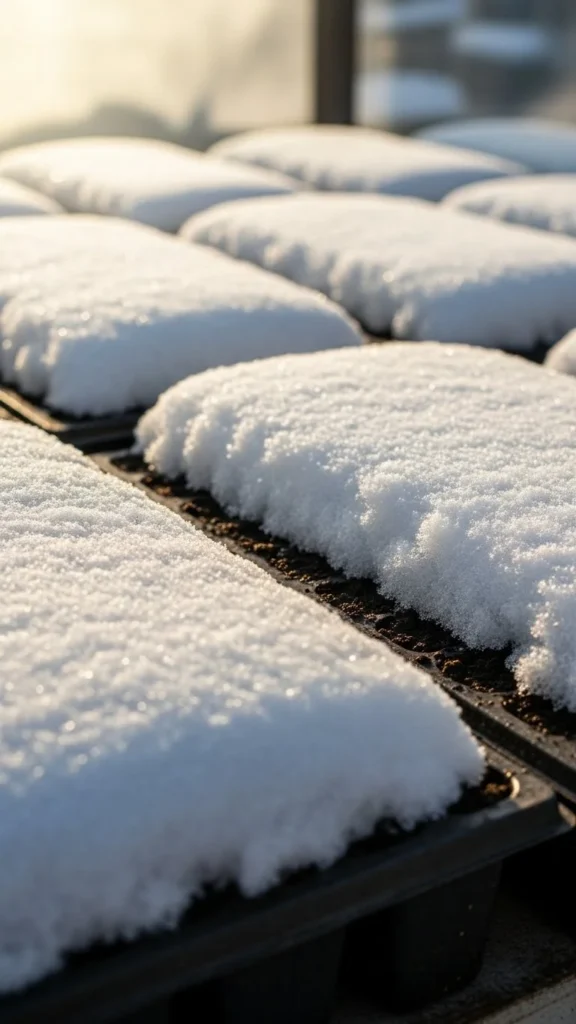
Snow melts slowly and waters seeds evenly. After sowing, cover the soil with a thin layer of snow. As it melts, it moistens the soil without washing seeds away.
This trick is great for winter sowing because it mimics natural conditions. Just avoid packing the snow too tightly. A light layer works best.
10. Start Seeds in Paper Towel Rolls
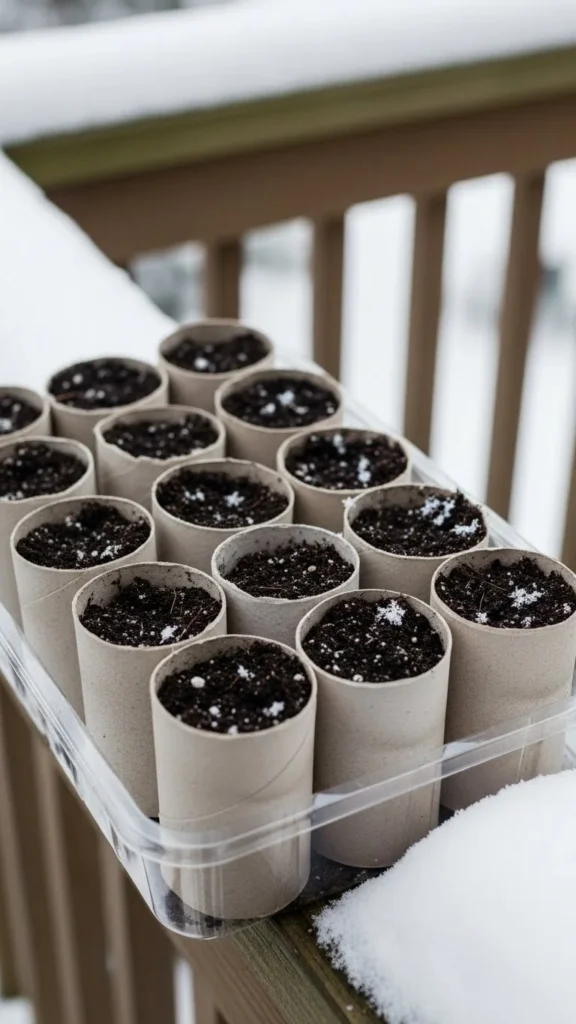
Cut paper towel rolls into short cylinders. Fill them with soil and plant seeds. The cardboard holds moisture well and breaks down in the garden later.
Set the rolls upright in a tray so they don’t tip over. This method helps roots grow deep and makes transplanting simple with almost no disturbance.
11. Put Trays Near a Brick Wall
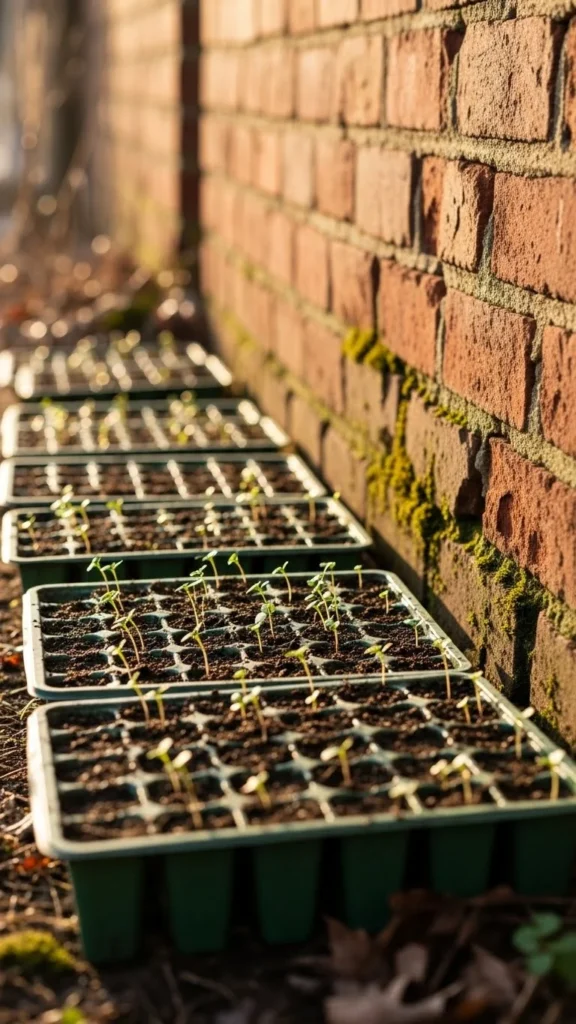
Brick walls absorb warmth during the day and release it slowly overnight. Placing your seed trays nearby helps maintain a gentler temperature range.
This trick is helpful for seeds that sprout slowly in cold conditions. South-facing brick walls are especially effective. It costs nothing—just smart placement.
12. Pre-Warm Soil Indoors

Before sowing, keep your soil indoors for a day so it warms slightly. Seeds sprout better when soil isn’t icy cold.
You don’t need to heat it much. Just bring the soil inside overnight. Then fill your containers and place them outdoors. This small step helps early sprouts grow evenly.
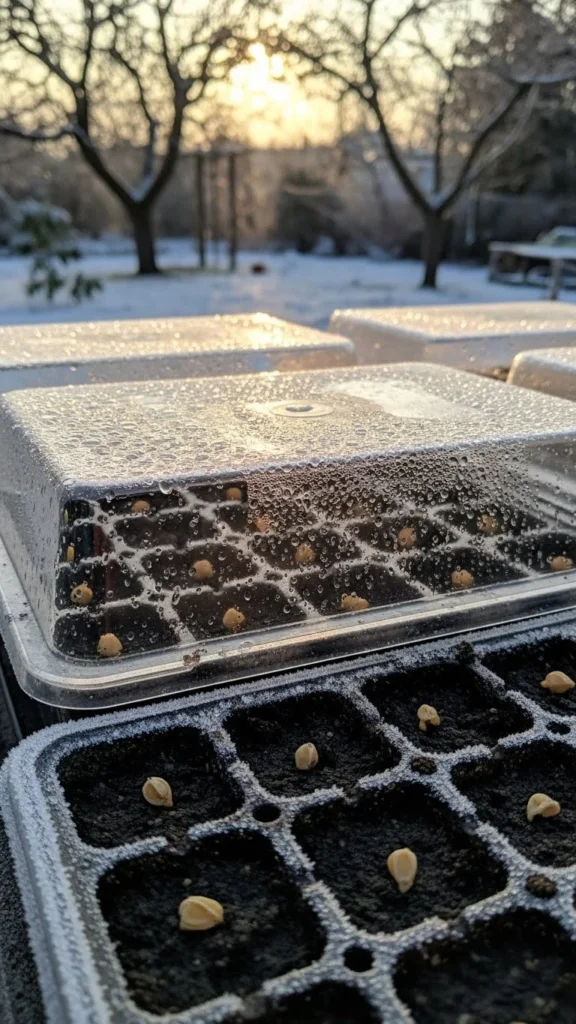
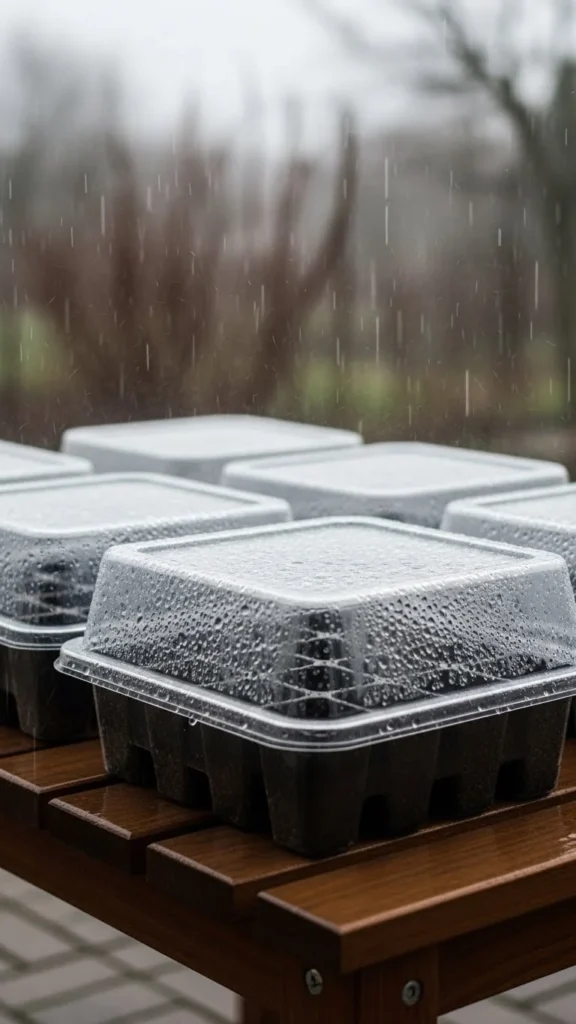
13. Use Clear Storage Bins as Cold Frames
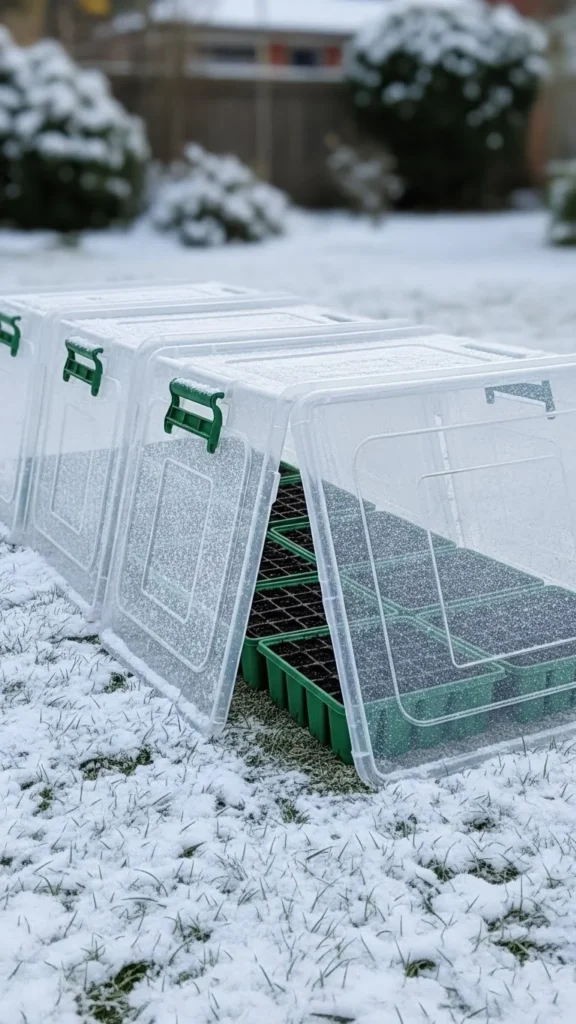
Flip clear bins upside down over seed trays. This traps warmth and shields seeds from wind. It acts like a simple cold frame.
If you want more airflow, lift one side slightly with a small rock. On sunny days, open the bin to prevent overheating. It’s a flexible setup that fits many container sizes.
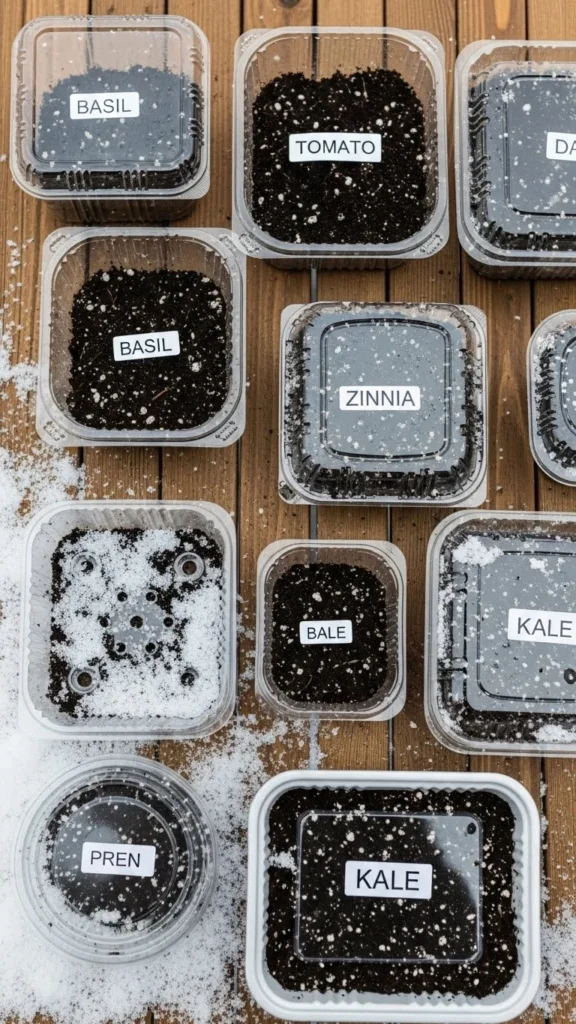
14. Label Everything Before the Snow Arrives
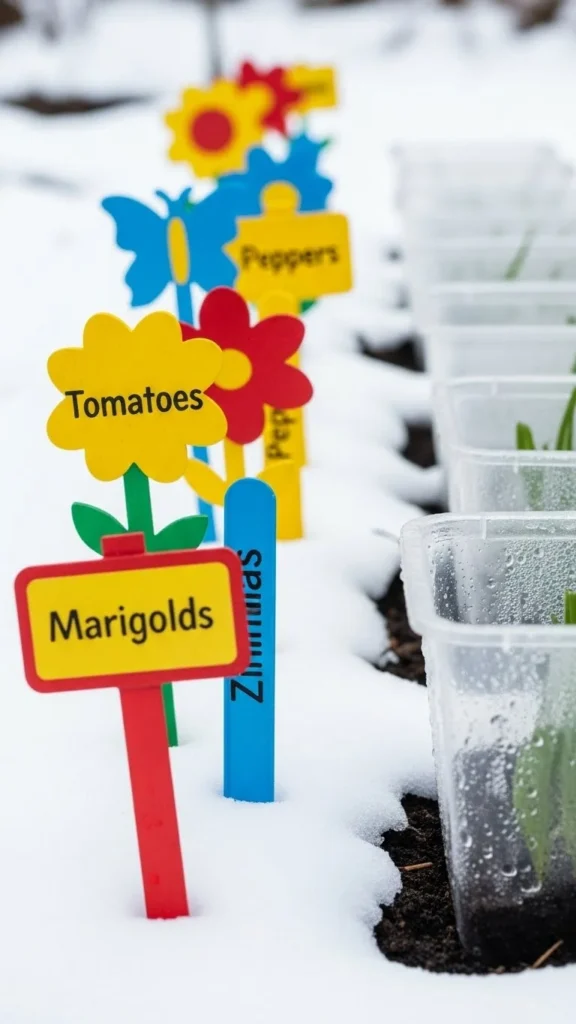
Labels easily disappear in winter weather. Use bright markers so you remember where each seed is planted.
Waterproof markers or paint pens last longer outdoors. If your garden gets deep snow, use taller labels. Keeping things organized now makes spring much easier.
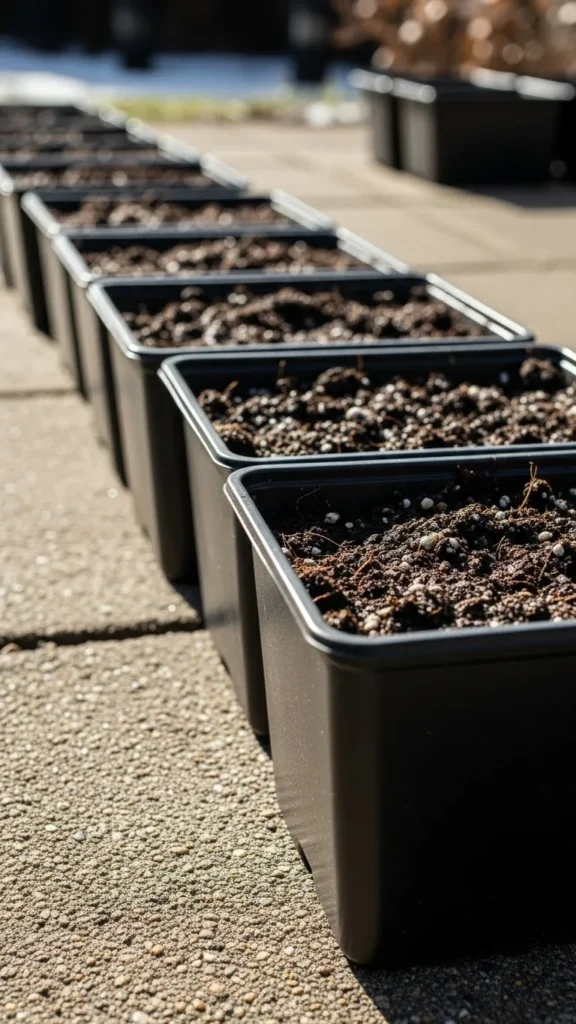
15. Use Larger Containers for Slower Seeds
Some seeds take longer to sprout and appreciate deeper soil. Bigger containers hold warmth better and dry out more slowly.
Use them for perennials, trees, or plants with long roots. Repurpose buckets, storage tubs, or tall pots. Add drainage holes and place them in a sunny winter spot.
16. Add Extra Drainage Holes
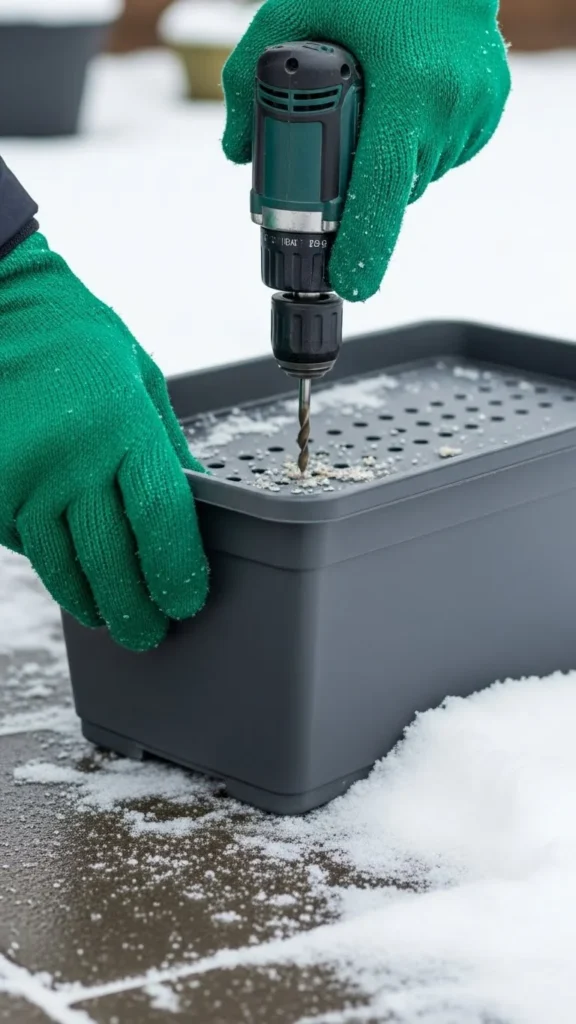
Winter moisture can flood containers. Adding more drainage helps protect seeds from soggy soil.
Use a drill, hot nail, or scissors—whatever you have. Space the holes evenly to avoid pooling. Good drainage leads to stronger early roots.
17. Lightly Press Seeds Into Soil
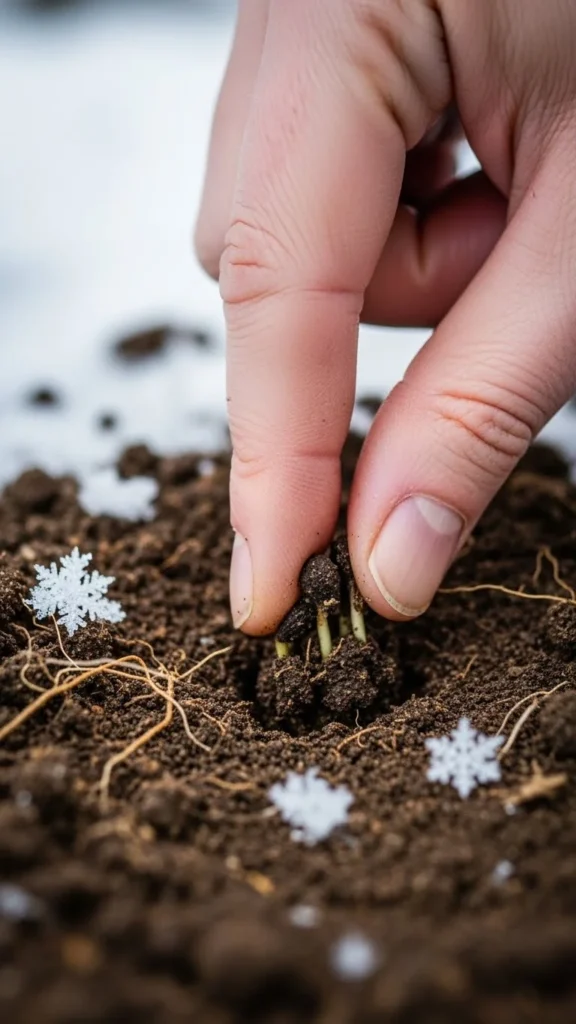
Some seeds need light to sprout. Press them gently instead of burying them deeply. The soil stays moist, and the seeds can still get sunlight.
This works well for flowers, herbs, and greens. After pressing, mist lightly. No need to pack them in. Soft contact is enough.
18. Use Coffee Filters at the Bottom of Pots
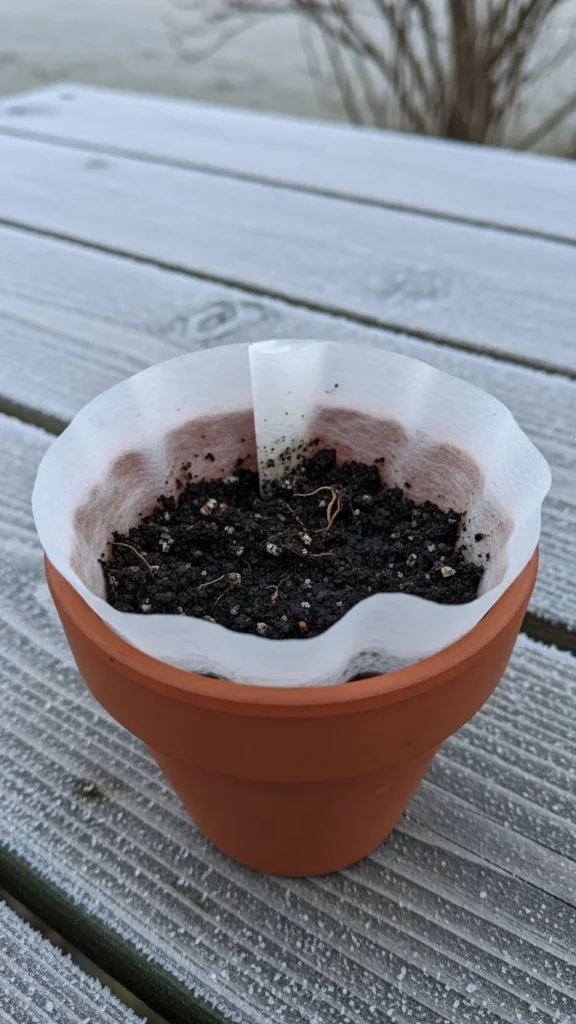
Coffee filters keep soil from sliding out while allowing water to drain smoothly. They’re cheap and fit most pot sizes.
Place one at the bottom before adding soil. This keeps your winter containers tidy and prevents mess during early watering.
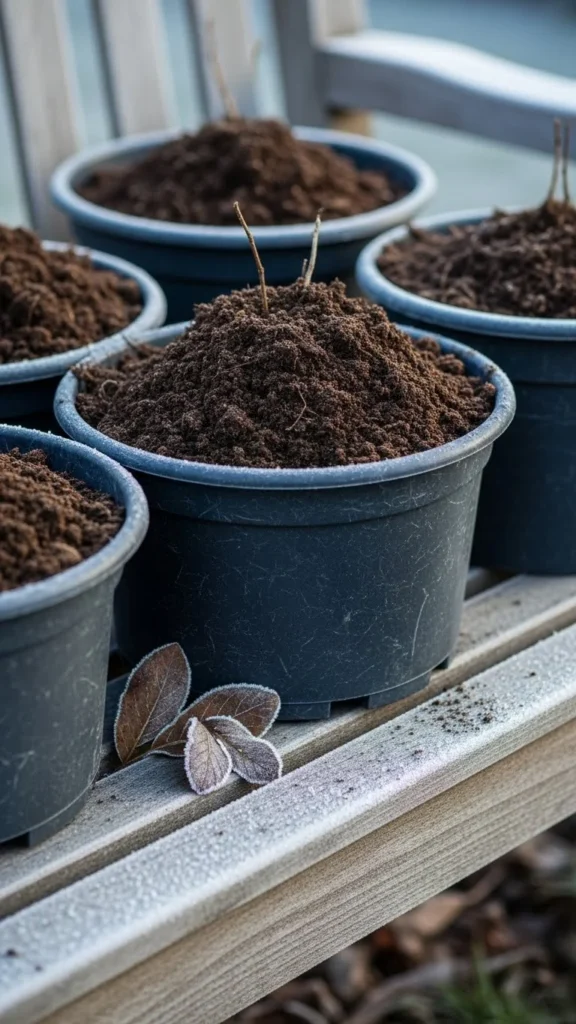
19. Mix Compost With Potting Soil
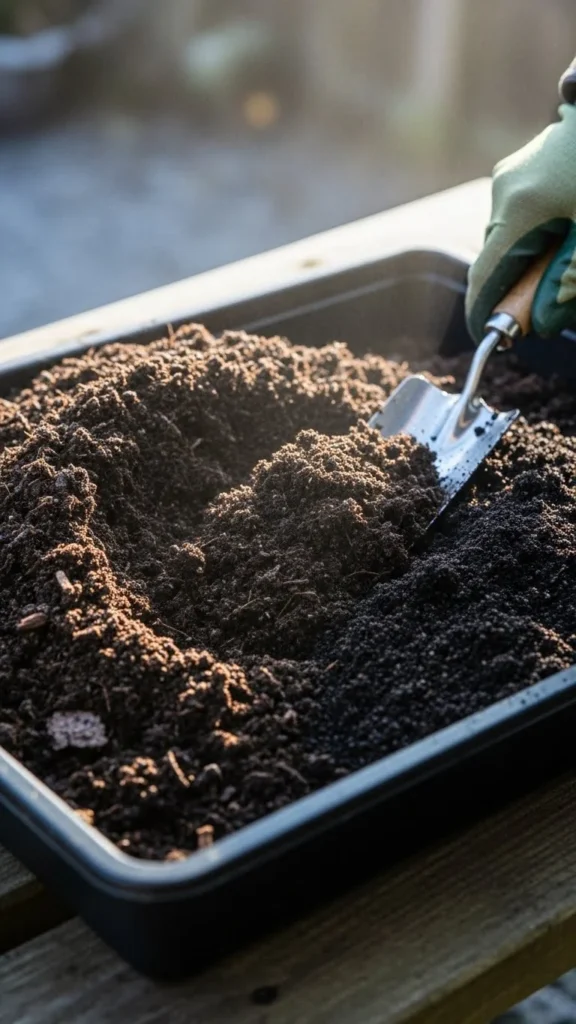
A small amount of compost gives seeds gentle nutrition as they sprout. It also helps soil hold moisture.
Mix in just a handful per container. Too much can make soil heavy. Keep it light and fluffy so roots can breathe.
20. Use Leaf Mulch Around Trays

Leaf mulch acts like insulation. Surround your trays with a soft layer to protect them from deep cold.
Use dry leaves so they don’t turn soggy. You only need a thin layer. It helps maintain a steady temperature around your containers.
21. Let Rainwater Do the Watering
Place containers where rain can reach them. Light winter rain adds just the right amount of moisture without washing seeds away.
If you use jugs or bins, leave a few small holes in the top so rain can enter slowly. This keeps soil moist without extra work.
22. Start Hardy Seeds First
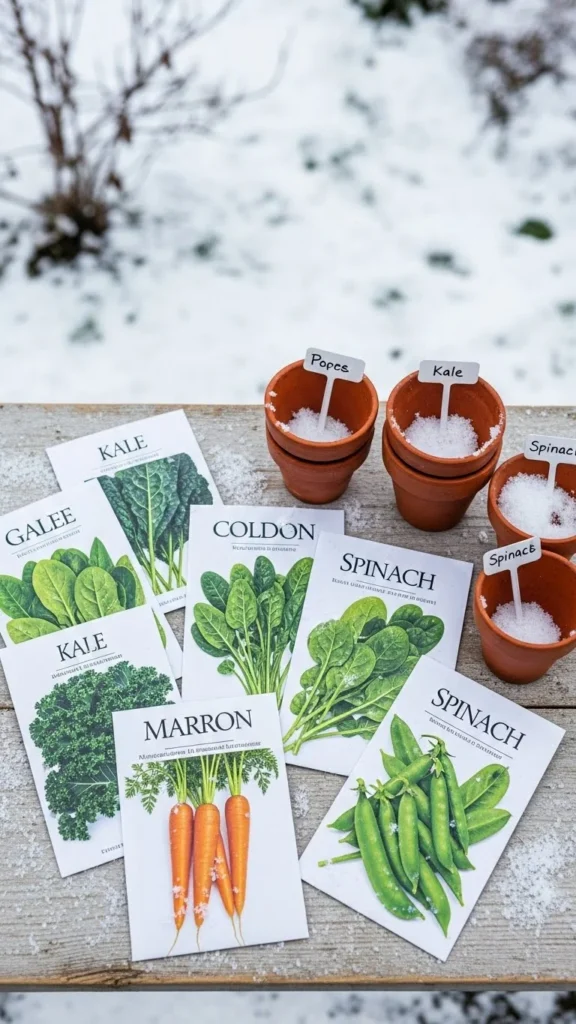
Some seeds handle winter better than others. Begin with hardy varieties like kale, poppies, pansies, and herbs that sprout well in cold.
This gives you early growth without extra effort. Save slower or more delicate seeds for late winter or early spring.
23. Place Reflective Material Behind Trays
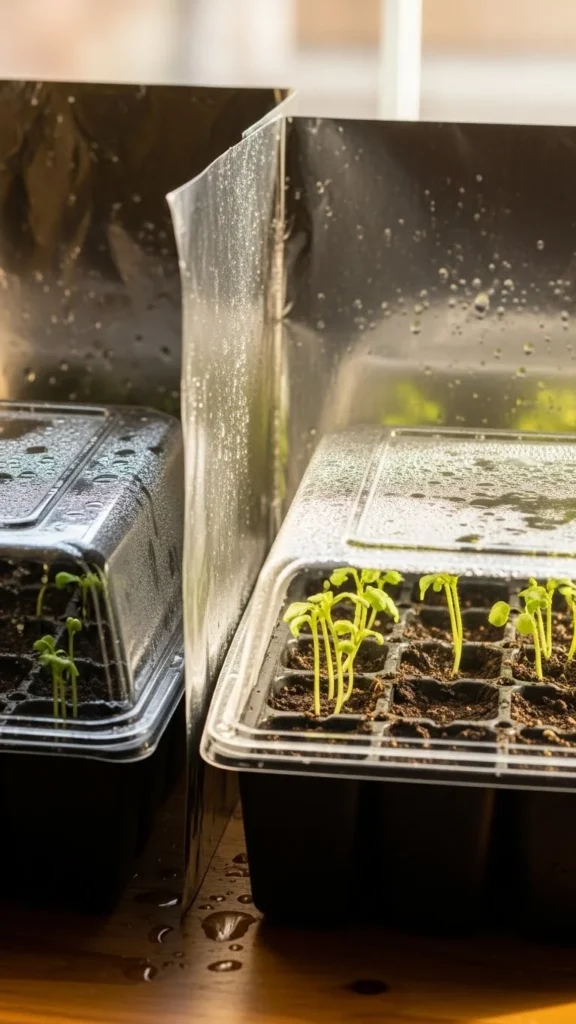
Reflective surfaces bounce sunlight back onto containers. This helps warm the soil and adds extra light.
Use foil, white boards, or leftover insulation. Place it behind your trays where it catches the sun. It’s simple and low-cost.
24. Check Containers After Windy Days
Wind can topple or shift containers. After strong gusts, check them to make sure they’re still upright and covered.
Add small rocks or bricks to weigh them down. This small habit keeps your seeds safe and growing well all winter.
Conclusion
Winter seed starting doesn’t have to be complicated or expensive. With the simple tricks above, you can create warm, protected spaces for seeds to sprout outdoors—even in cold weather. Try a few ideas this week, experiment with different containers, and enjoy early, healthy seedlings when spring finally arrives.

Leave a Reply